Changing Users' Rights
Making a User an Admin
This process assumes that the 'Admin' role has already been created.
- Log into the Azure Portal
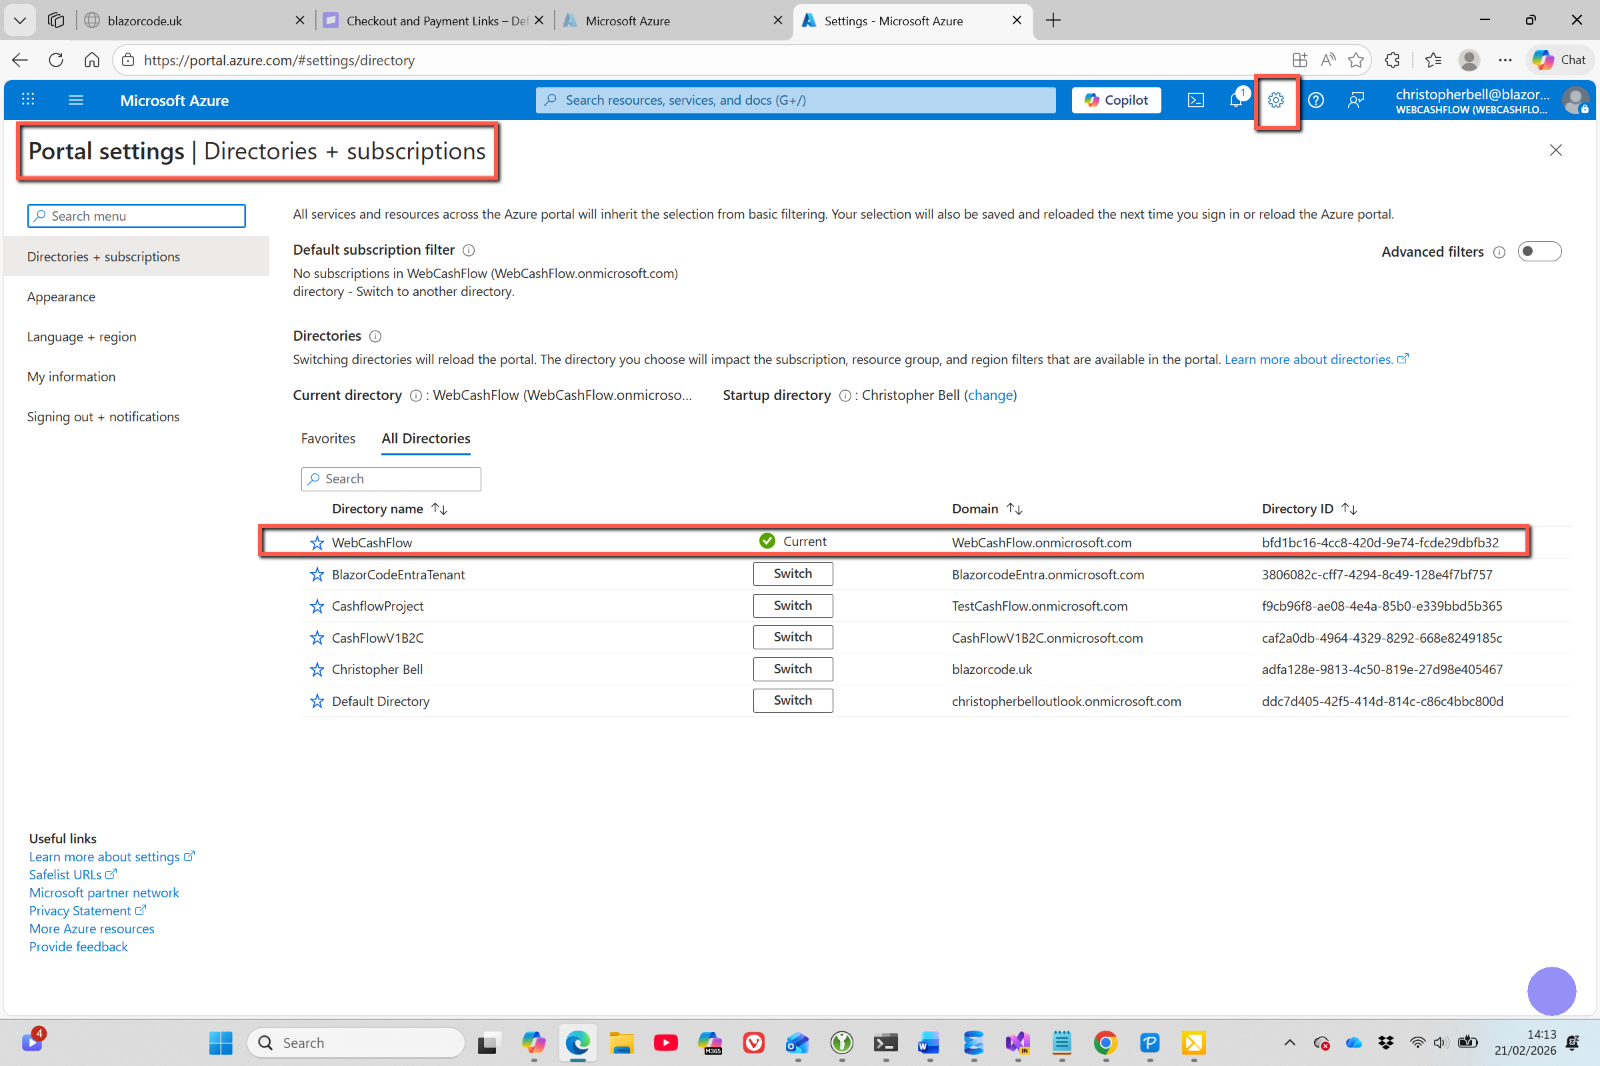
- Change directory to the one containing the Entra External ID
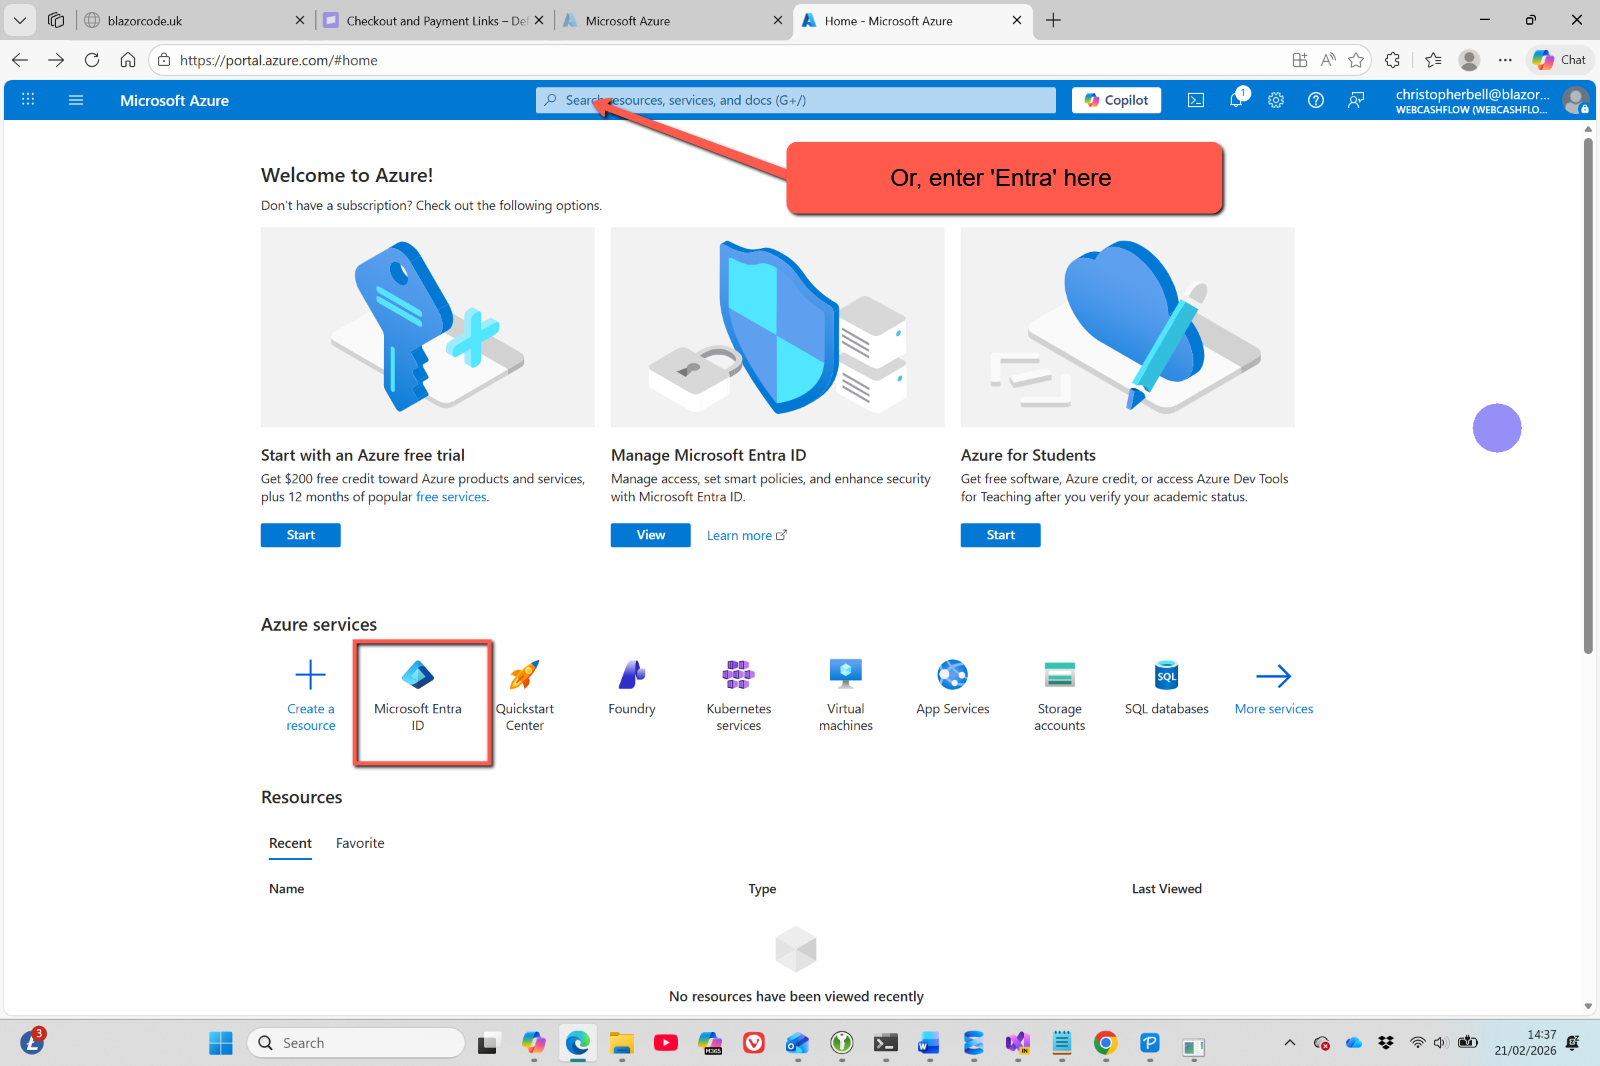
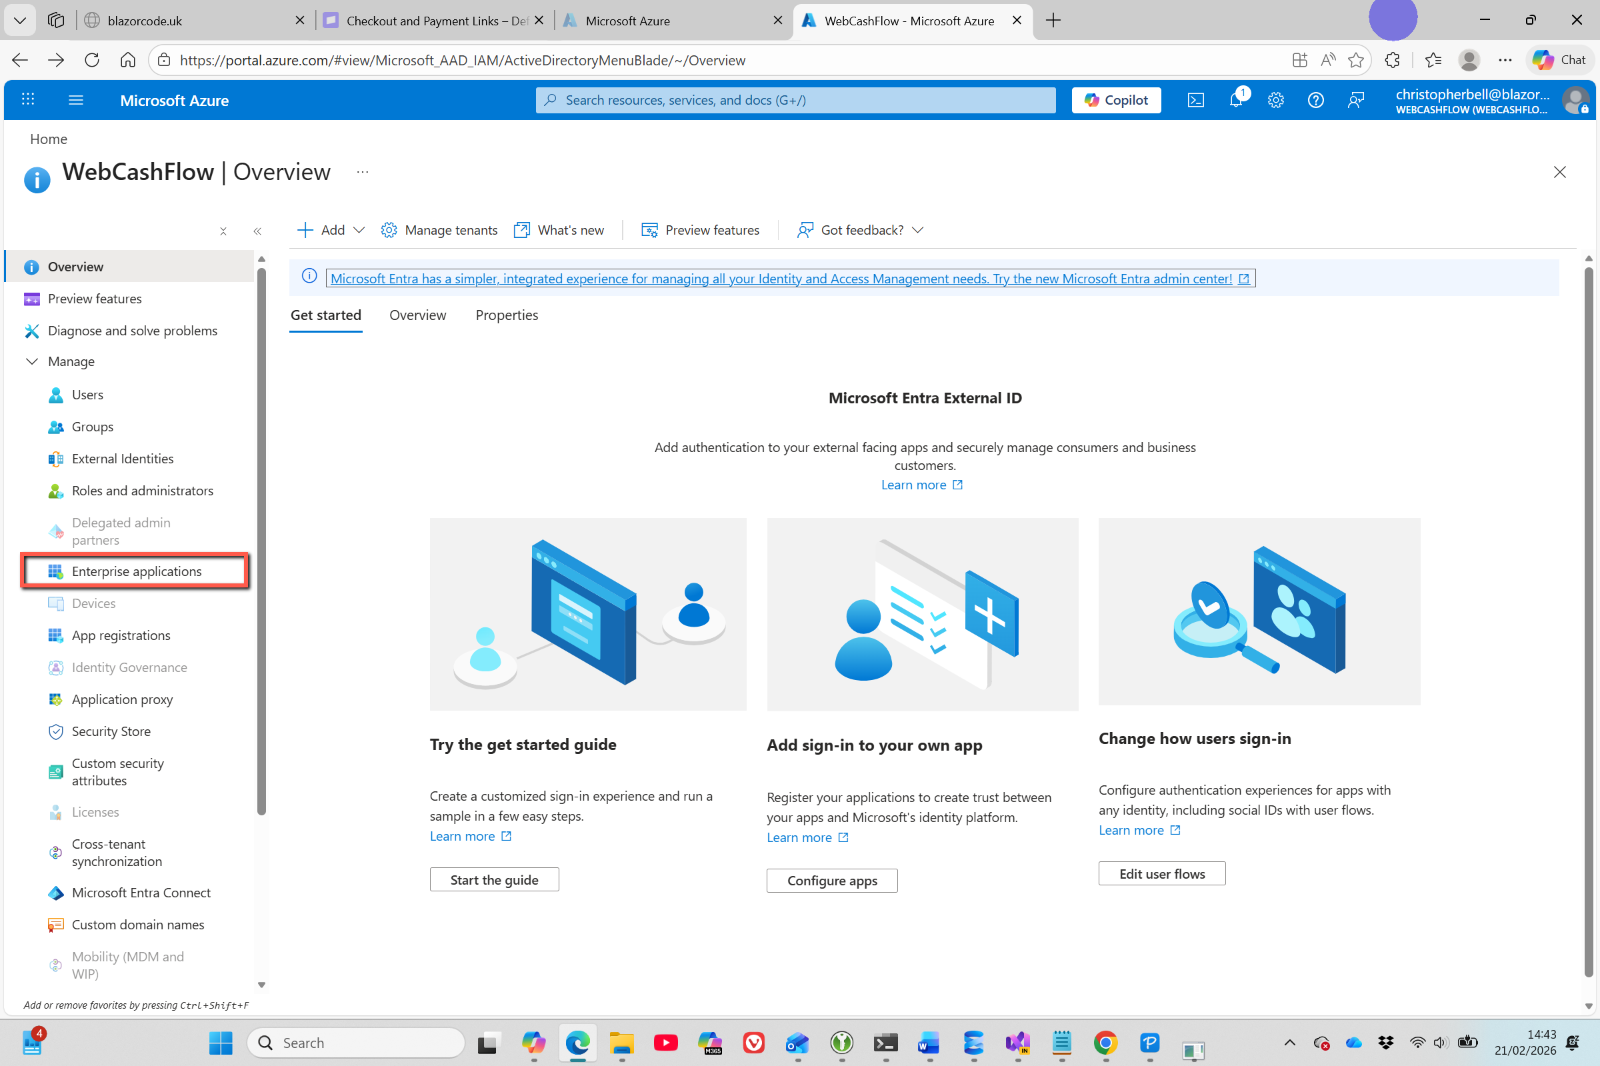
- Select 'Microsoft Entra ID' from Azure Services
- Or enter 'Entra' in the search bar
- Select 'Enterprise applications'
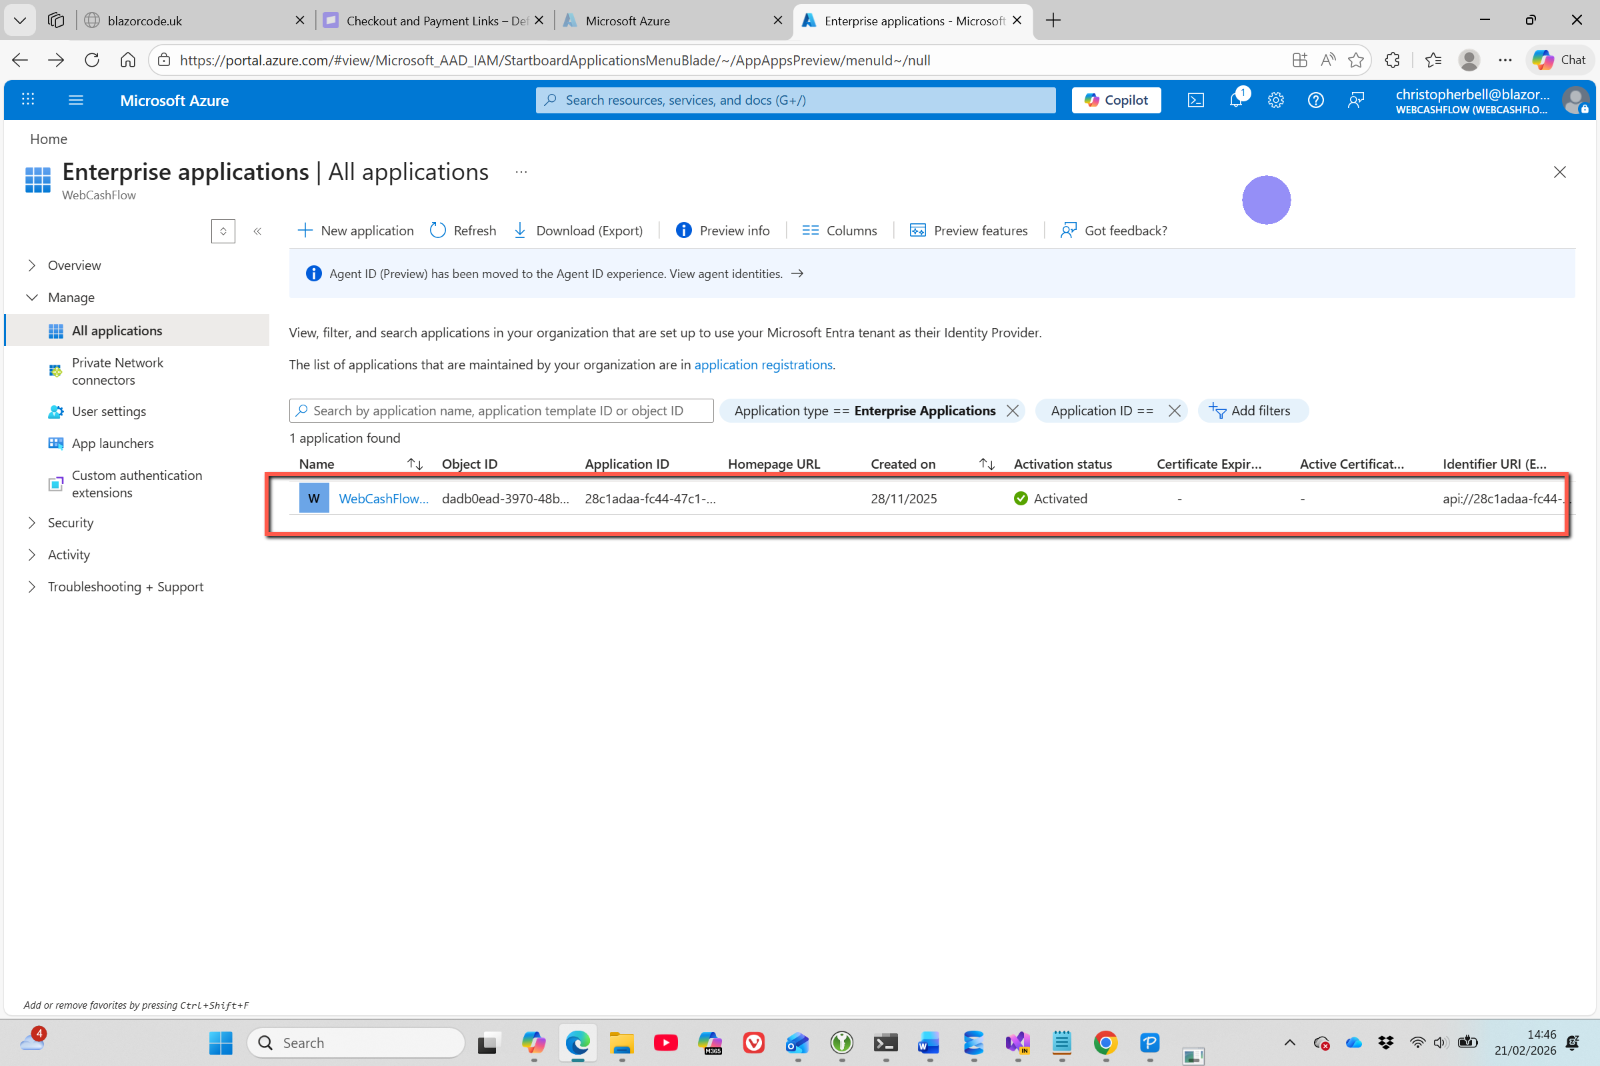
- Select the application from the list displayed in the body of the screen
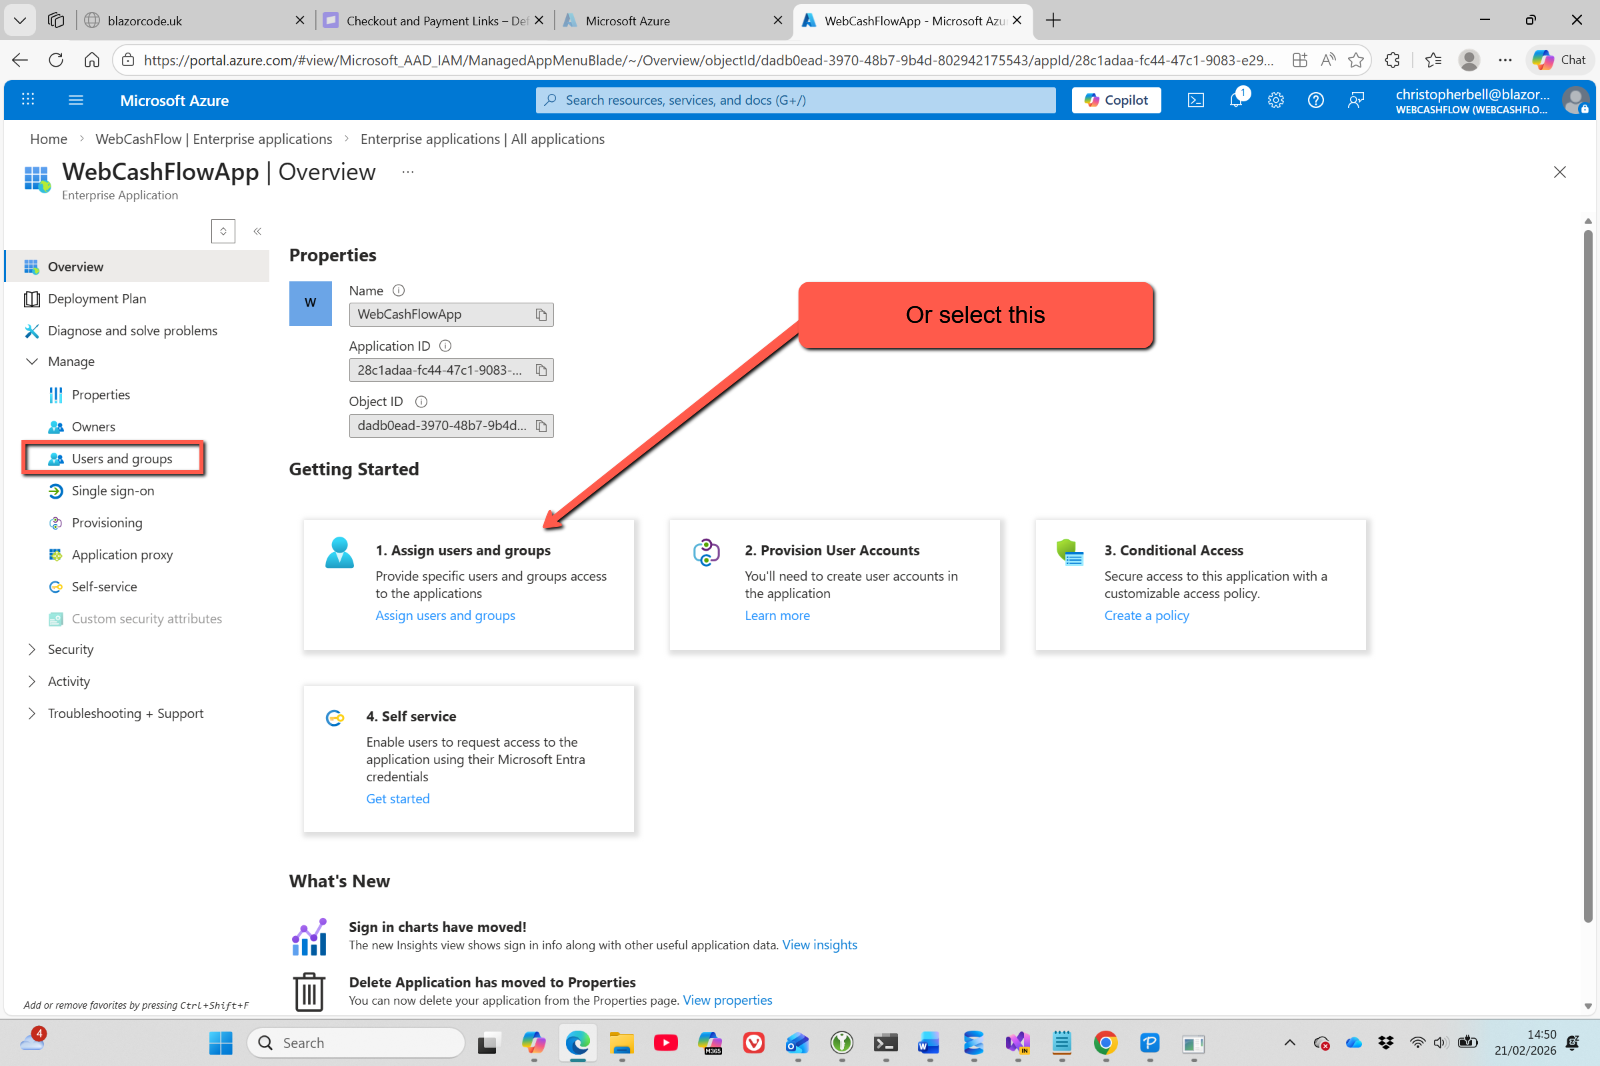
- Select 'Manage > Users & Groups' from the menu
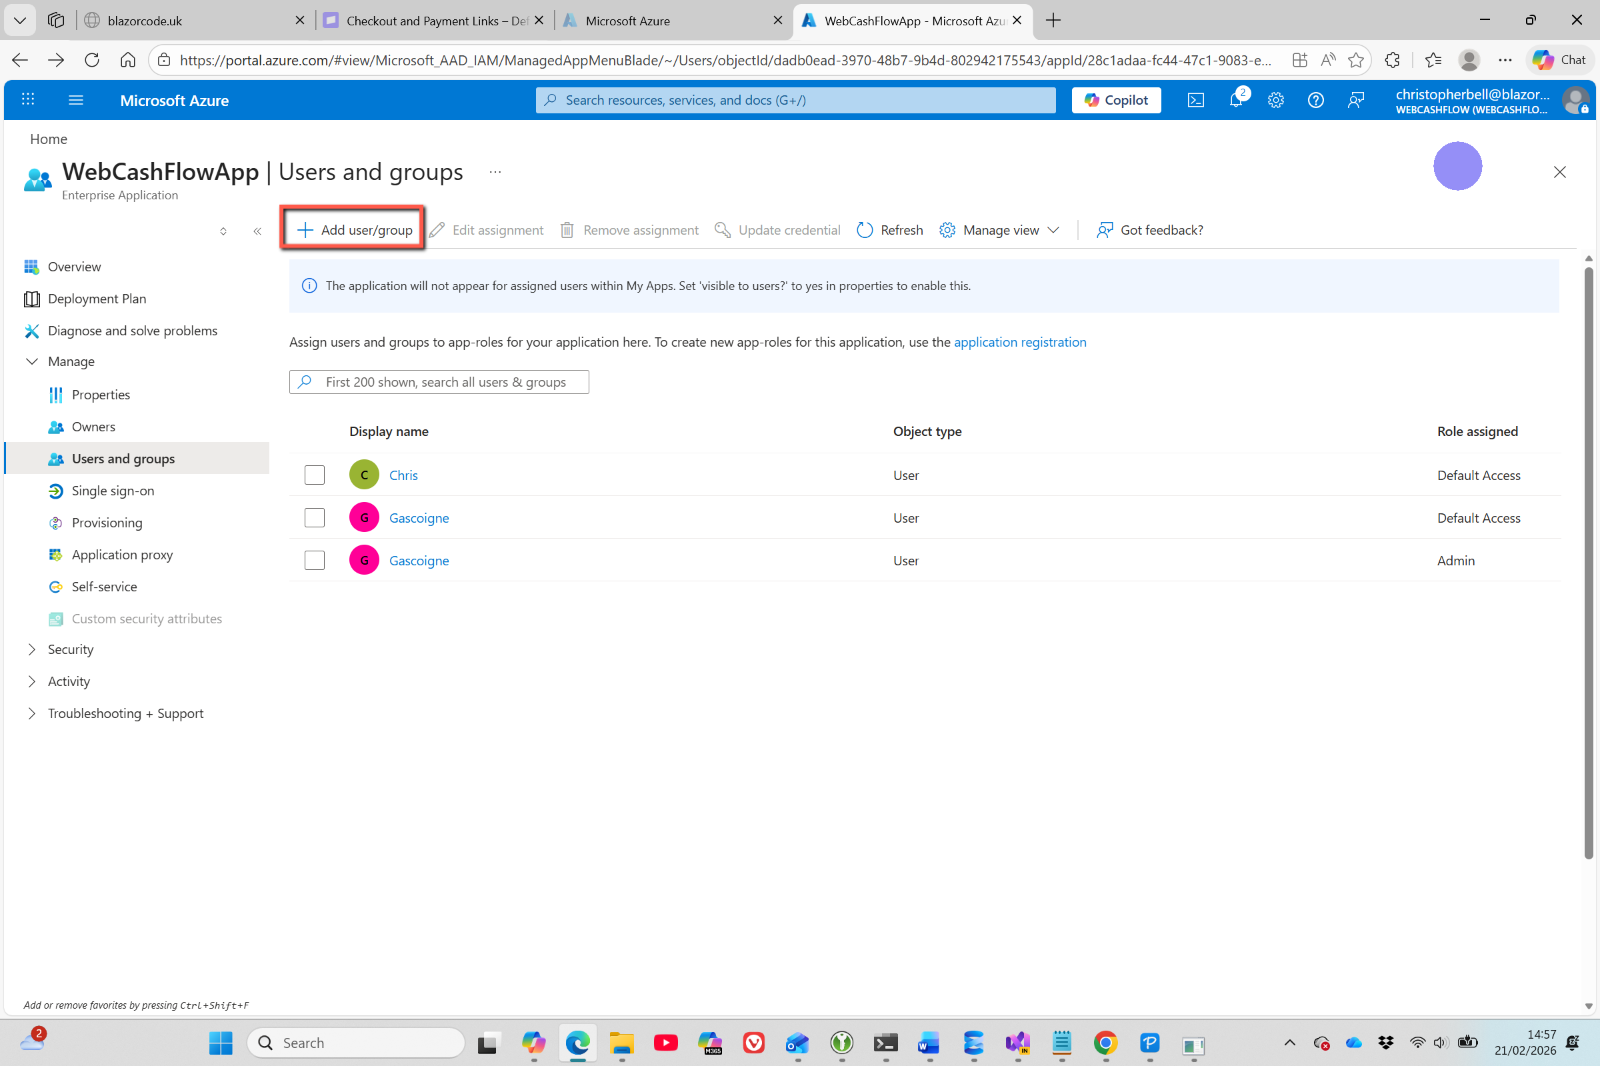
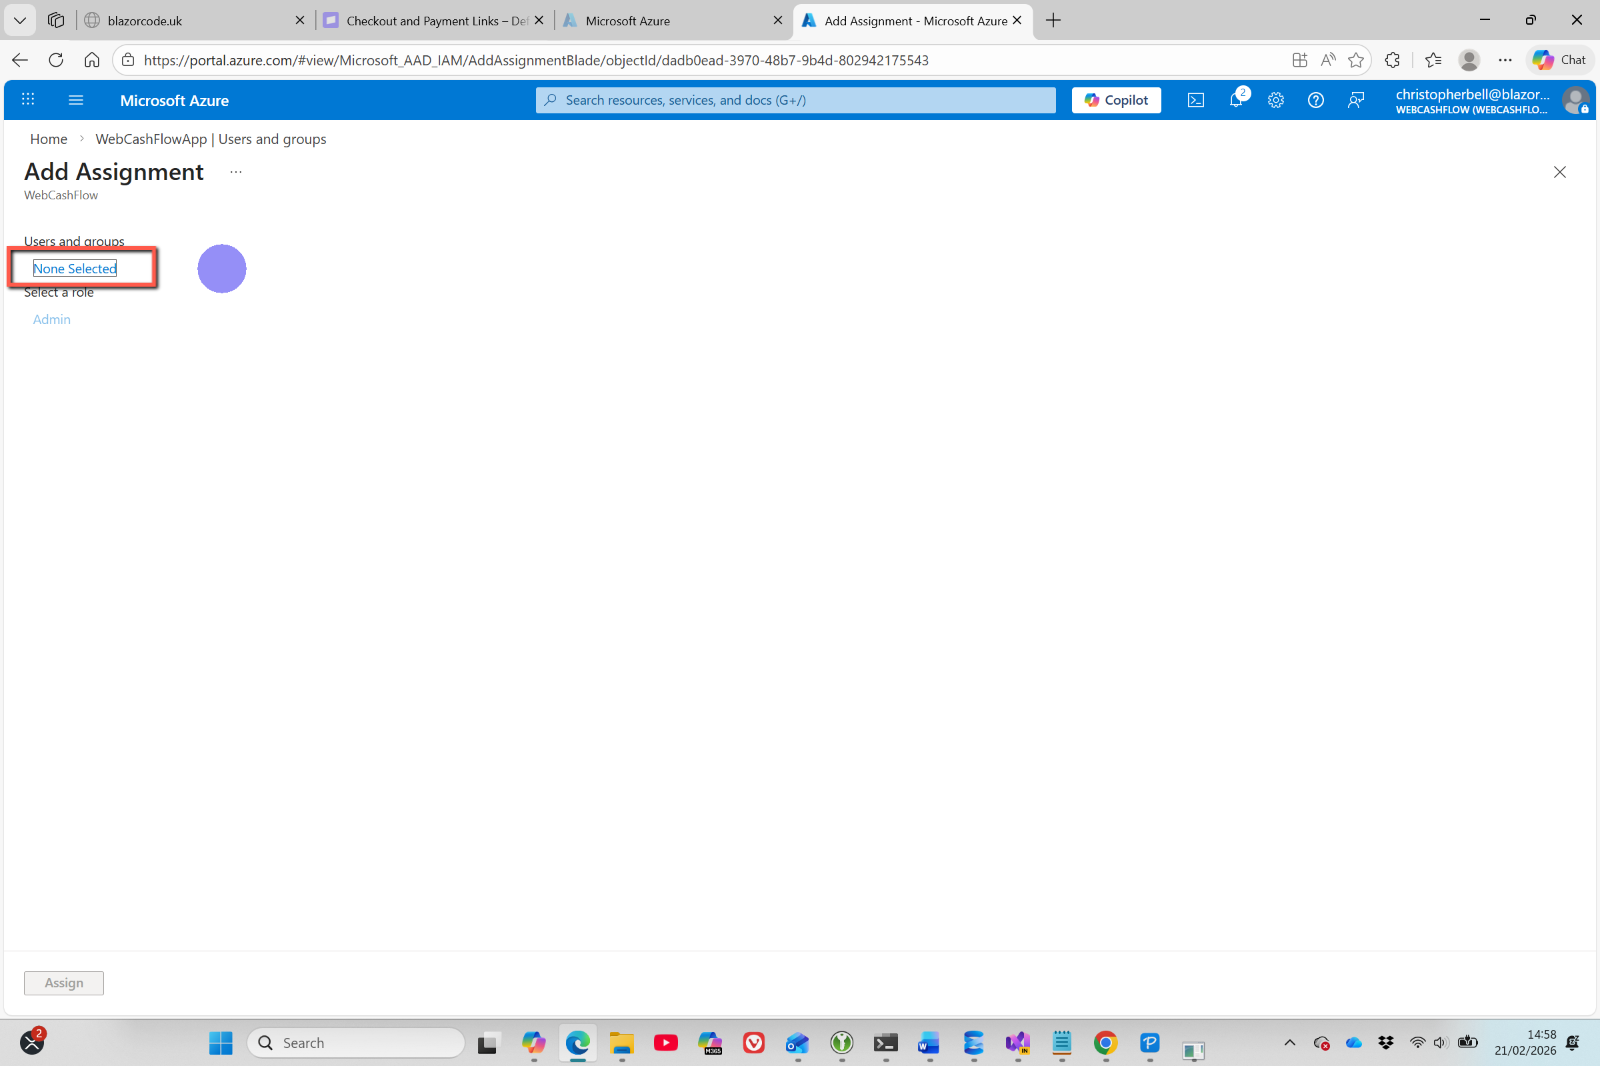
- Click 'Add user/group' (No need to select user at this stage)
- Click 'None Selected' (in this case)
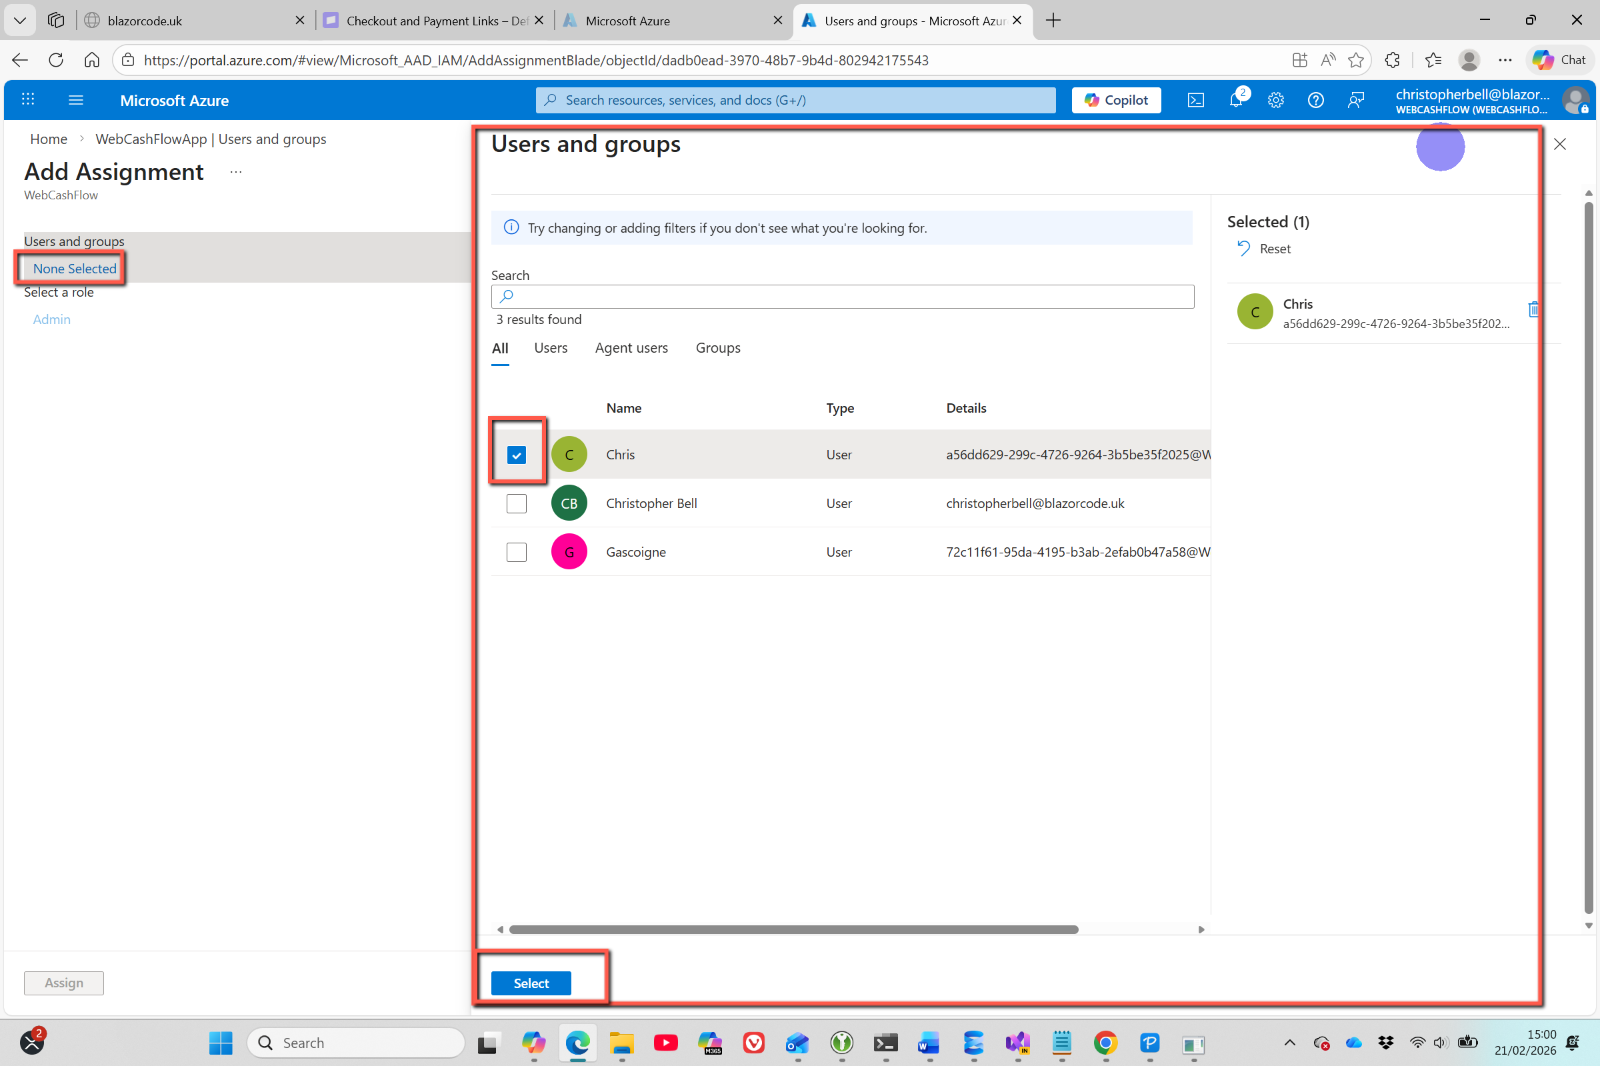
- This will open a pane to the right. Tick the users you want to assign to the role. Click 'Select' at the foot of the pane.
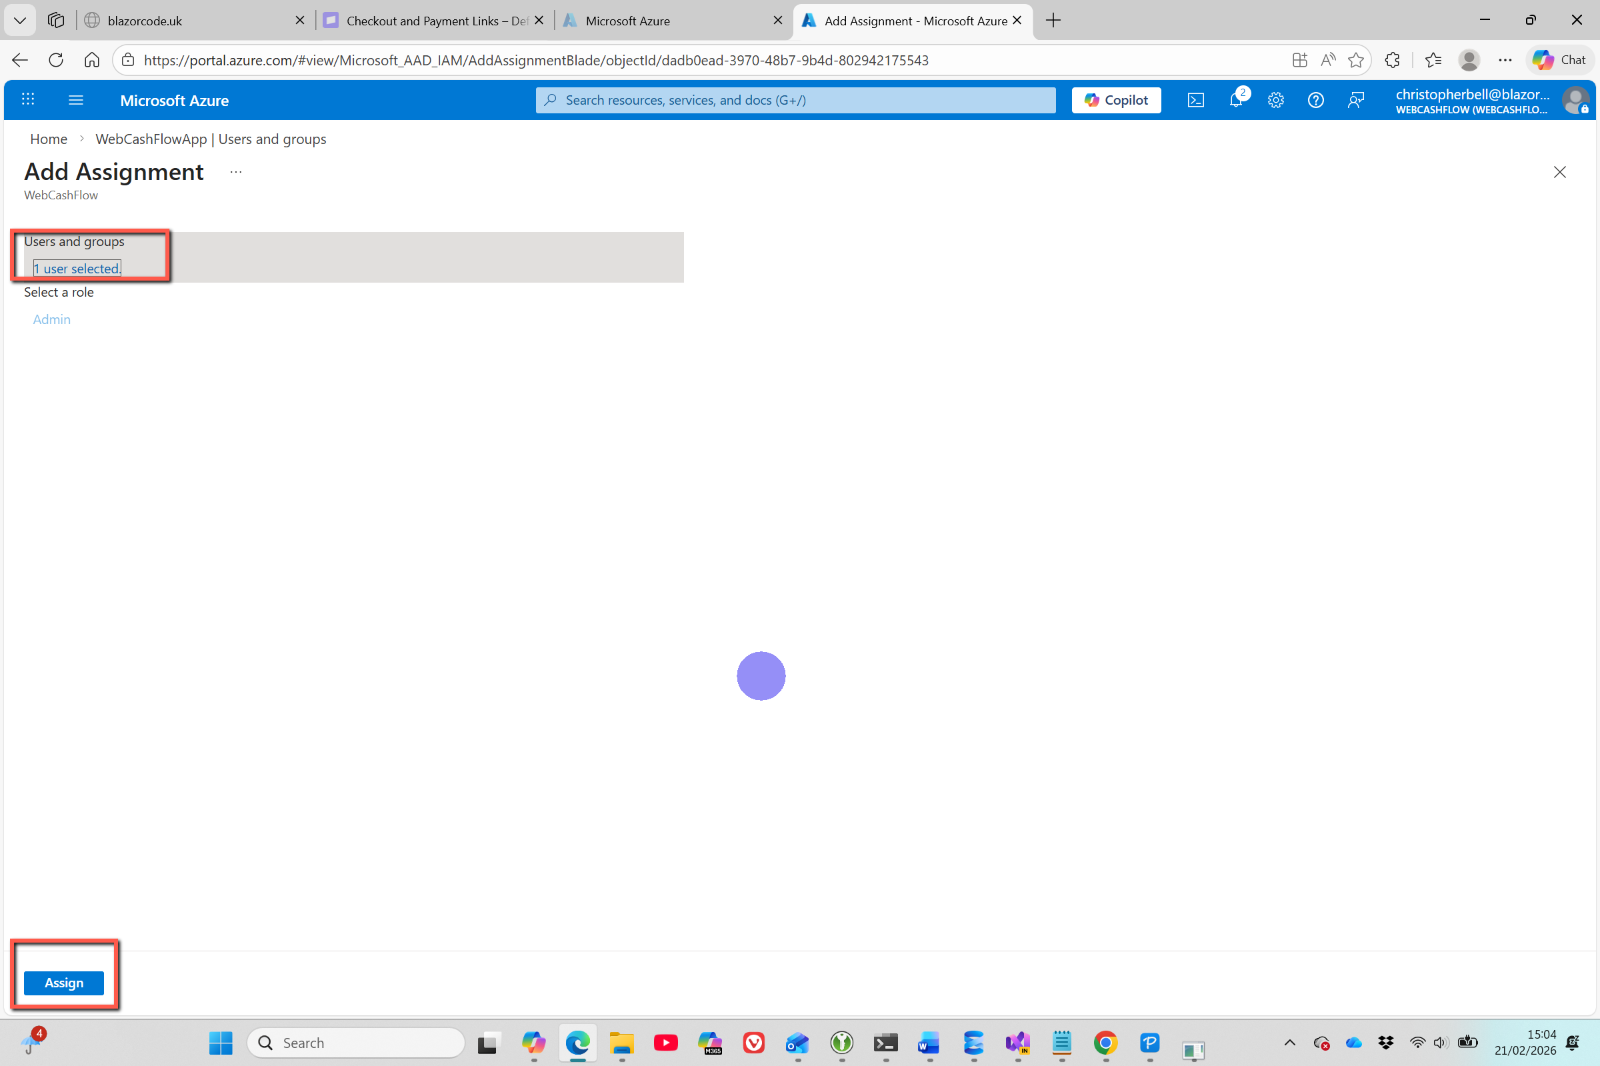
- In my case only 'Admin' was available as a role and was selected automatically.
- Click 'Assign'
To remove Admin rights from a User
- Log into the Azure Portal
- Change directory to the one containing the Entra External ID
- Select 'Microsoft Entra ID' from Azure Services
- Or enter 'Entra' in the search bar
- Select 'Enterprise applications'
- Select the application from the list displayed in the body of the screen
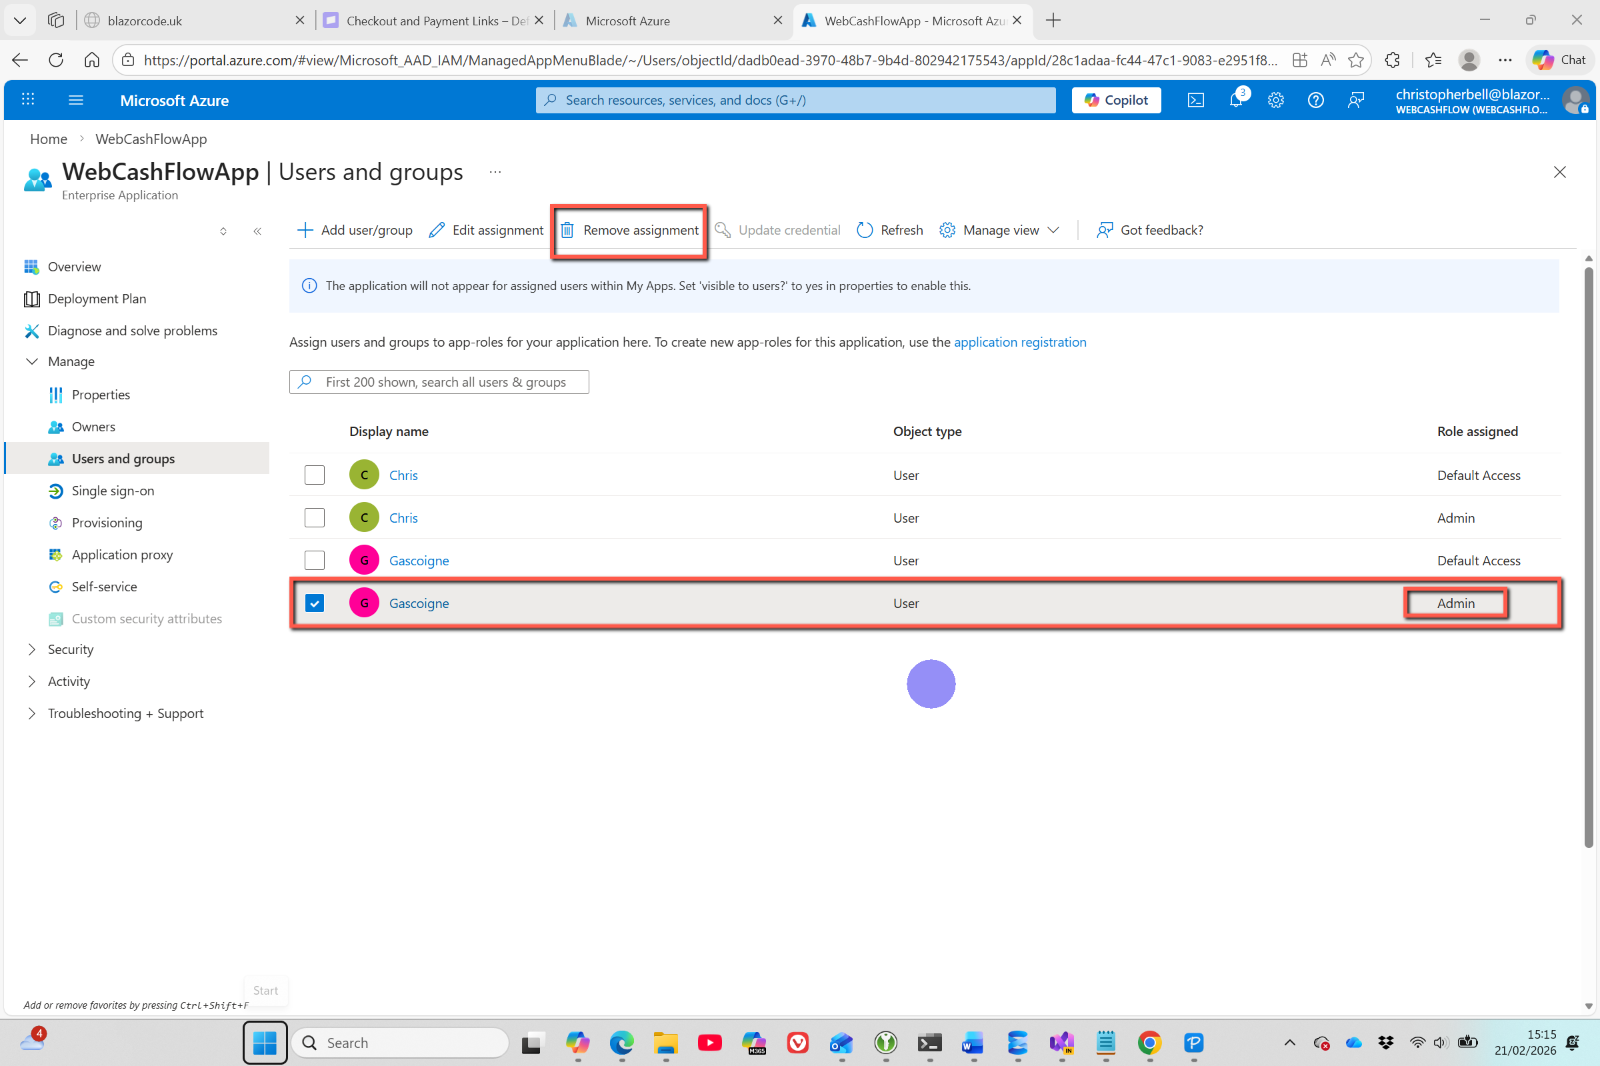
- Select 'Manage > Users & Groups' from the menu
- Tick the user you wish to remove Admin rights from - make sure you select the user with Admin 'Role assigned'.
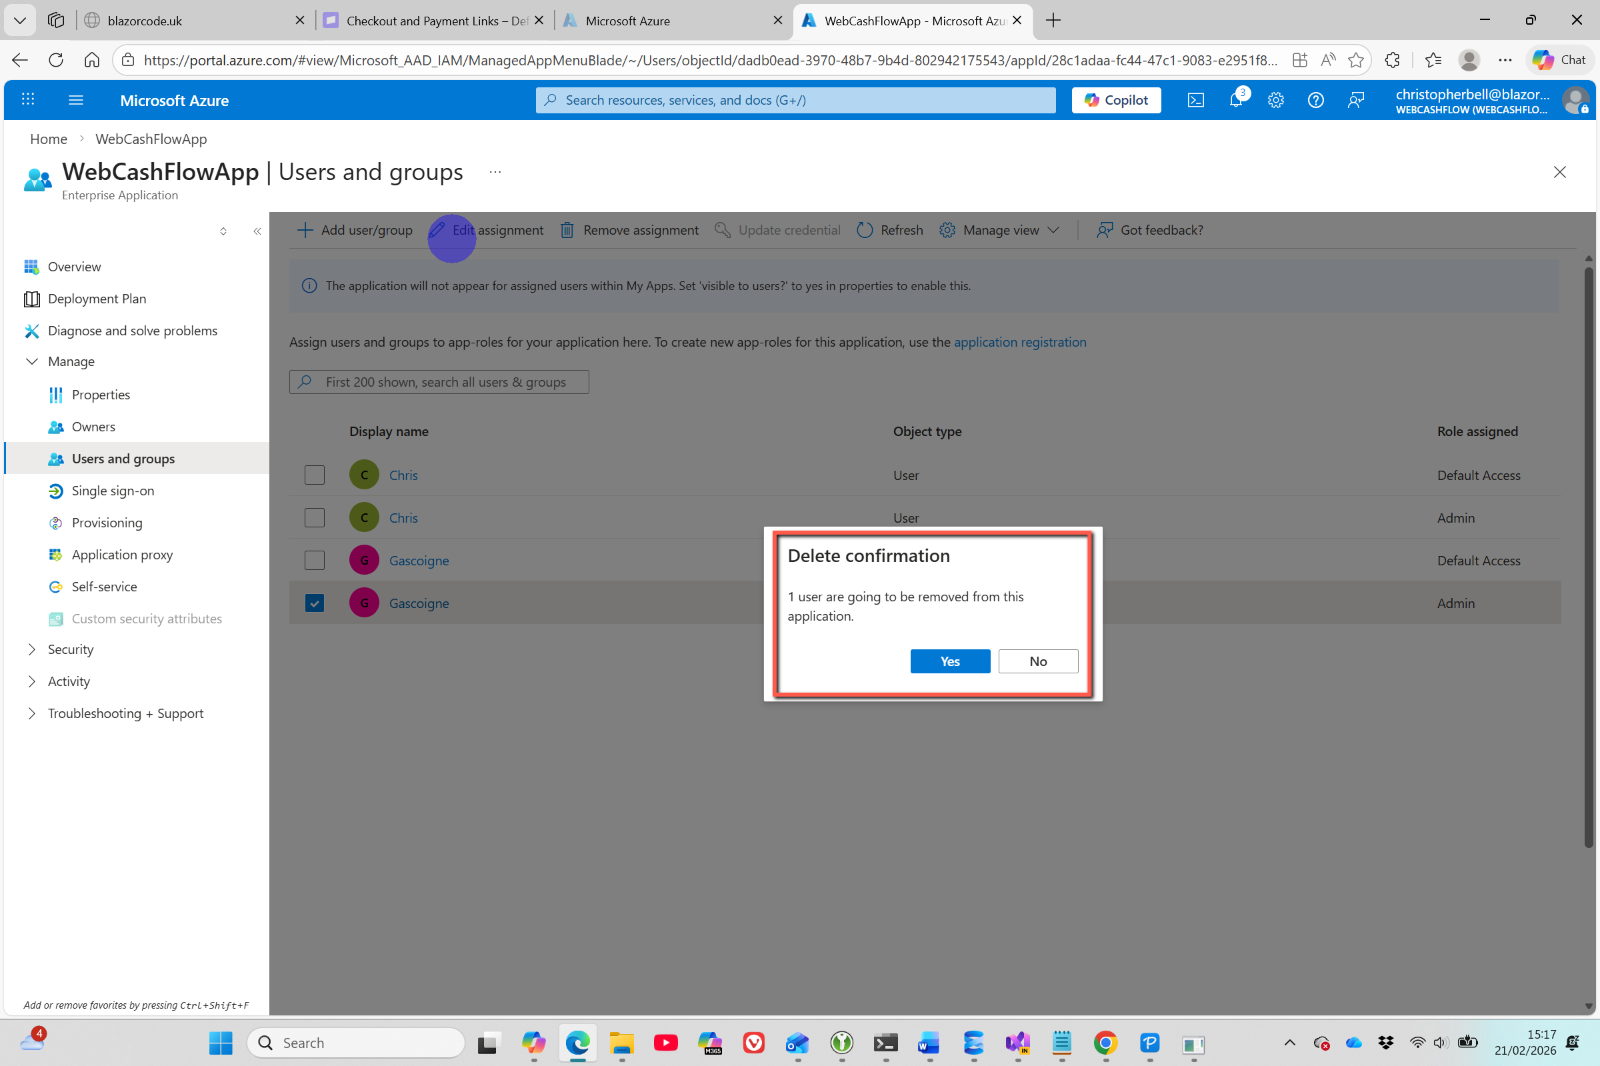
- Click 'Remove assignment' on the toolbar.