Getting Started
A new approach
I would normally start a Blazor project by opening Visual Studio and creating a new Blazor server app, and then add the NuGet packages for Syncfusion controls.
This time I will try something different. After watching Matt Parker's YouTube video on Photino and MudBlazor (which I thoroughly recommend) I noticed he had created a package, available for cloning from GitHub, that incorporates both Photino and MudBlazor. This sounds like a good option!
However, when I tried to clone the repo from GitHub I managed to tie myself in knots trying to rename the solution, project and namespace. I am sure this is down to my lack of understanding of how to use GitHub rather that anything the Matt Parker did. I did manage to clone successfully Matt Parker's Directory Statistics application and think it's great!
In my searching for information about Photino I also came across a GitHub repository by Nathan Wilson that seemed to provide an answer all my questions - how to create a new Visual Studio solution/project from scratch. Here I reproduce Nathan Wilson's steps.
Creating a Photino Blazor app from the CLI
Prerequisites
- Make sure .NET 9.0 SDK is installed
- I'm using Visual Studio 2022
Create the Solution
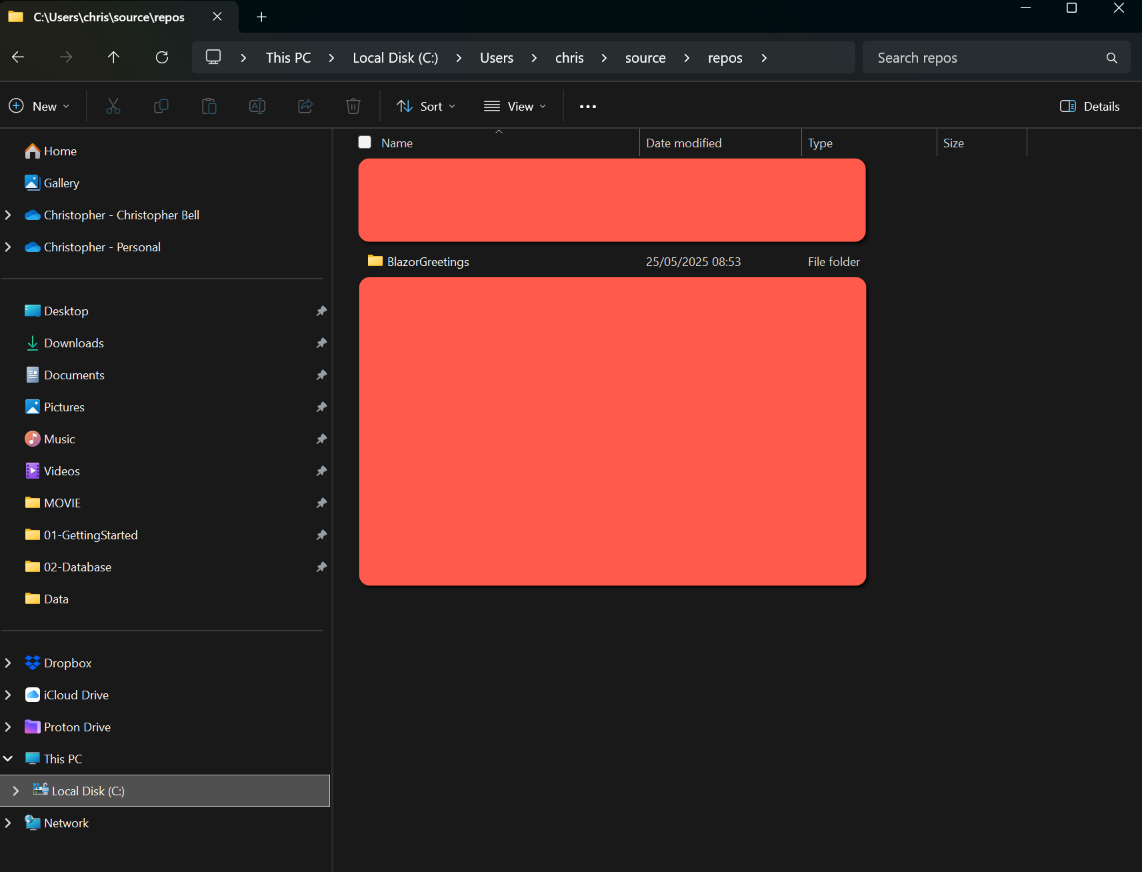
In File Manager I created a folder in my default 'repos' directory for the new solution. I named it 'BlazorGreetings'. This will be the name of the solution/project and namespace, so best to get this right from the start.
I used Git Bash as the command line interface, but suspect that a Windows command prompt would work just as well.
In Git Bash
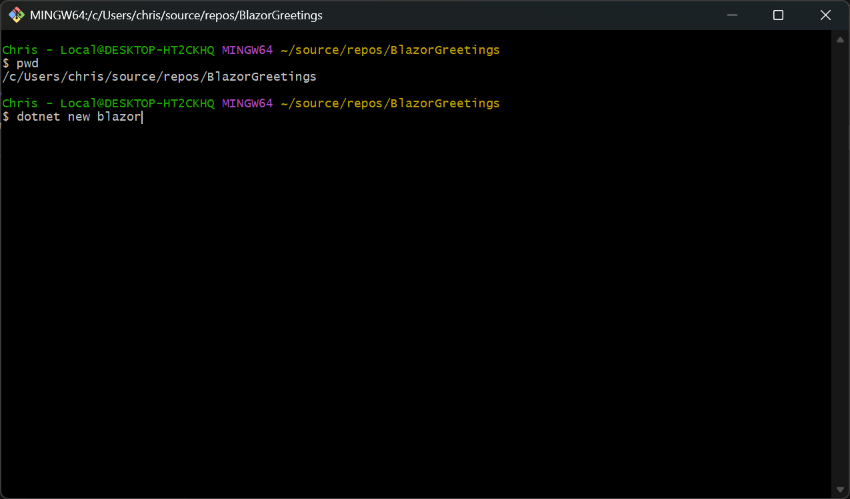
- Change directory to the folder created for the solution
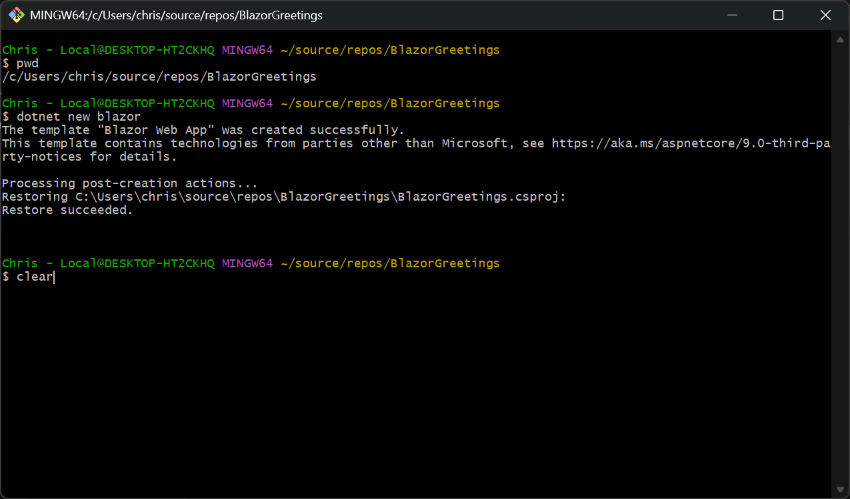
- Create the project
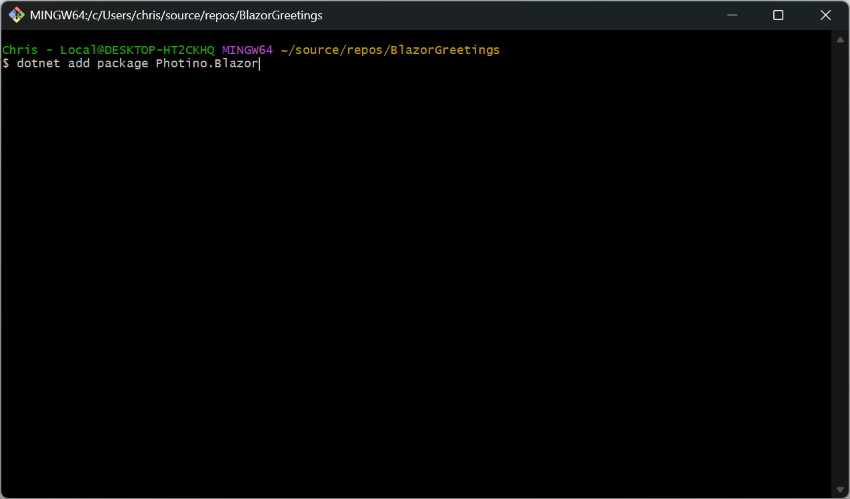
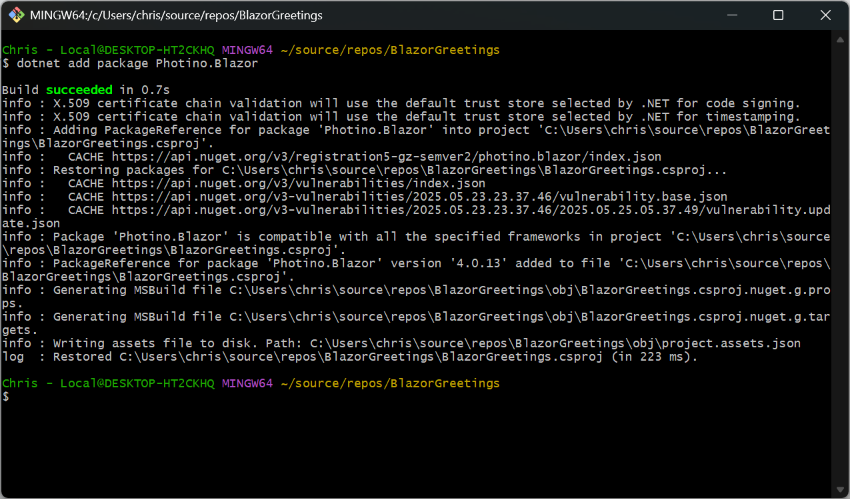
dotnet new blazor- Install Photino Blazor
dotnet add package Photino.Blazor- Could close Git Bash at this point
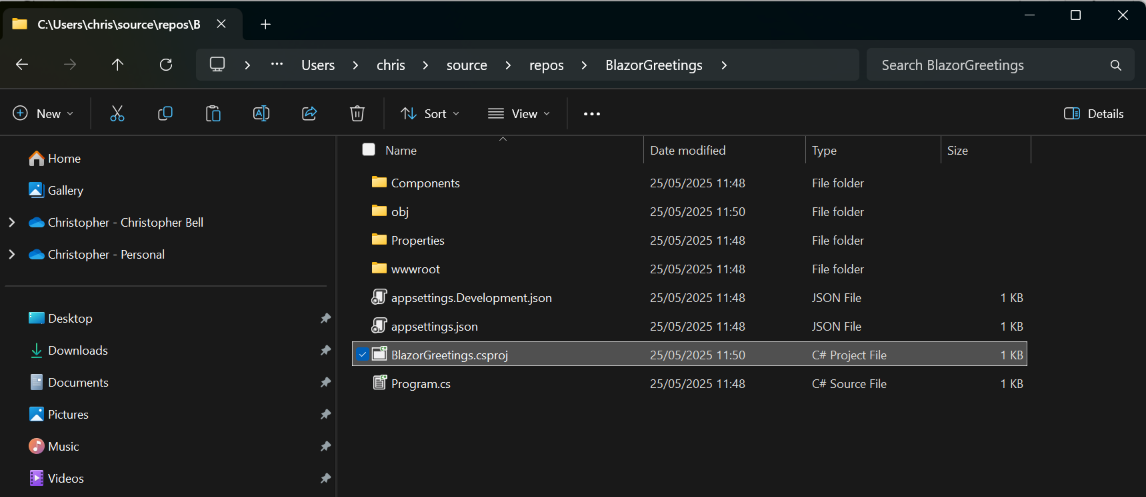
In File Manager browse to the project folder and open the csproj file (in my case BlazorPhotinoGreetings.csproj) with Visual Studio
In Visual Studio
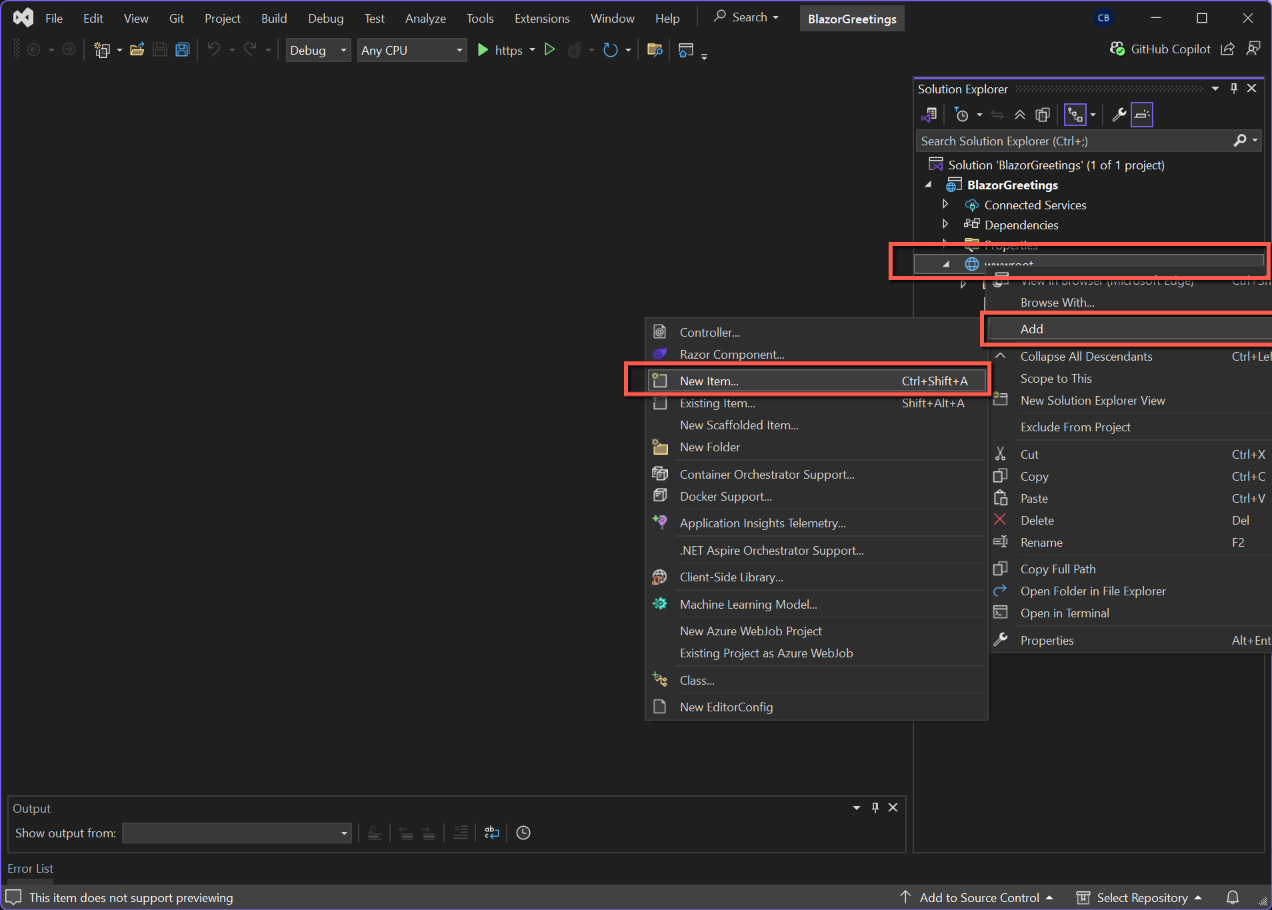
- Change to wwwroot
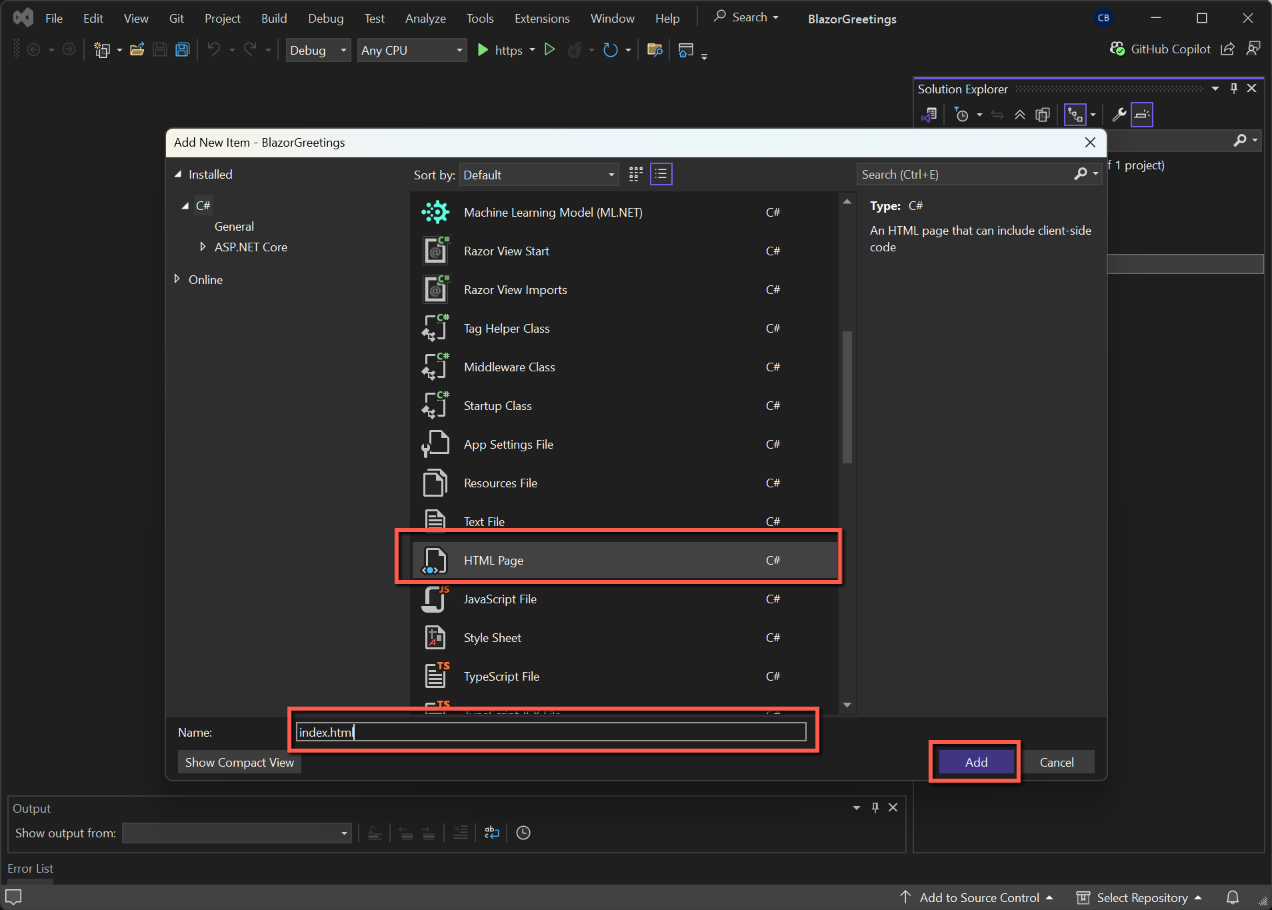
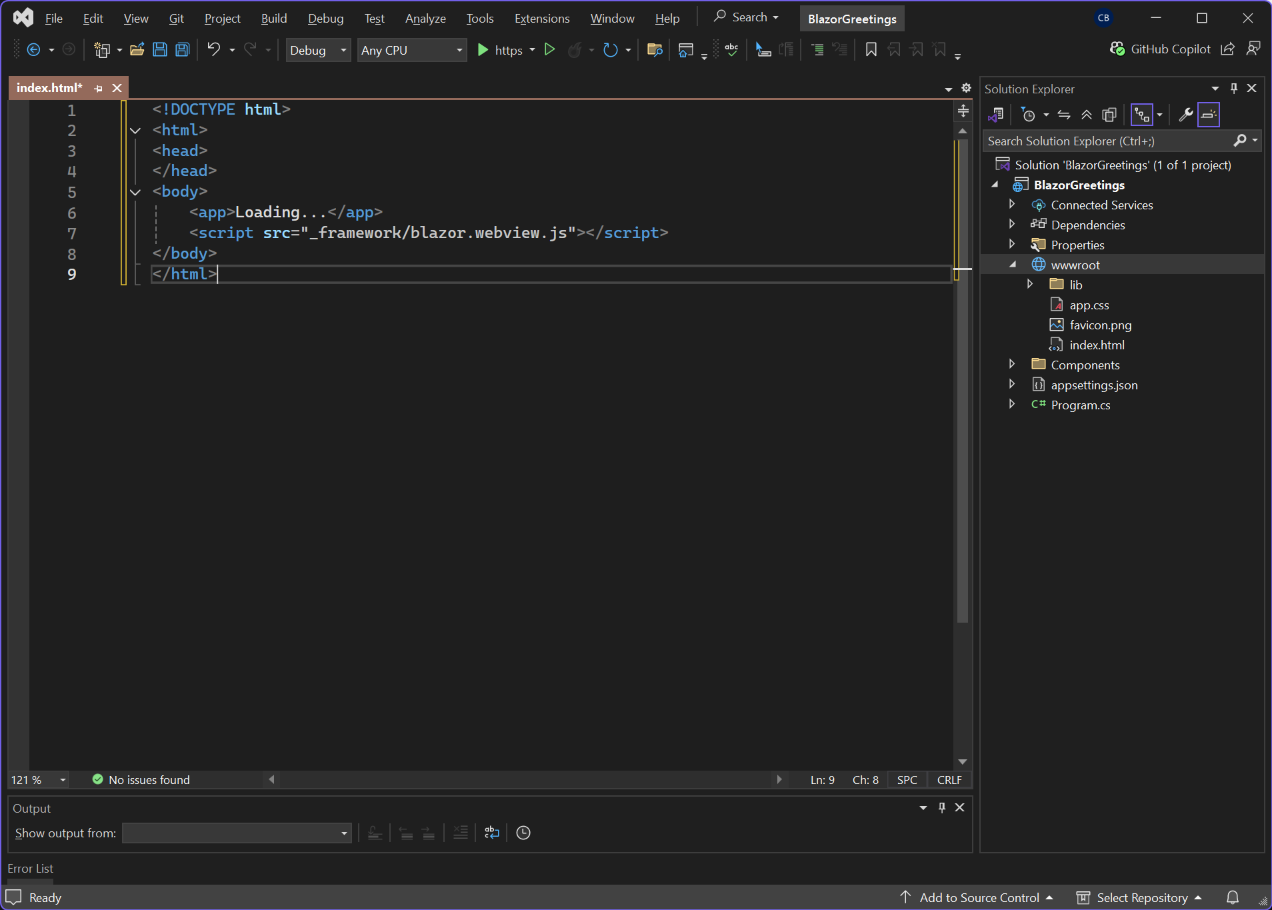
- Add a new file, call it index.html and replace all code with:
<!DOCTYPE html>
<html>
<head>
</head>
<body>
    <app>Loading...</app>
    <script src="_framework/blazor.webview.js"></script>
</body>
</html>- Update App.razor by removing the following from the <body> tag, if present
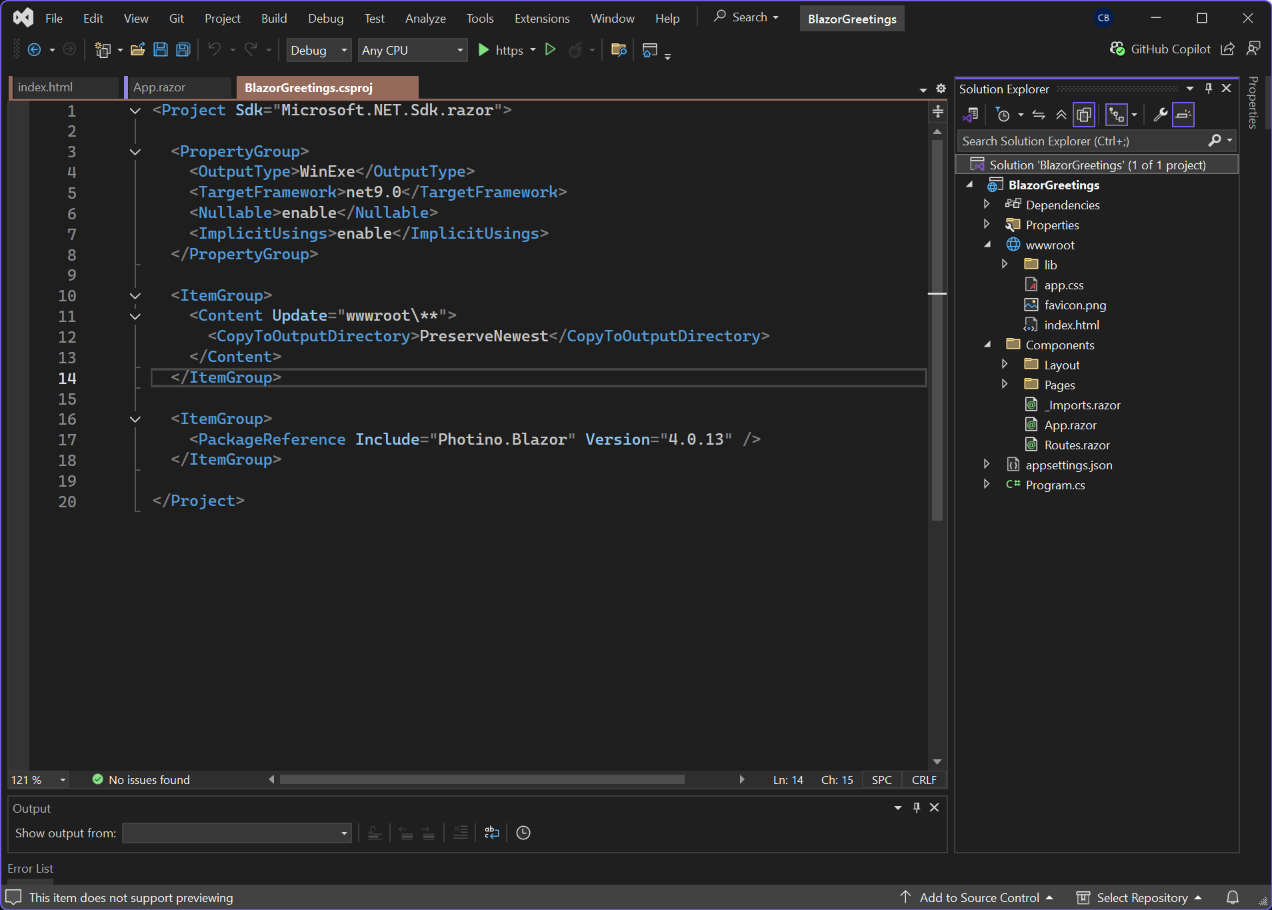
<script src="_framework/blazor.web.js"></script>- Update .csproj - replacing all code with this:
<Project Sdk="Microsoft.NET.Sdk.razor">

  <PropertyGroup>
    <OutputType>WinExe</OutputType>
    <TargetFramework>net9.0</TargetFramework>
    <Nullable>enable</Nullable>
    <ImplicitUsings>enable</ImplicitUsings>
  </PropertyGroup>

  <ItemGroup>
    <Content Update="wwwroot\**">
      <CopyToOutputDirectory>PreserveNewest</CopyToOutputDirectory>
    </Content>
  </ItemGroup>

  <ItemGroup>
    <PackageReference Include="Photino.Blazor" Version="4.0.13" />
  </ItemGroup>
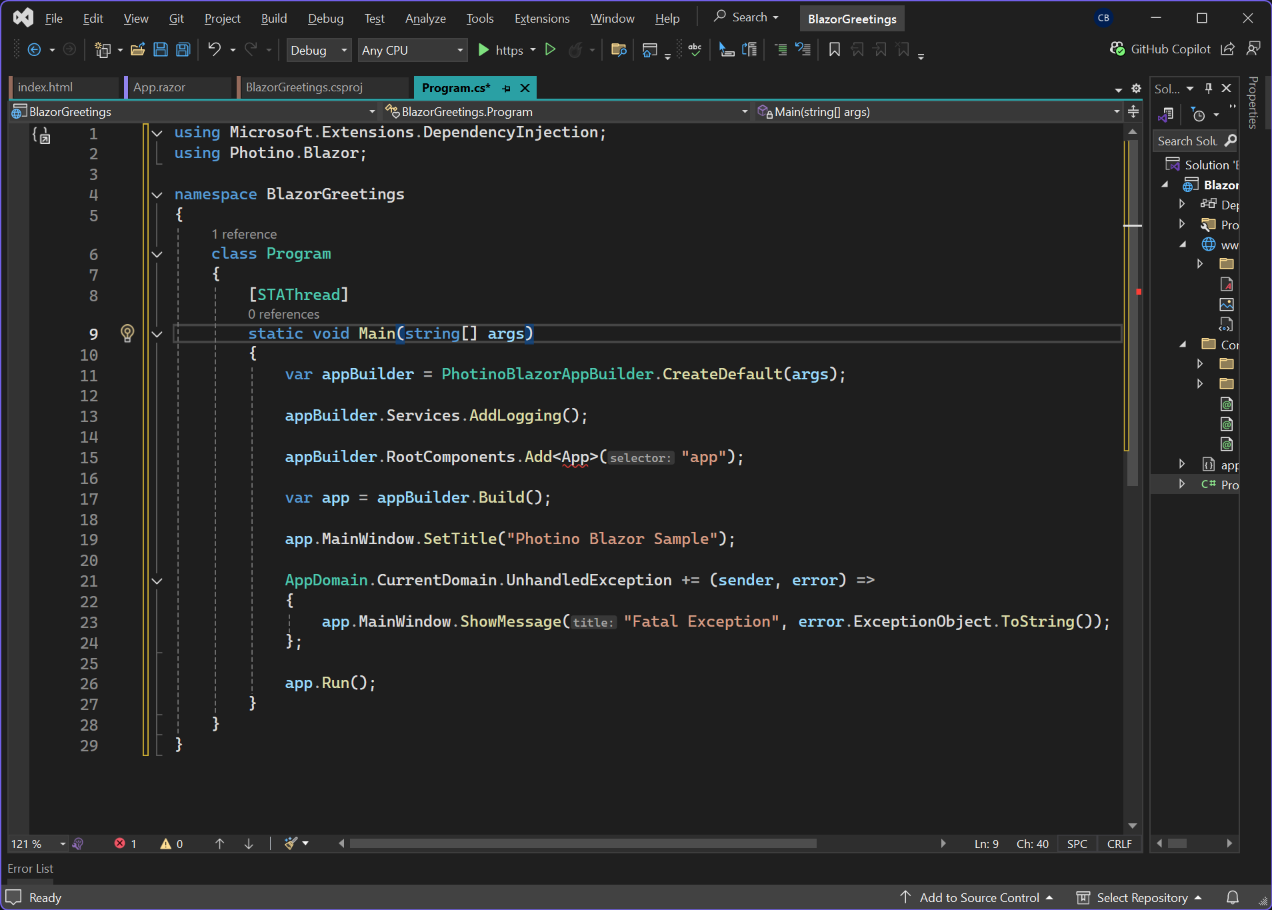
</Project>- Update Program.cs - replacing all code with this:
using Microsoft.Extensions.DependencyInjection;
using Photino.Blazor;

namespace BlazorGreetings
{
    class Program
    {
        [STAThread]
        static void Main(string[] args)
        {
            var appBuilder = PhotinoBlazorAppBuilder.CreateDefault(args);

            appBuilder.Services.AddLogging();

            appBuilder.RootComponents.Add<App>("app");

            var app = appBuilder.Build();

            app.MainWindow.SetTitle("Photino Blazor Sample");

            AppDomain.CurrentDomain.UnhandledException += (sender, error) =>
            {
                app.MainWindow.ShowMessage("Fatal Exception", error.ExceptionObject.ToString());
            };

            app.Run();
        }
    }
}
- In the above, change the namespace to your project's name (in my case BlazorGreetings)
- (I also had to add 'using Photino.Blazor;' at the top of the file - the only difference I found from Nathan Wilson's instructions)
- (Note that
appBuilder.RootComponents.Add<App>("app"); has a red squiggle under <App>. This will eventually disappear. Closing and re-opening the solution appears to solve this problem.)
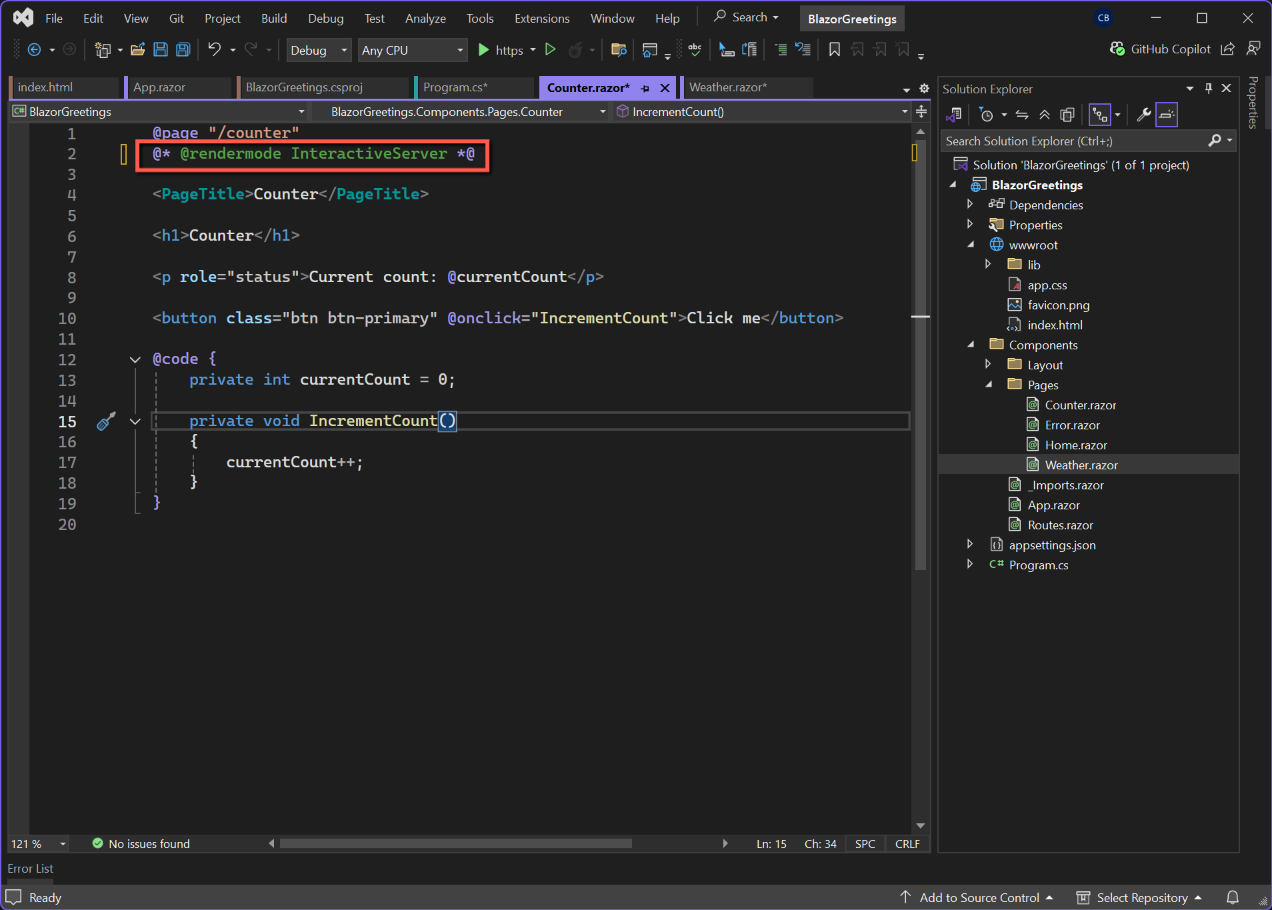
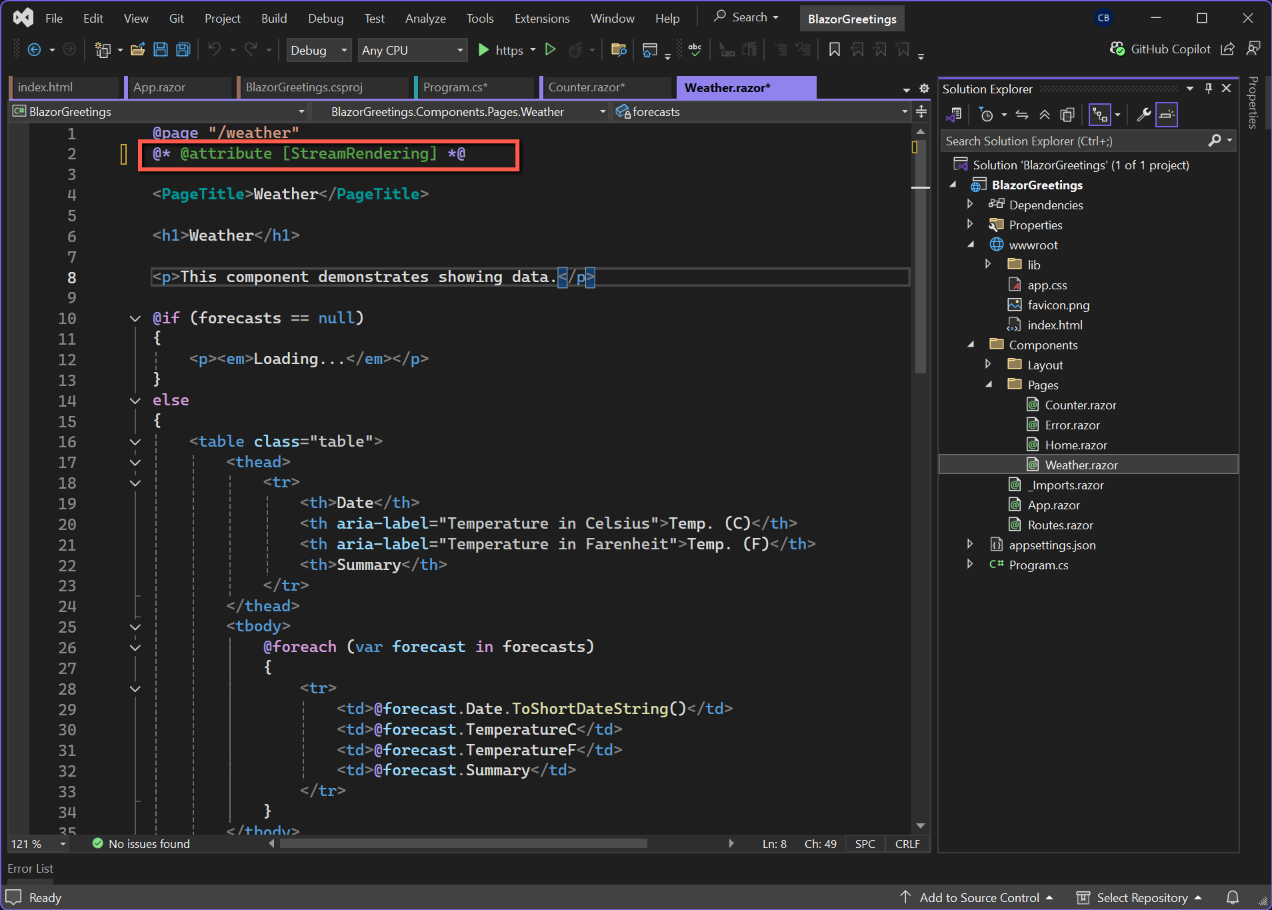
- Remove Server-side directives from Counter.razor and Weather.razor
@rendermode InteractiveServerfrom Counter.razor@attribute [StreamRendering]from Weather.razor
- Ensure .csproj uses Razor SDK:
<Project Sdk="Microsoft.NET.Sdk.razor">- Ensure Program.cs includes:
using Microsoft.Extensions.DependencyInjection;- Delete unnecessary files
- ./Components/Pages/Error.razor
- Remove <ImportMap/> from ./Components/App.razor
Save all files. This will trigger the .sln file to be saved in the solution folder in File Manager. Following the save a message will appear at the top of Visual Studio prompting a reload; click the reload button.
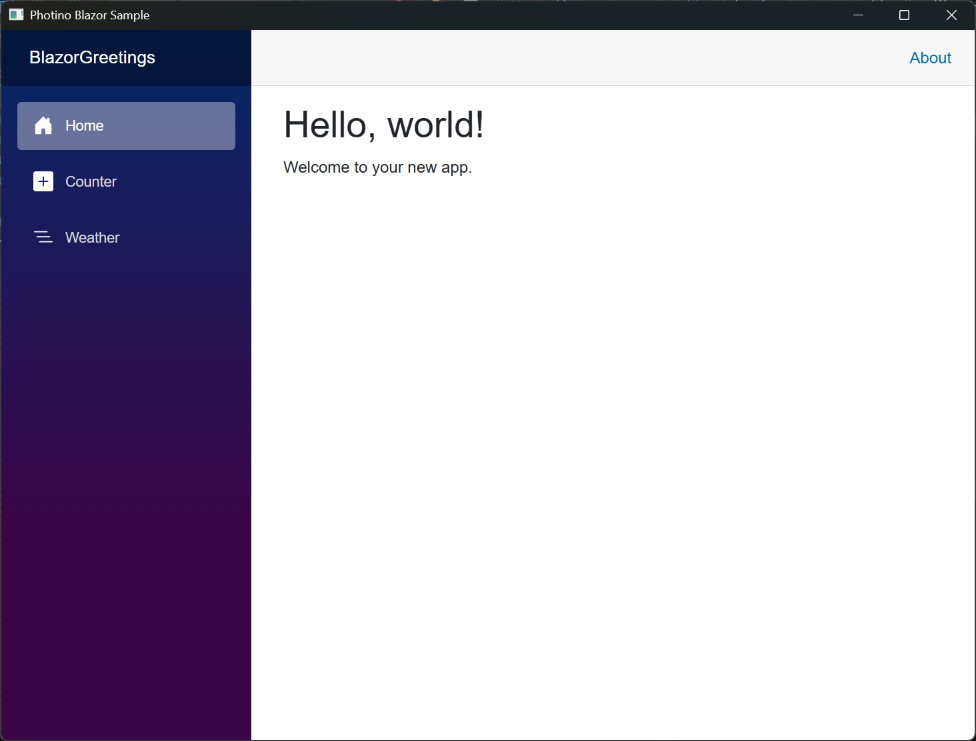
With all files saved and the project re-loaded, run the application from Visual Studio.
Alternative ways of running the application
- From the command line (e.g. Git Bash) and from the solution folder
- dotnet run
- dotnet publish -c Release
- dotnet publish -c Release -p:PulishReadyToRun=true
The first option just runs the application
Caution: The following might be wrong!
The second option publishes files to a sub-folder called bin\Release\net9.0\publish. I believe that copying all these files to a separate PC with the .NET 9 SDK installed will allow the .exe file to be double-clicked to be run.
The third option publishes files to a sub-folder called bin\Release\net9.0\win-x64\publish. I understand that this is basically the same as the second option, but makes the compilation 'Ready to Run'. This makes the application start faster and can help on low powered machines.

Install Syncfusion
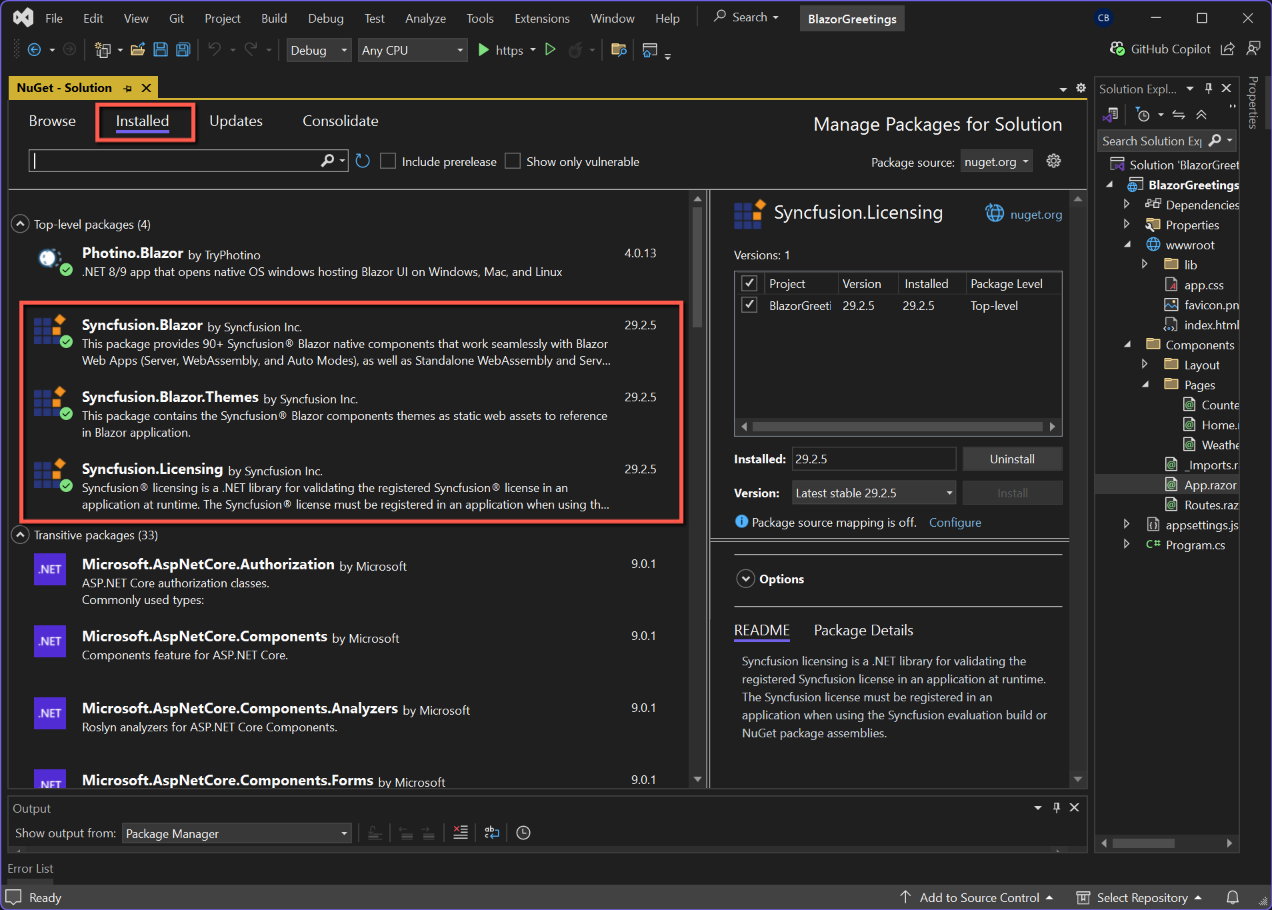
NuGet Packages
Add the following NuGet packages
- Syncfusion.Blazor
- Syncfusion.Blazor.Themes
- Syncfusion.Licensing
Register Syncfusion Blazor Service
_Imports.razor
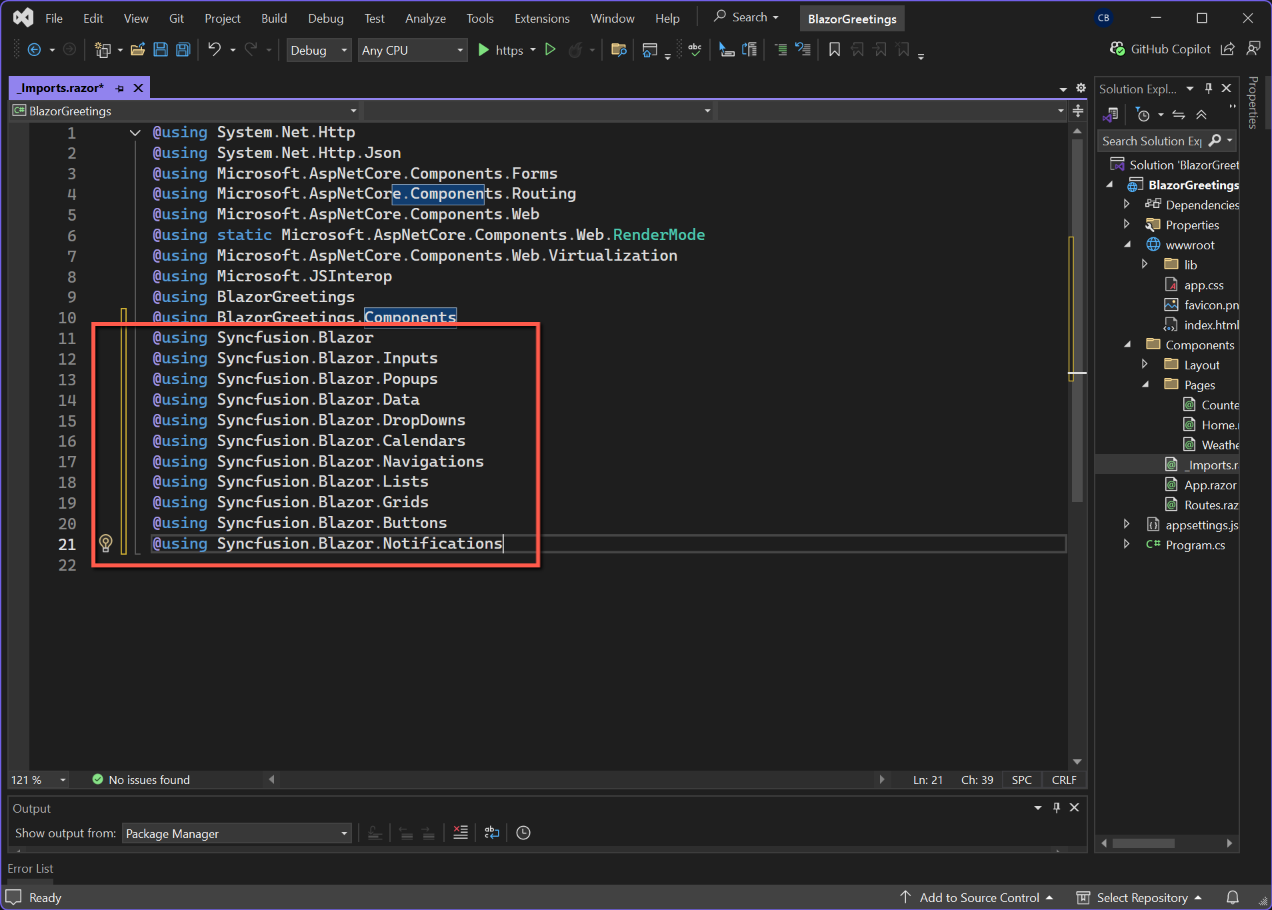
Open '_Imports.razor' and add the following Syncfusion control names. (This is not the complete set, you may need to add additional controls according to your needs.)
@using Syncfusion.Blazor
@using Syncfusion.Blazor.Inputs
@using Syncfusion.Blazor.Popups
@using Syncfusion.Blazor.Data
@using Syncfusion.Blazor.DropDowns
@using Syncfusion.Blazor.Calendars
@using Syncfusion.Blazor.Navigations
@using Syncfusion.Blazor.Lists
@using Syncfusion.Blazor.Grids
@using Syncfusion.Blazor.Buttons
@using Syncfusion.Blazor.Notifications
Program.cs
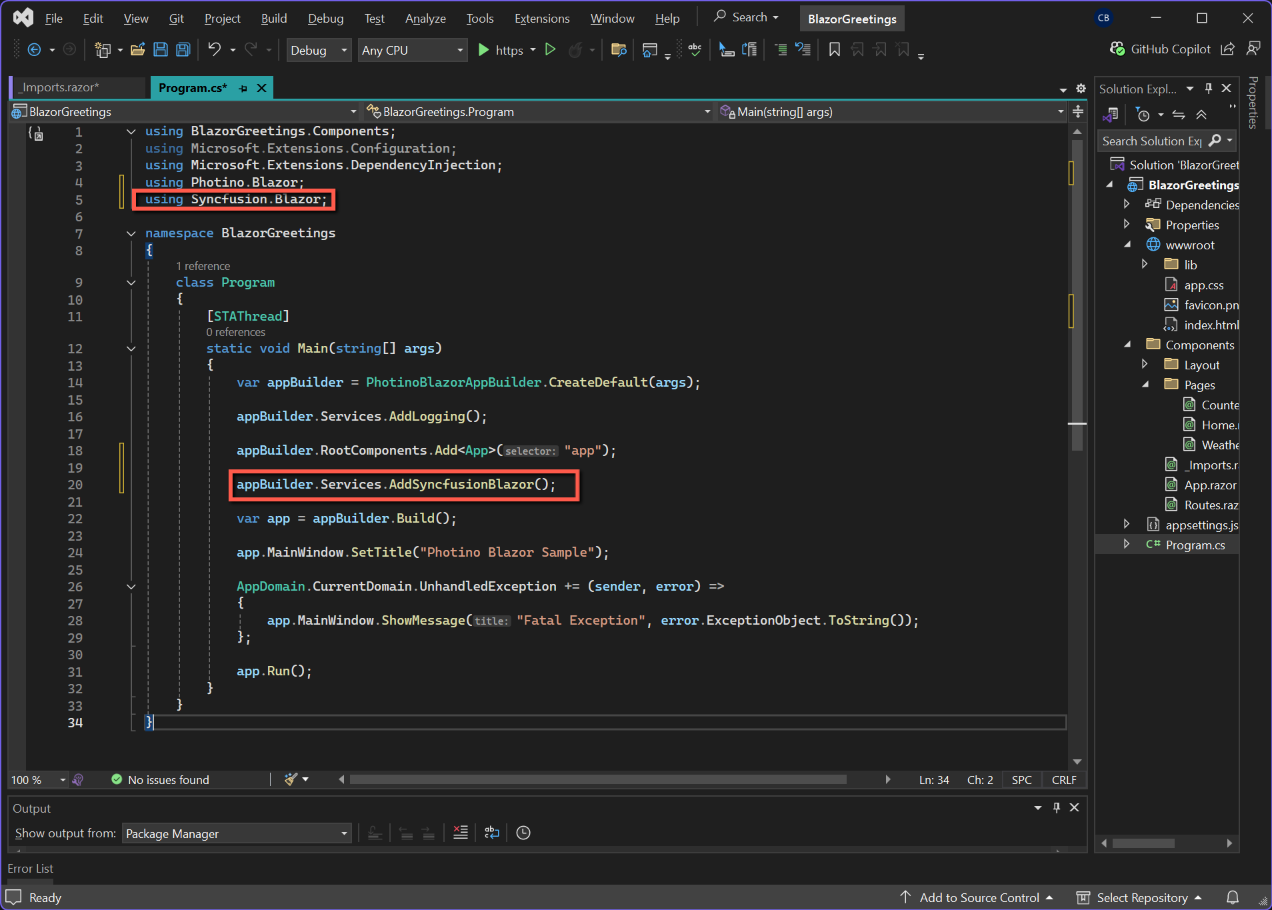
Open Program.cs and add the following at the top of the file:
using Syncfusion.Blazor;and the following in the // Add services to the container.
appBuilder.Services.AddSyncfusionBlazor();App.razor
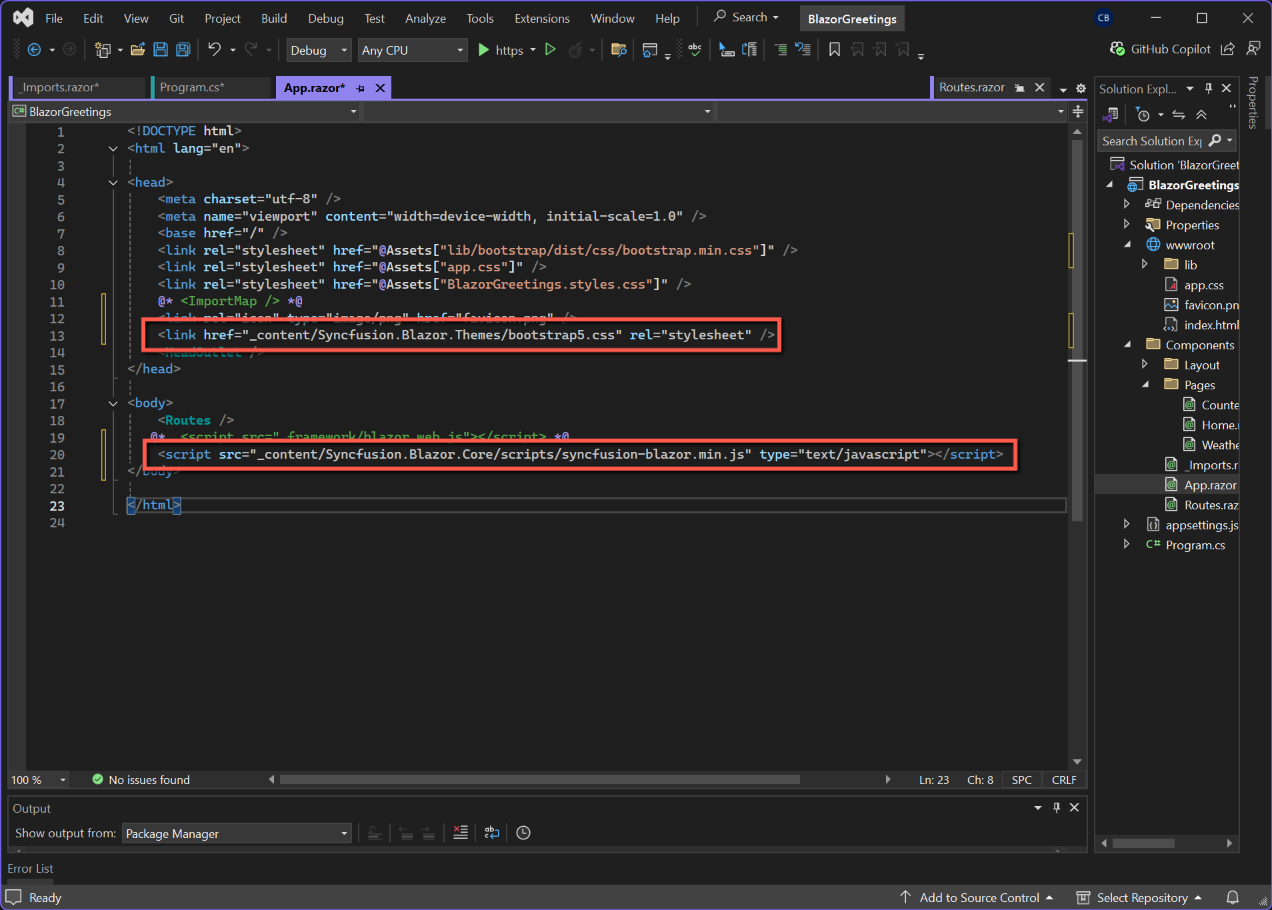
Make changes to App.razor as shown below:
<head>
    ....
    <link href="_content/Syncfusion.Blazor.Themes/bootstrap5.css" rel="stylesheet" />
</head>

<body>
    ....
    <script src="_content/Syncfusion.Blazor.Core/scripts/syncfusion-blazor.min.js" type="text/javascript"></script>
</body>
Syncfusion Licence
Syncfusion needs to be licensed. To obtain a licence:
- Open the Syncfusion web page - https://www.syncfusion.com
- Create an account if you don't already have one, and log into your account.
- Select 'My Dashboard' by clicking on your user name in the page header.
- Select 'License & Downloads', followed by 'Downloads & Keys'.
- Select 'Get License Key' and follow the instructions.
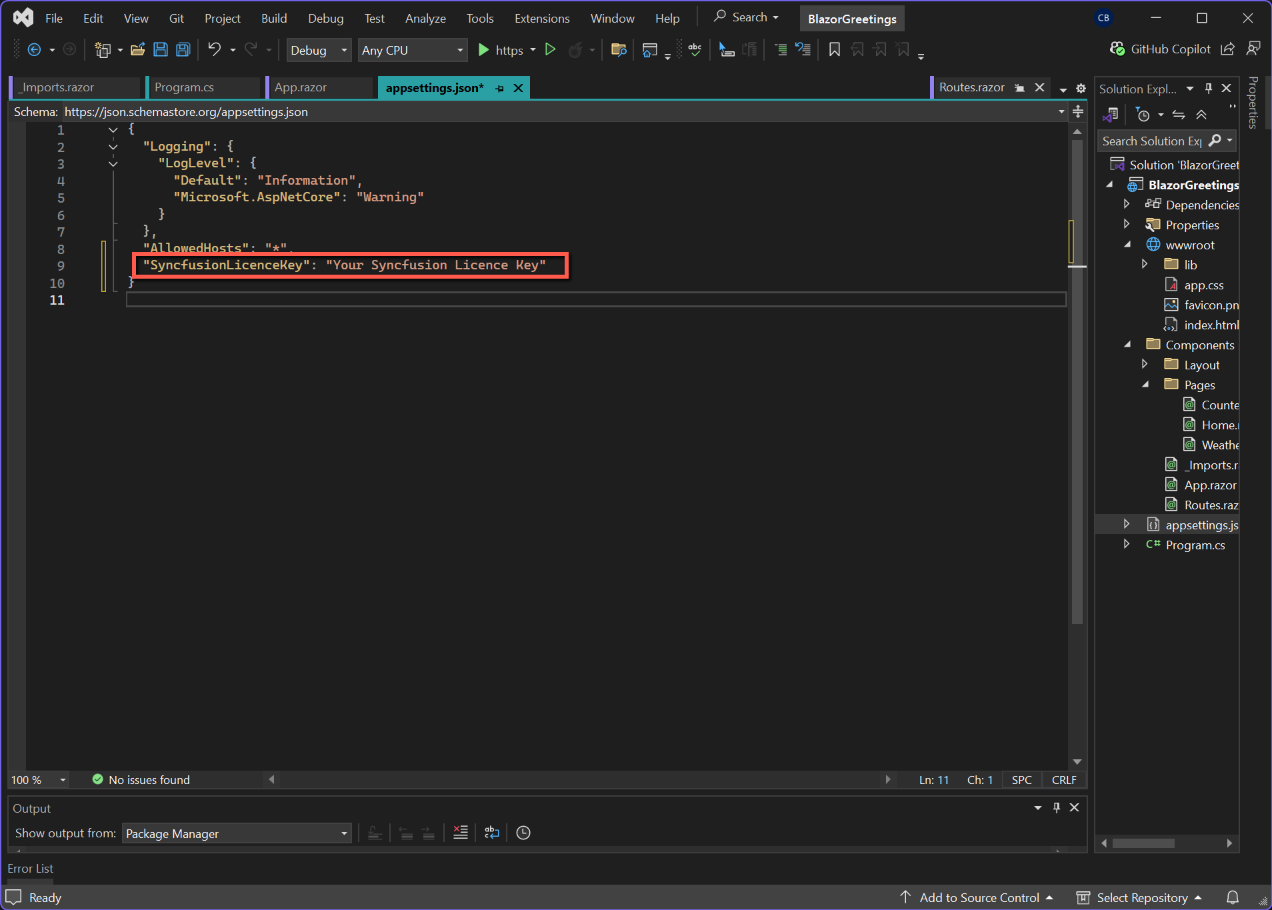
appsettings.json
Add the following section to appsettings.json
"SyncfusionLicenceKey": "Your Syncfusion Licence Key"Program.cs
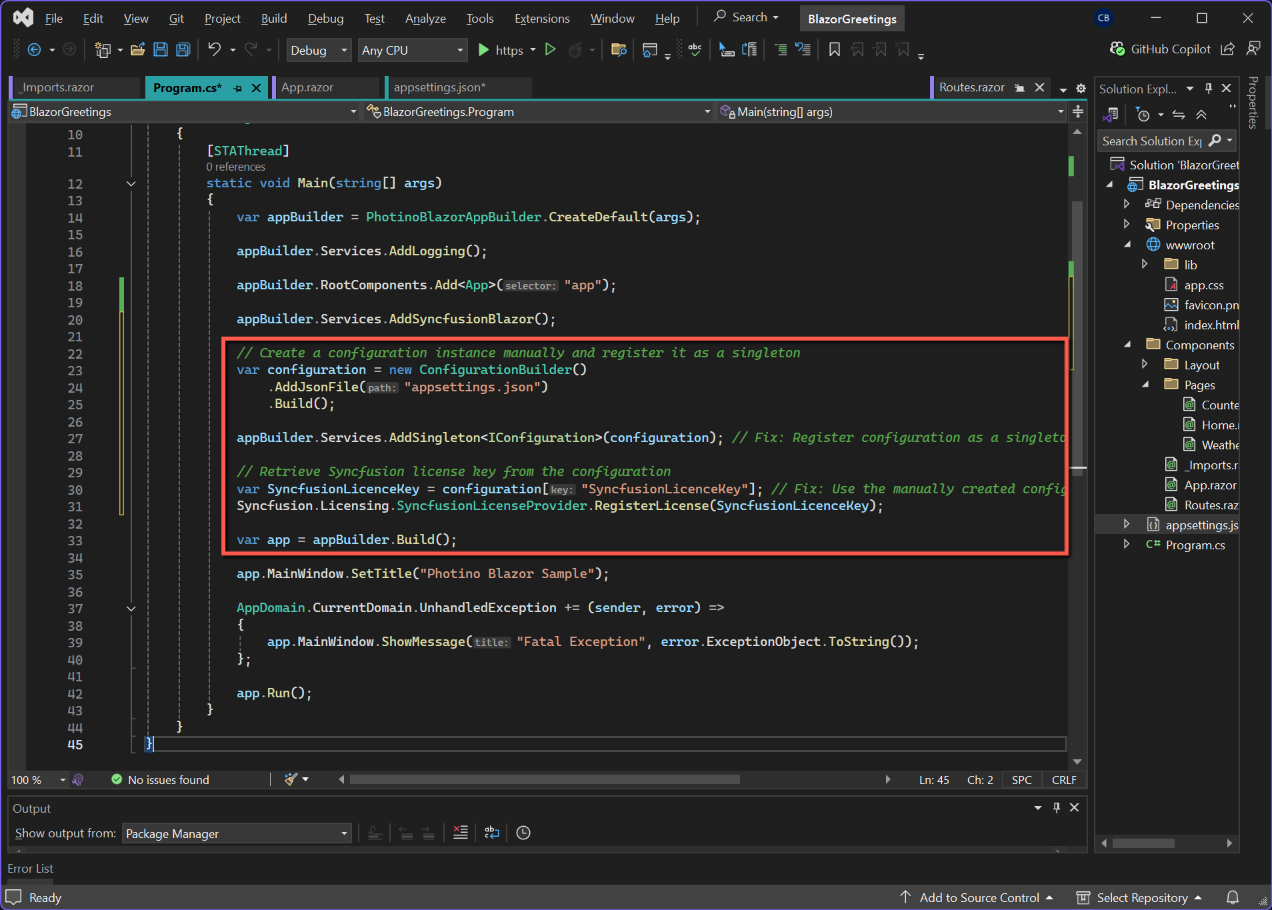
Modify program.cs to add the Syncfusion licensing code (after var app = builder.Build();)
// Create a configuration instance manually and register it as a singleton
var configuration = new ConfigurationBuilder()
    .AddJsonFile("appsettings.json")
    .Build();

appBuilder.Services.AddSingleton<IConfiguration>(configuration); // Fix: Register configuration as a singleton

// Retrieve Syncfusion license key from the configuration
var SyncfusionLicenceKey = configuration["SyncfusionLicenceKey"]; // Fix: Use the manually created configuration instance
Syncfusion.Licensing.SyncfusionLicenseProvider.RegisterLicense(SyncfusionLicenceKey);
Notice that I had to include the code to enable the SyncFusion licence key to be read from appsettings.json.
Save and Test
Save all the files and run the application. This will still be the standard web app, but should at least start!