Project Setup - 1
Introduction
I will be using Visual Studio 2022 Community Edition to develop the project (Download here - I am using version 17.0.4) in .Net 6.0 In addition I will be using:
- Azure Active Directory B2C for authentication
- Dapper to interface with the SQL database
- Syncfusion Blazor controls
- MailKit to send emails
- Hangfire to send emails automatically
A lot of code for 'Birthday Reminders' will be built on my previous experience gained during the development of the 'Purchase Orders' project. However, to avoid constantly referring back to previous videos, I intend to make this documentation as self-contained as possible. Please forgive me if you have already watched those videos.
In this article we will look at creating the project in Visual Studio 2022 and linking with Azure B2C Autentication
YouTube Video
Summary of Tasks
- Create Visual Studio Project using Blazor Server template
- Link Azure B2C Authentication to Project
Getting Started
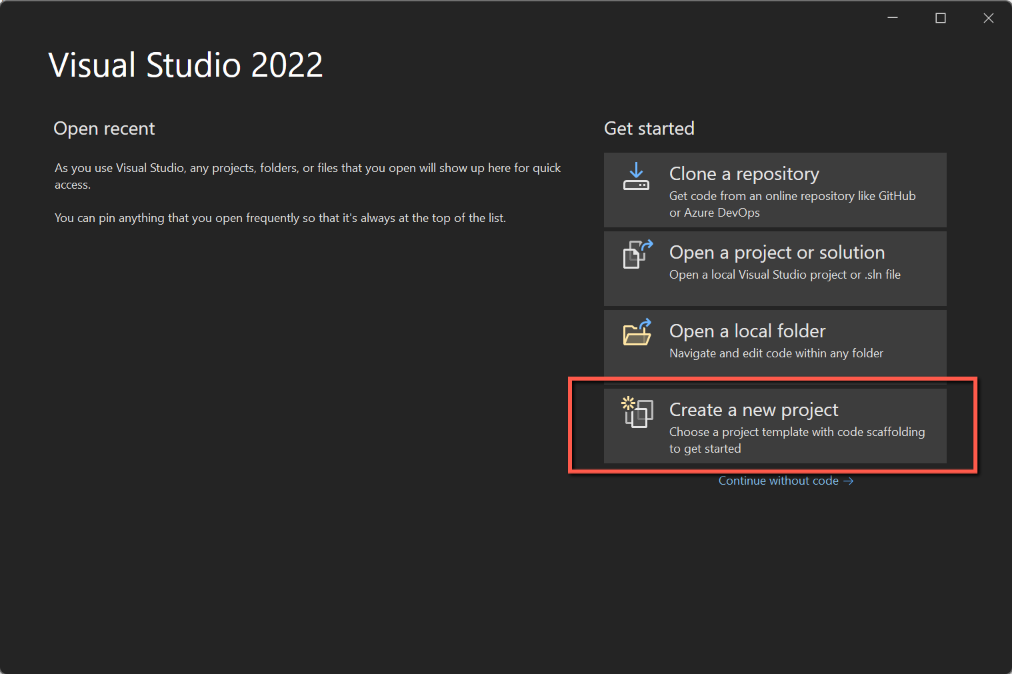
- Start Visual Studio 2022
- Click 'Create a new project'
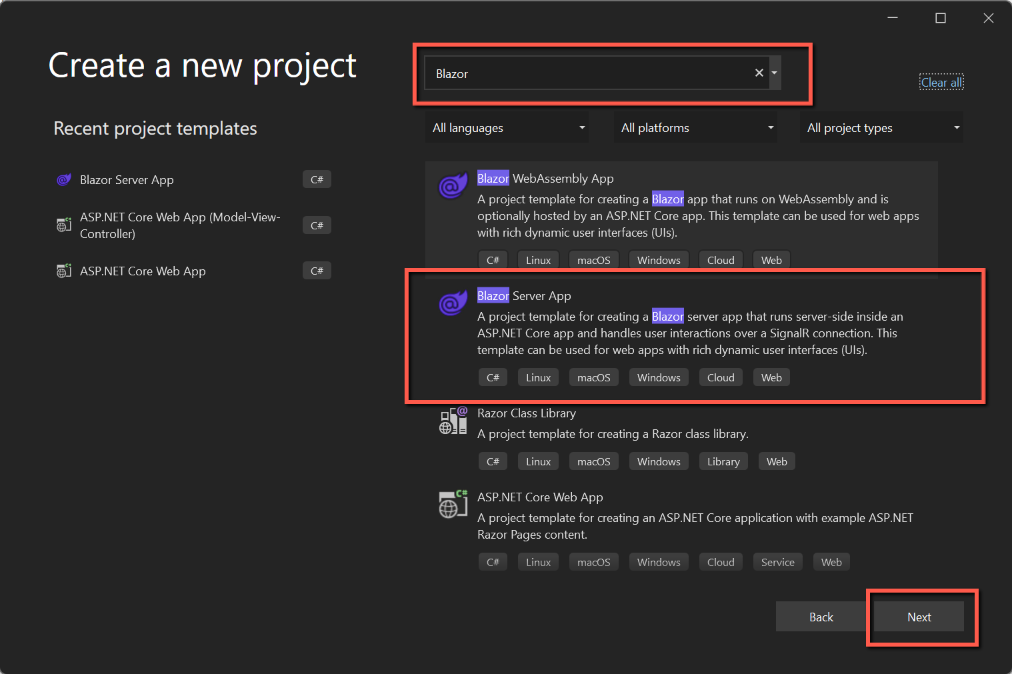
- Enter 'Blazor' in the search box at the top of the form
- Select 'Blazor Server App'
- Click 'Next'
- Configure your new project
- Enter 'BlazorBirthdayReminders' as the Project Name
- Leave the default 'Location'
- Leave 'BlazorBirthdayReminders' as the Solution Name
- Click' Next'
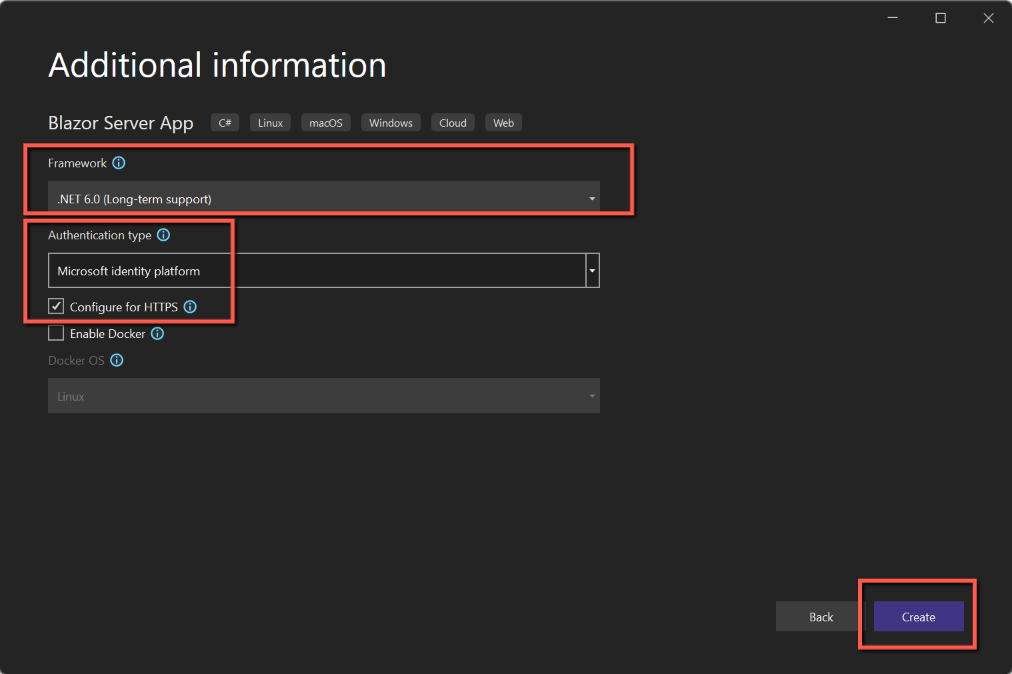
- Additional information
- Select '.NET 6.0 (Long term support)' for Framework
- Select 'Microsoft Identity Platform ' for Authentication Type
- Select 'Configure for HTTPS'
- Click 'Create'
A box will appear stating that there is a Required component, listing 'dotnet msidentitytool'. Click 'Finish' and this component will be added to the project.


The solution and project will now have been created.
Authentication
Before we can go any further we must add the Azure B2C Authentication. This appears to be a two-way process: firstly, by adding the 'applicationUrl' from the project into our Azure App Registration and secondly, getting some settings from Azure and updating appsettings.json.
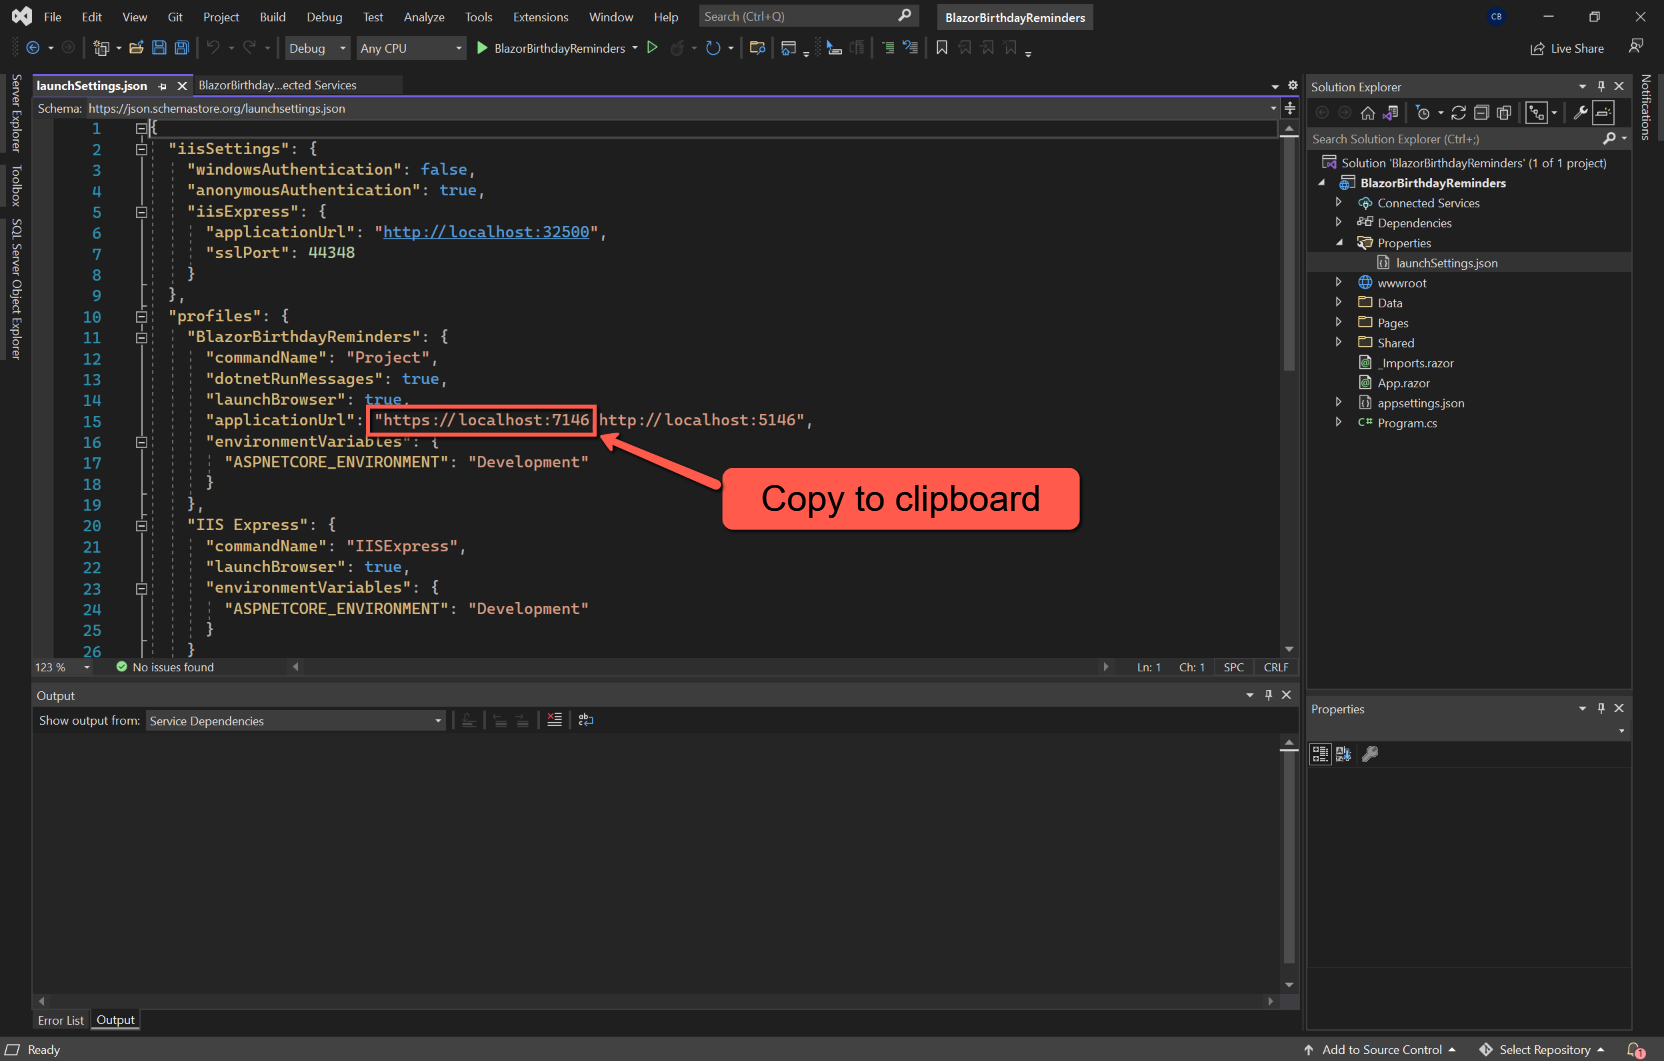
Using Solution Explorer select the Properties folder and open 'launchSettings.json. Copy the 'https:' section from the 'applicationurl' line to the clipboard.
Log into Azure Portal and
- Make sure you are in the Directory created for Azure B2C
Select
- Azure Active Directory
- App registrations
- Click on the registration for this application to open it
- Click on the link labelled 'Redirect URIs'
- Click '+ Add a platform'
- Click 'Web'
- In the 'Redirect URIs' box paste in the 'applicationUrl' copied from launchSettings.json and append to it '/signin-oidc'.
- Click 'Configure'
- On the main 'Authentication' page leave the 'Front-channel logout URL' blank
Check the two options at the foot of the 'Implicit grant and hybrid flows' section.
Unless you have changed either of the above two items you won't need to click 'Save' at the top of the form.


Leave Azure open, but return to Visual Studio and use Solution Explorer to find and open appsettings.json. It will look like this:

To complete this we need to get some settings from Azure. We need:
- Domain
- TenantId
- ClientId
Return to the Azure AD B2C page.
Digression
I have noticed that 'return to the Azure AD B2C page' isn't always as simple as I thought it would be!
The best way I have found is simply to enter 'B2C' in the Search box at the top of the page:

Back to Authentication
The 'Domain' is shown in the 'Essentials' section and can be copied from here and pasted into appsettings.json. Note that this is the whole of the domain name including the 'onmicrosoft.com' part.
From the Azure AD B2C page, select 'App registrations' and select the registration from the list (probably only one!) and click it to open. From here copy:
- Application (client) ID
- Directory (tenant) ID
and paste into appsettings.json.


However, there is one other change and one addition to make to appsettings.json.
- Change the 'Instance' to "https://domain.b2clogin.com/tfp/", where 'domain' is just the part excluding '.onmicrosoft.com'. Note also the 'tfp/' at the end; this is essential.
- Add a comma at the end of the 'CallbackPath' line and add new line like this:
- "SignUpSignInPolicyId": "UserFlowName"
The 'UserFlowName'' can be obtained by returning to the main Azure AD B2C page and selecting 'User flows' from the left-hand menu. The 'User flows' will be listed (probably only one); copy or make a note of the name and enter into appsettings.json. Mine was "B2C_1_BirthdayReminders"


Save and Test
Save the project and run to test. You should be able to create a new user (it helps if you have a couple of email addresses to play with), receive the verification code and log in. Notice that the welcome message at the top right of the application uses the 'Display Name'.


