Getting Started
Summary
As previously, this project will be a Blazor Server project, the elements of which will include:
- Creating a project in Visual Studio
- Linking the project to the existing Azure B2C authentication service
- Installing Syncfusion controls
- Installing MailKit to send emails
- Installing Hangfire to check daily for any reminders that need to be sent
- Installing SQLite package
- Installing Dapper to interface with SQLite
- Using DB Browser for SQLite to create the database and populate with test data
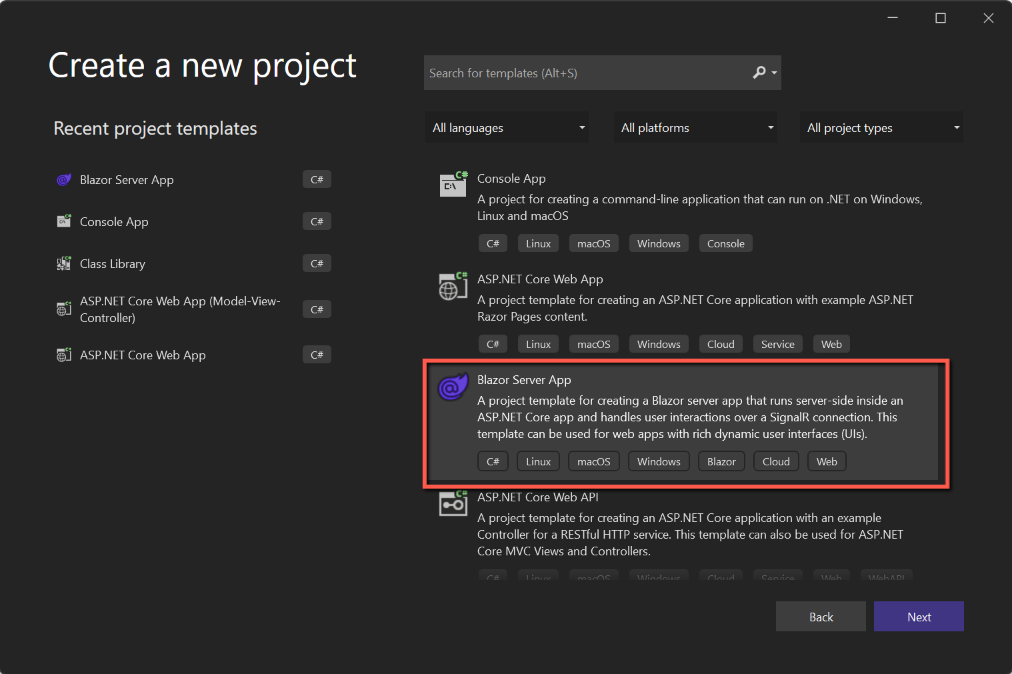
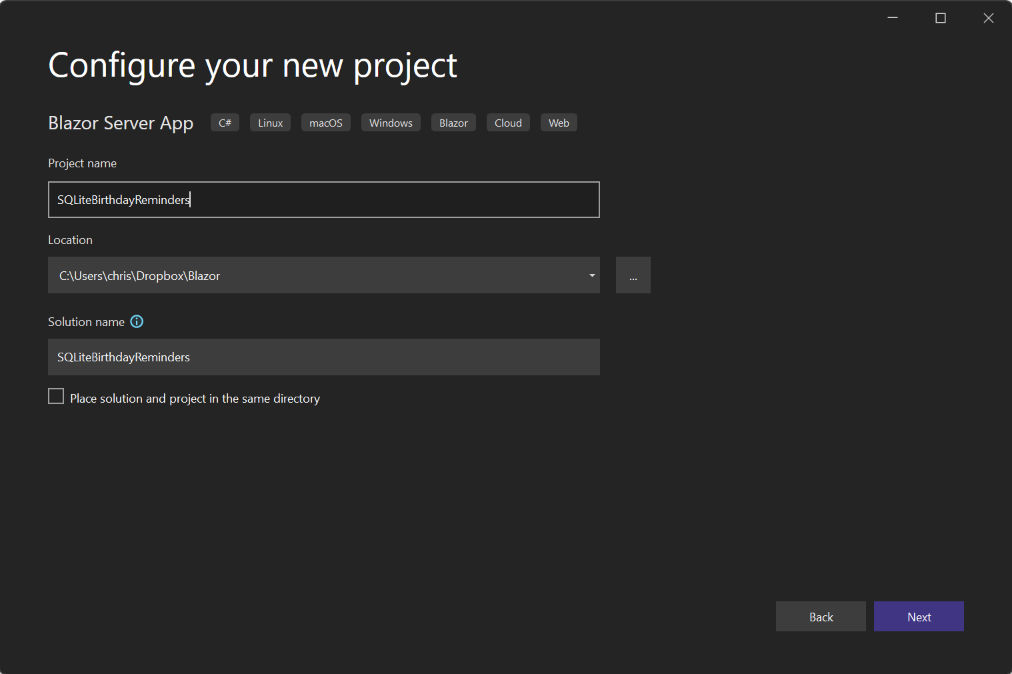
Create a Visual Studio project
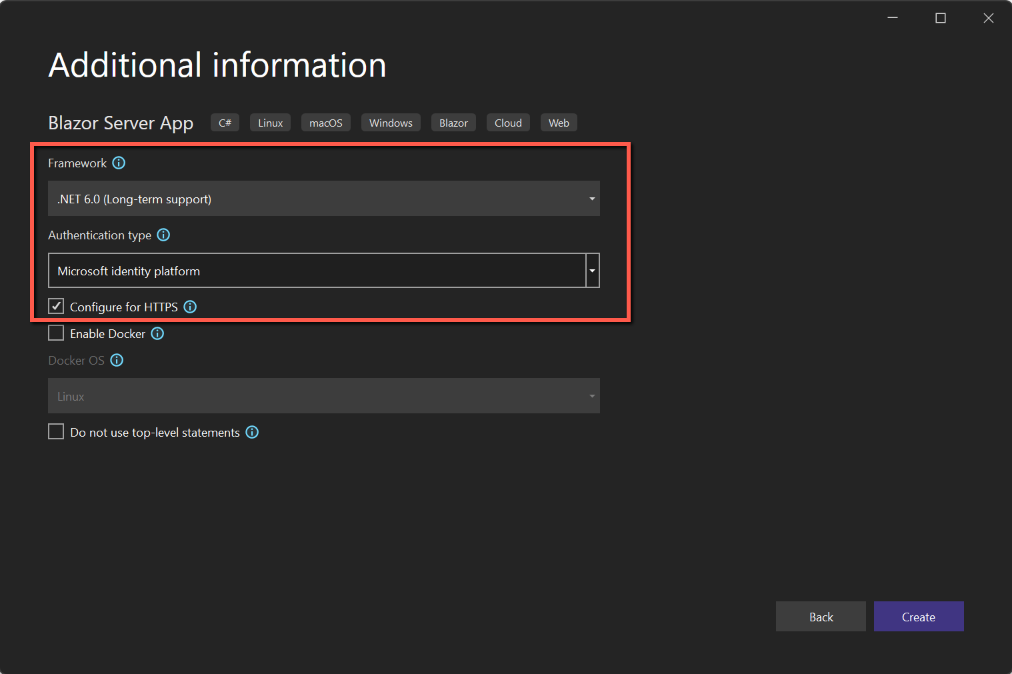
When creating the project, just make sure you select
- Blazor Server
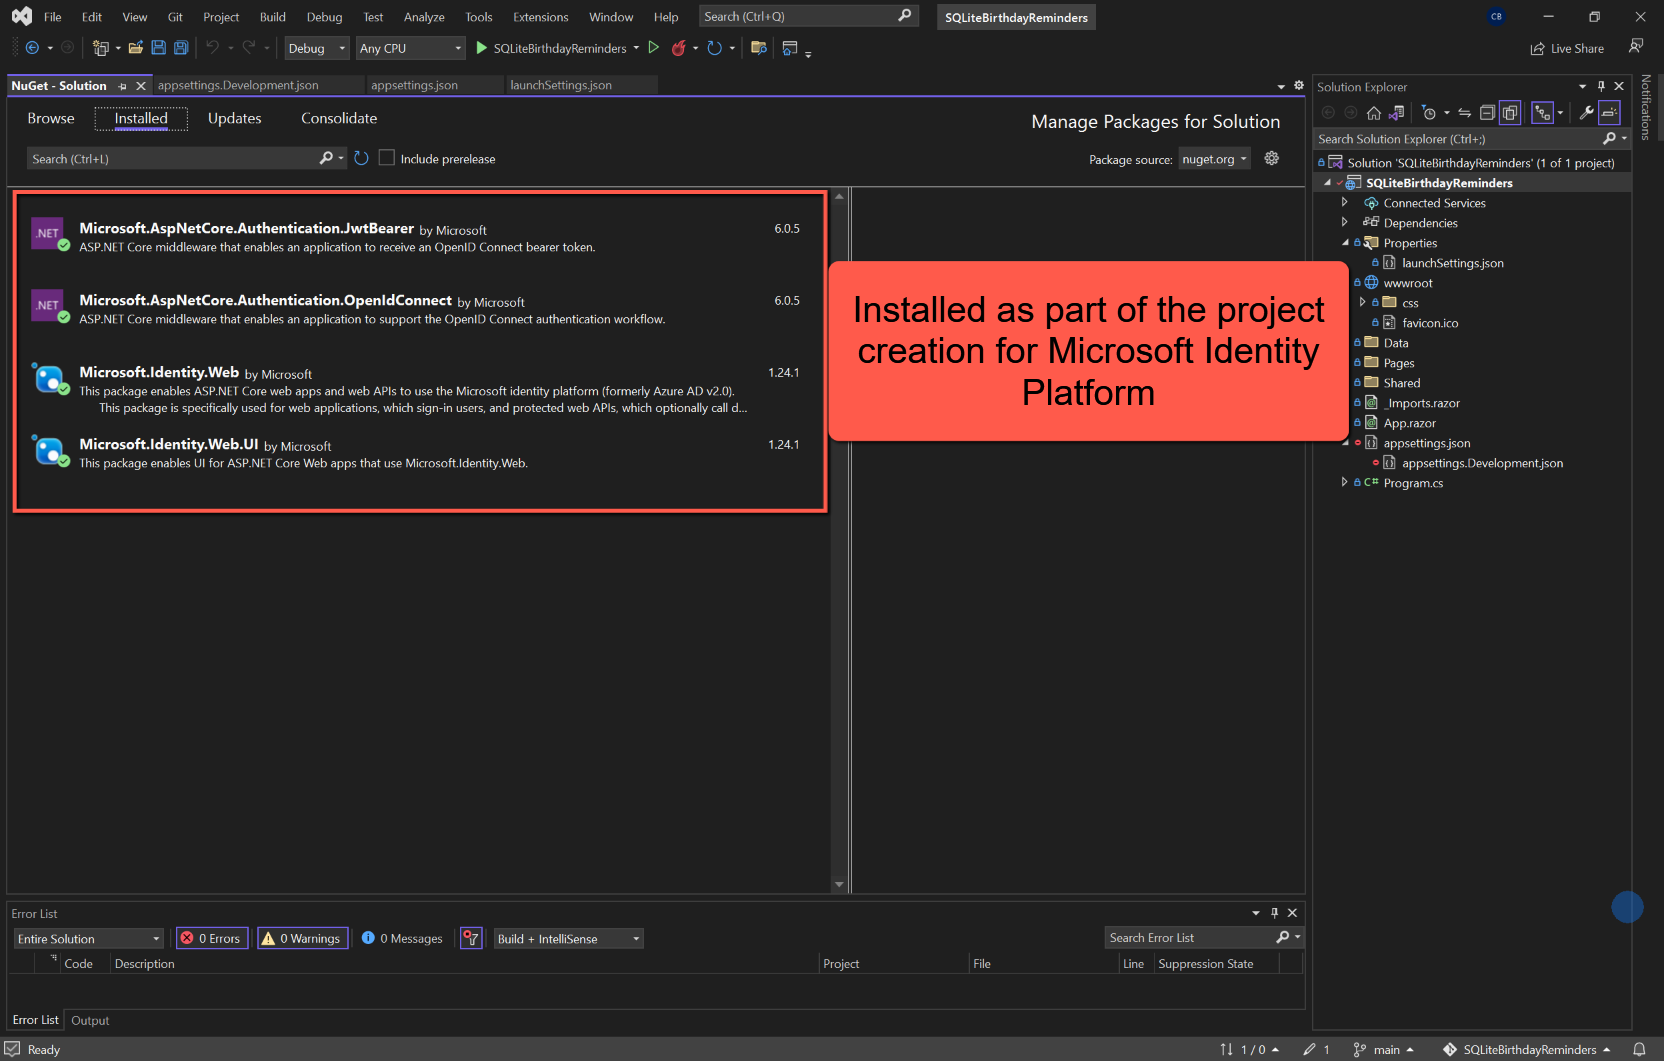
- Microsoft Identity Platform for Authentication Type


Link to Azure B2C
Follow the instructions at https://blazorcode.uk/birthdayreminders/project-setup-1/#authentication
To make things easier for me I simply copied the settings for appsettings.json from the original Birthday Reminders project, and whilst I was making the copy I also copied the settings for smtp mail and the Syncfusion licence.
Save and test. You should be able to log into the application using the Azure B2C credentials previously set up.
Install Nuget Packages
Using the NuGet Package Manager, install the following packages:
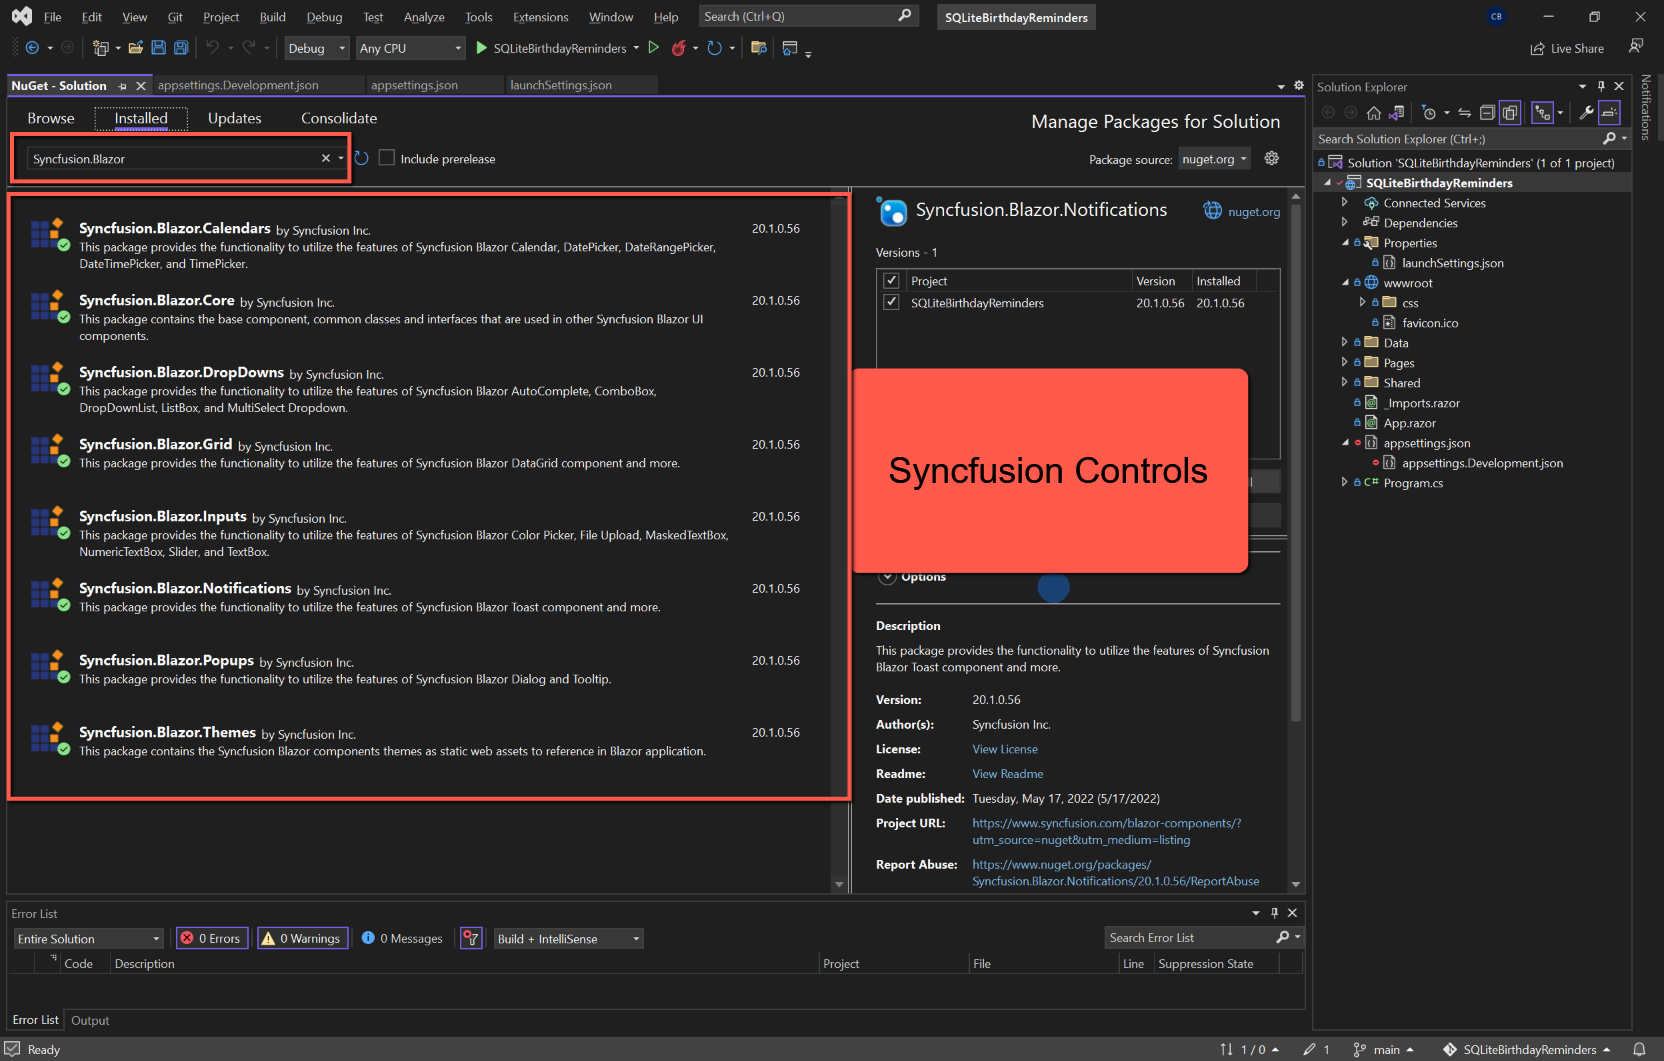
- Syncfusion controls:
- Syncfusion.Blazor.Themes
- Syncfusion.Blazor.Core
- Syncfusion.Blazor.Popups
- Syncfusion.Blazor.Inputs
- Syncfusion.Blazor.DropDowns
- Syncfusion.Blazor.Calendars
- Syncfusion.Blazor.Grid
- Syncfusion.Blazor.Notifications
- MailKit
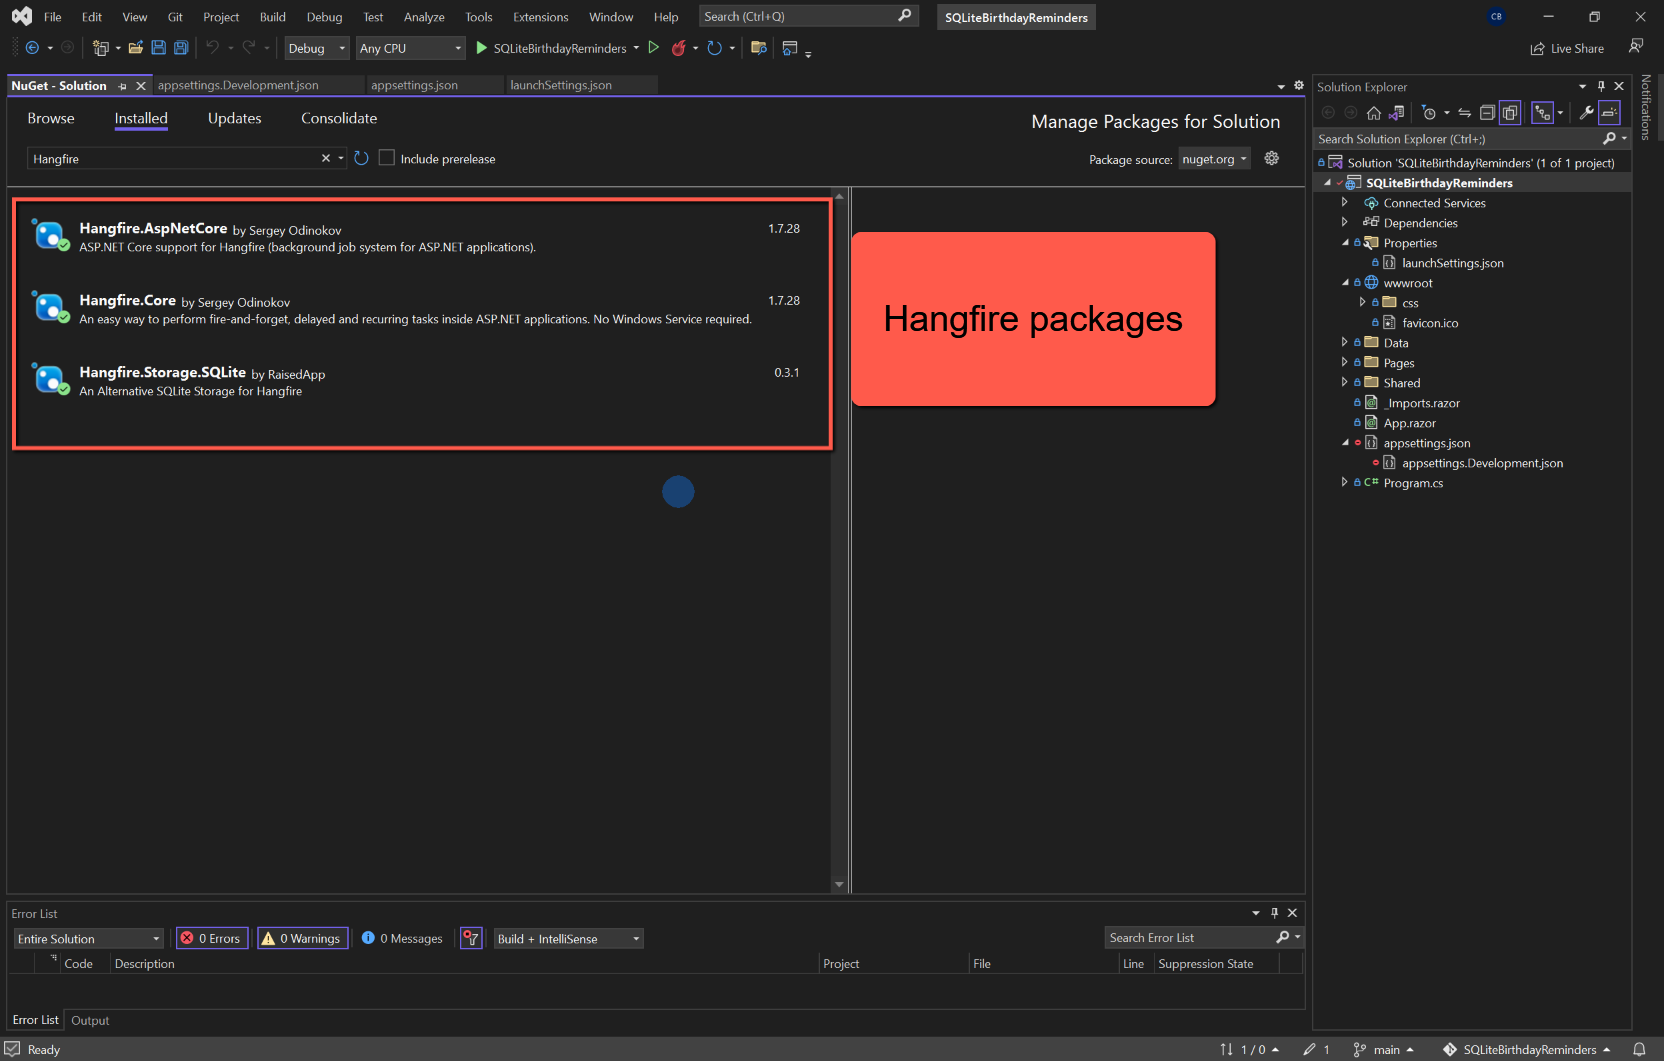
- Hangfire.Core
- Hangfire.AspNetCore
- Hangfire.Storage.SQLite (Note this is SQLite, not Hangfire.SqlServer)
- System.Data.Sqlite.Core
- Dapper
Create Database
Introduction
We will be taking a 'database first' approach in this project. This means that we will create the database outside Visual Studio and the C# code. The tool I have selected to do this is DB Browser for SQLite, but before we add the database we must determine the folder location within our Visual Studio project to add the database.
Once we have added the database and added the tables we need, we return to Visual Studio to include the database within the project.
The tasks to be undertaken are therefore:
- In Visual Studio get the path to the Data folder
- Using DB Browser for SQLite
- add the Birthdays database
- add the Person table
- add some test data to the Person table
- Return to Visual Studio to include the database in the project
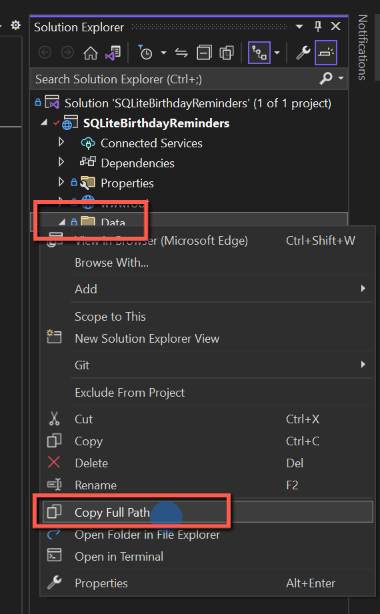
Get the Data folder path
Open Visual Studio and the project if not already open.
In Solution Explorer, right-click the Data folder and select 'Copy Full Path'. This will copy the path to the clipboard.
Add the Database
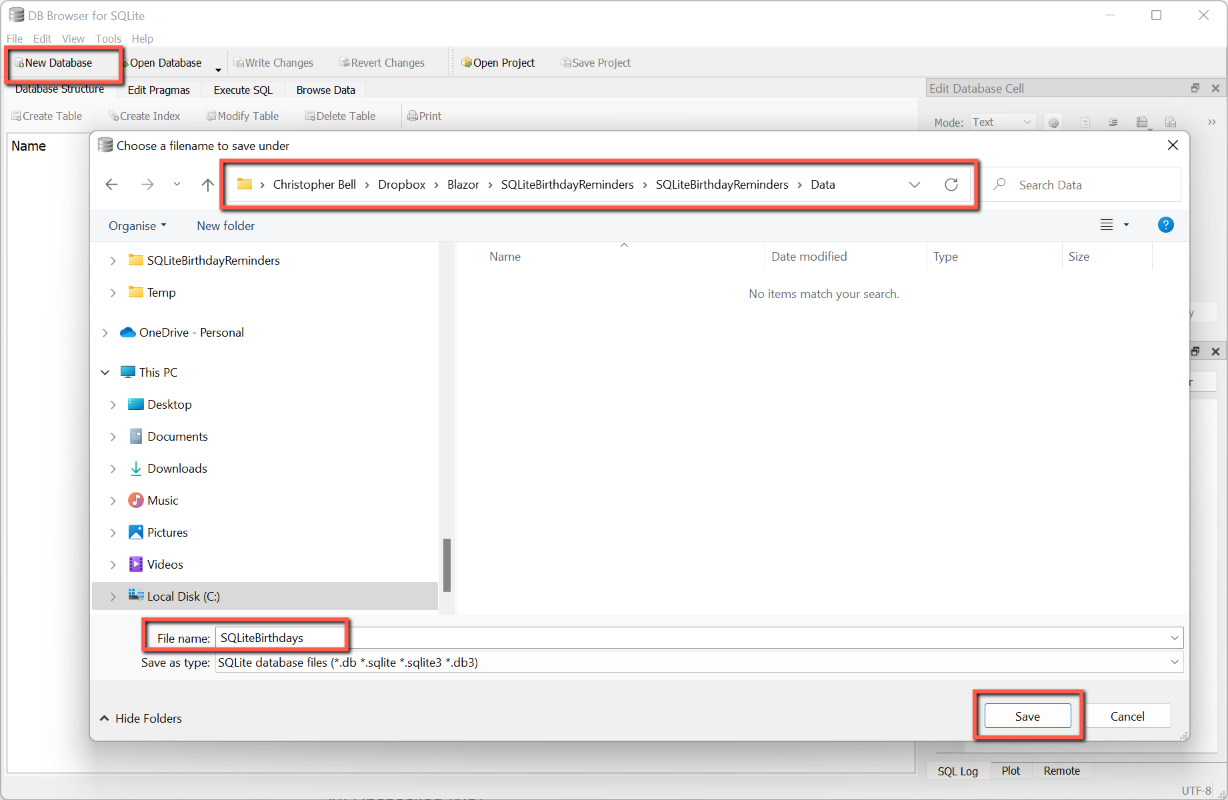
Open DB Browser for SQLite
- Click 'New Database' button on the toolbar
- Paste the path copied from Visual Studio into the 'address bar' of the form that opens and press carriage return.
- Enter a name for the database, e.g. 'SQLiteBirthdays', in the File name box and click 'Save'
Add the Person table
As you save the database a form will open to allow the definition of a table.
- Enter the name of the table, i.e. 'Person' in the Table name box at the top of the form.
- On the 'Fields' tab click 'Add' to add the first field (column)
- Enter the following:
- Name: PersonID
- Type: Integer
- NN: Checked (Yes)
- PK: Checked (Yes)
- AI: Checked (Yes)
- U: Checked (Yes)
- Click 'Add' to add the next field
- Name: PersonFirstName
Type: Text
NN: Checked (Yes)
PK: Unchecked (No)
AI: Unchecked (No)
U: Unchecked (No) - Click 'Add' to add the next field
- Name: PersonLastName
- Type: Text
- NN: Checked (Yes)
- PK: Unchecked (No)
- AI: Unchecked (No)
- U: Unchecked (No)
- Click 'Add' to add the next field
- Name: PersonDateOfBirth
- Type: Text
- NN: Checked (Yes)
- PK: Unchecked (No)
- AI: Unchecked (No)
- U: Unchecked (No)
- Click 'Add' to add the next field
- Name: PersonSendReminderTo
- Type: Text
- NN: Checked (Yes)
- PK: Unchecked (No)
- AI: Unchecked (No)
- U: Unchecked (No)
Once all the fields have been added, click OK to save the table. Note that all fields have been set as 'Not Null', but I haven't provided Default values for any (I did consider setting the default date of birth to 2000-01-01, and may yet do that!)
The abbreviations used mean:
- NN: Not Null
- PK: Primary Key
- AI: Auto Increment
- U: Unique

For users familiar with Microsoft SQL Server there are a couple of peculiarities with the above.
Although I have defined a Primary Key, this isn't strictly necessary This is because, unless specified otherwise, a 'rowid' is automatically added to the table definition. This is an auto-incrementing integer. There is therefore no need to specify a separate primary key field. This is covered in this article in https://sqlitetutorial.net. However, to mimic the original Bithdays SQL Server database I have included 'PersonID'.
The other peculiarity is the limited number of data types. Notice that 'DateOfBirth' is defined as a Text datatype. SQLite does not have a separate datatype for date/datetime. Dates can be set as Text, Integer or Real. The subtilties are explained in this article, but Text should be adequate for our needs.
Add Sample Data
Whilst we have DB Browser for SQLite open we can take the opportunity to enter some sample data; this will make testing our Blazor application a little easier.
I found adding data not very intuitive, but this procedure seems to work:
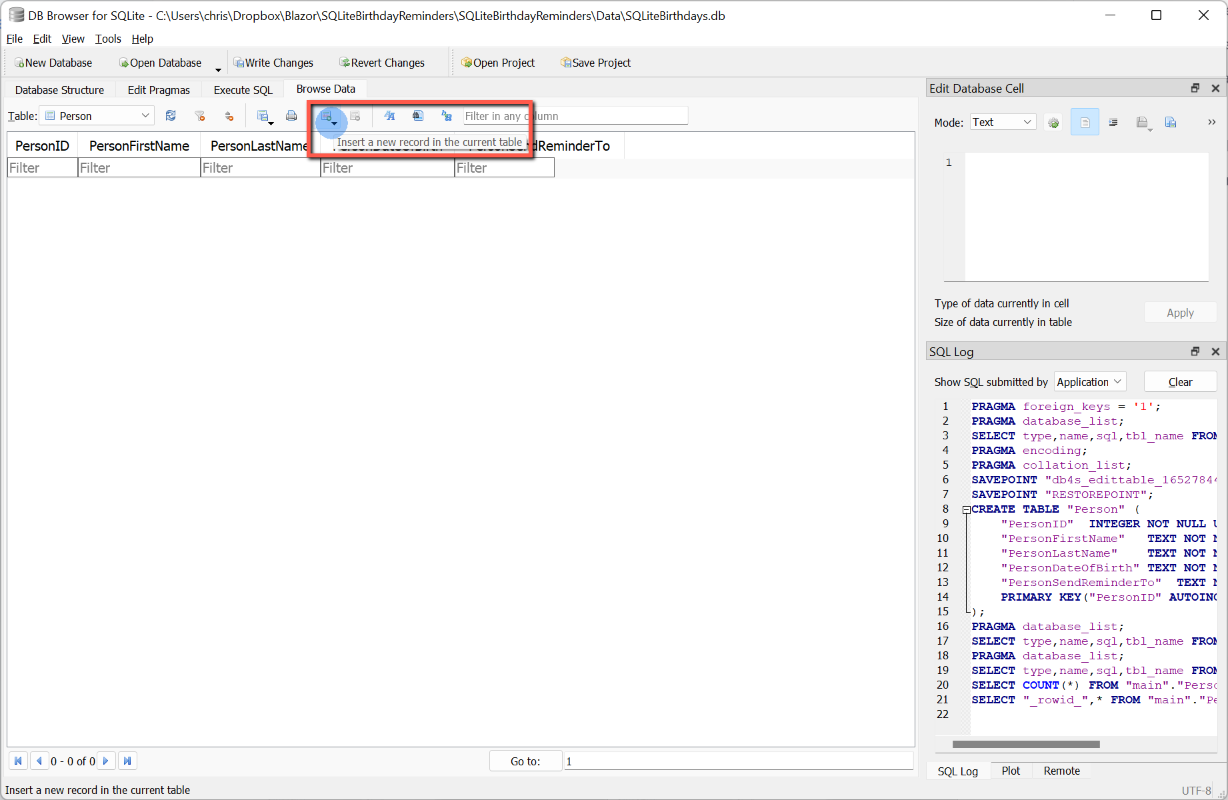
- Once the table has been added, right-click on the table name and select 'Browse Data'.
- Alternatively highlight the table and click the 'Browse Data' tab.
- If we had any data I think it would be displayed at this point.
- To add data, in the toolbar above the grid, click the tiny button under 'Browse Data' with the downward pointing arrow. It has the tooltip 'Insert a new record into the current table'. (Make sure the whole dialog box is wide enough to display all items on the toolbar above the datagrid.)
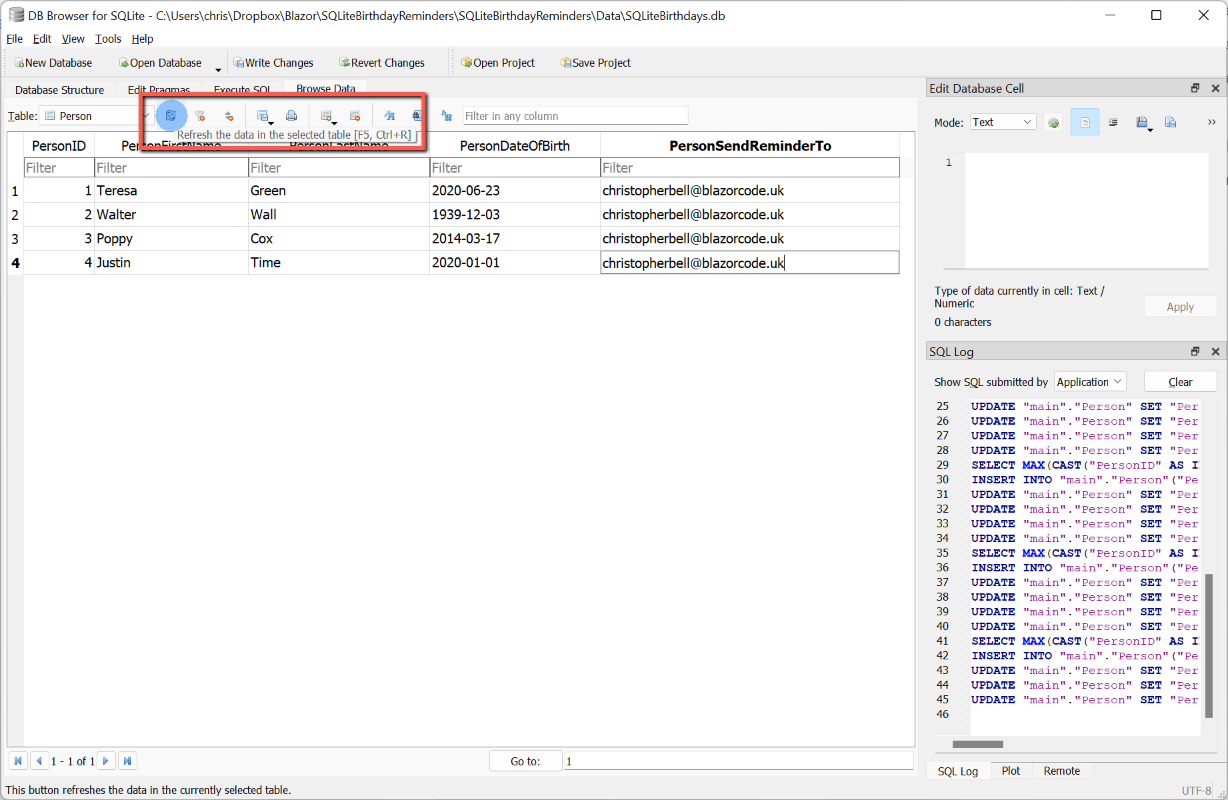
- To save data, it appears that you can either click the 'Refresh data' button on the datagrid toolbar, or click 'Write Changes' on the toolbar at the top of the form.
- To make doubly sure I selected File > Save All before closing DB Browser for SQLite by selecting File > Exit. (I did not save as a project.)

Add Database to Project
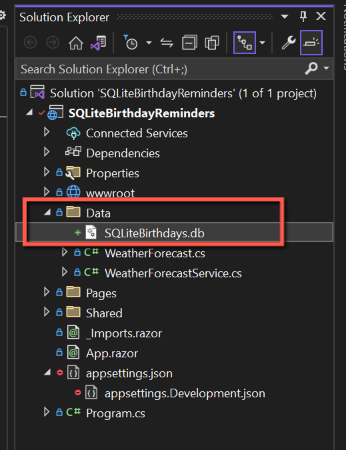
Return to Visual Studio and in the Solution Explorer open the Data folder. If Birthdays.db is not displayed:
- Highlight the Data folder and right-click
- Select 'Existing Item...'
- Select 'SQLiteBirthdays.db' when the file browser opens and click 'Add'
- SQLiteBirthdays.db will now be shown in the Data folder.
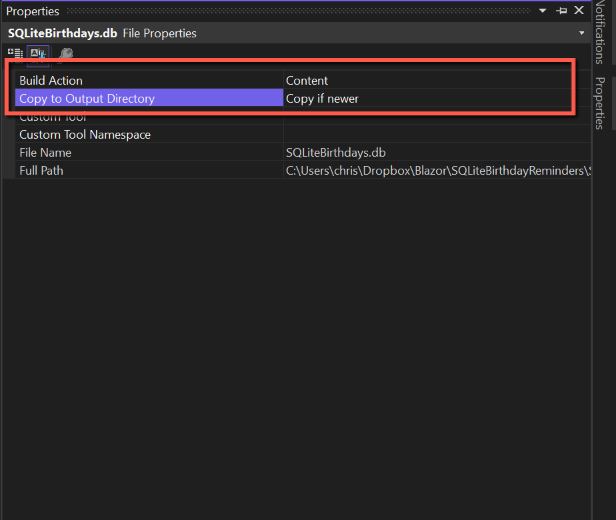
Before we leave Birthdays.db in Solution Explorer, we can set one of the properties of the database so that when we publish the application the database is included in the package.
- Right-click it and select 'Properties'
- Select 'Content' for 'Build Action'
- Select 'Copy if newer' for 'Copy to Output Directory'.
These setting can be changed later if a different behaviour is required, but selecting this to start with will ensure that the database is published as part of the project.

Define Connection String
To link the application to the database we need to add a 'ConnectionString' to 'appsettings.json'. Open appsettings.json and add (or edit) the following (you will probably have to add a comma to the line above where this is to be inserted):
  "ConnectionStrings": {
    "Default": "Data Source=.\\Data\\SQLiteBirthdays.db;Version=3;"
  }
This is the relative path to the Birthdays database from the root of the application.
Syncfusion Installation
We have installed the Syncfusion NuGet packages, but there are a number of other steps that need to be completed. These are documented here, but briefly they are:
- Register Syncfusion Blazor Service
- Add Style Sheet
- Add Script Reference
- Syncfusion Licence Key
Save & Test
This will still be the standard Blazor Server app, but should display the Azure B2C login and open the app.