Adding Azure Key Vault via Portal
Adding a secret to Azure Key Vault
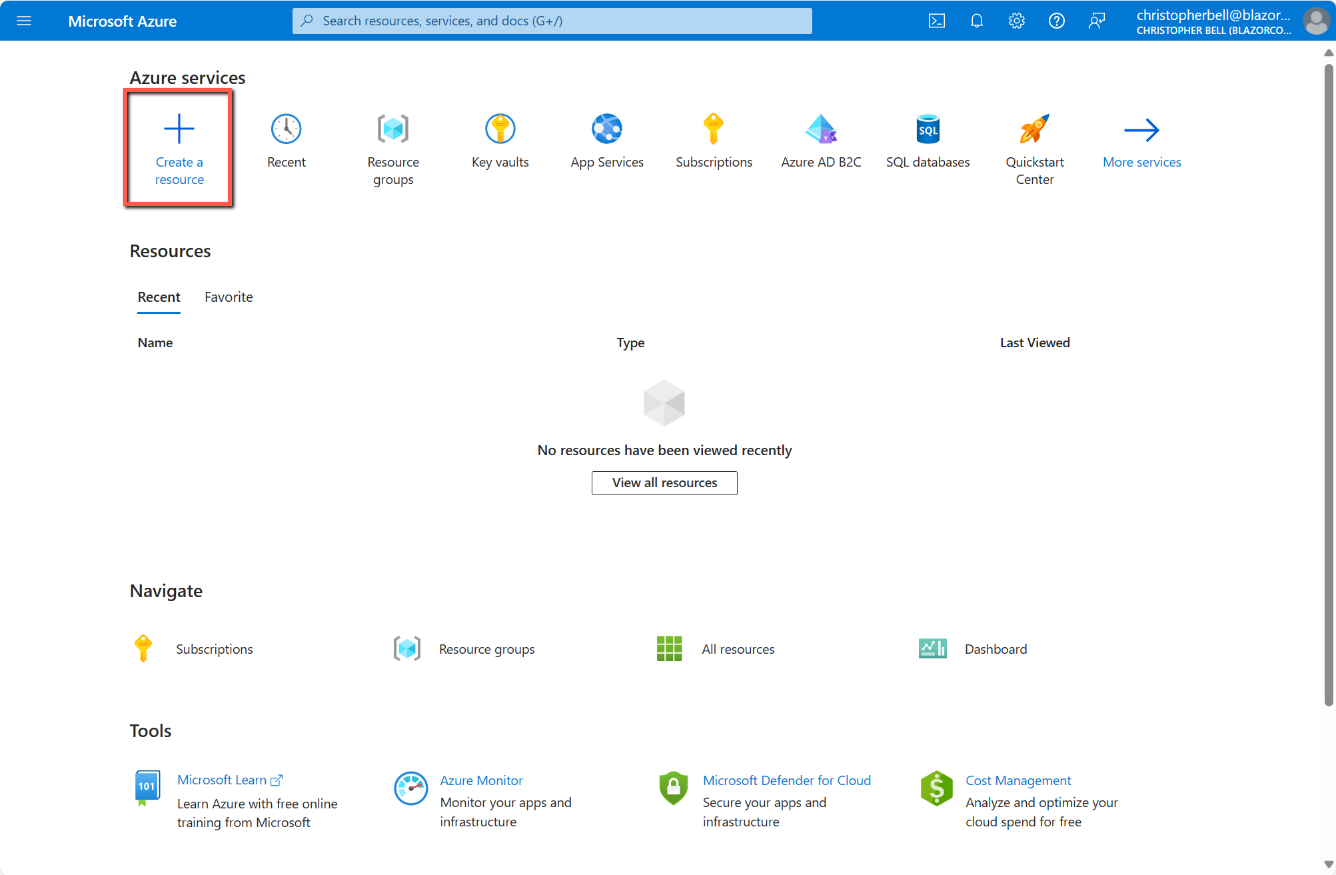
As an alternative to adding a Key Vault through Visual Studio it is possible to add one directly through the Azure portal and then to link it to our Visual Studio project.
- Log into your Azure Portal
- Click 'Create a resource'
- Click 'Create' under the Key Vault icon
- On the Create Key Vault page
- Select your subscription from the drop-down list
- In the Resource group select the same group as we used to publish the application
- Enter a name for the Key Vault, e.g. 'MySecretBlazorKeyVault'
- Select a suitable Region
- Select 'Standard' for the Pricing tier
- Scroll down to the 'Recovery options'
- As we are testing at this point I suggest reducing the 'Days to retain deleted vaults' to, say, 10 days. (The minimum is 7)
- Leave 'Purge protection' as disabled.
- Click 'Review + create' (This will skip Access configuration, Networking and Tags, but these can be left as defaults.)
- Click 'Create'
- After about a few seconds the screen will change to indicate the resource is being created, and after about 30 seconds (in my case), this changed to indicate the Key Vault had been created.


Linking Key Vault to Application
If the Key Vault has been added through the Azure Portal, it now needs to be linked to our Blazor project in Visual Studio.
- In Visual Studio, open the application if necessary.
- Right-click on 'Connected services' in the Solution explorer
- Select 'Add'
- Select 'Azure Key Vault'
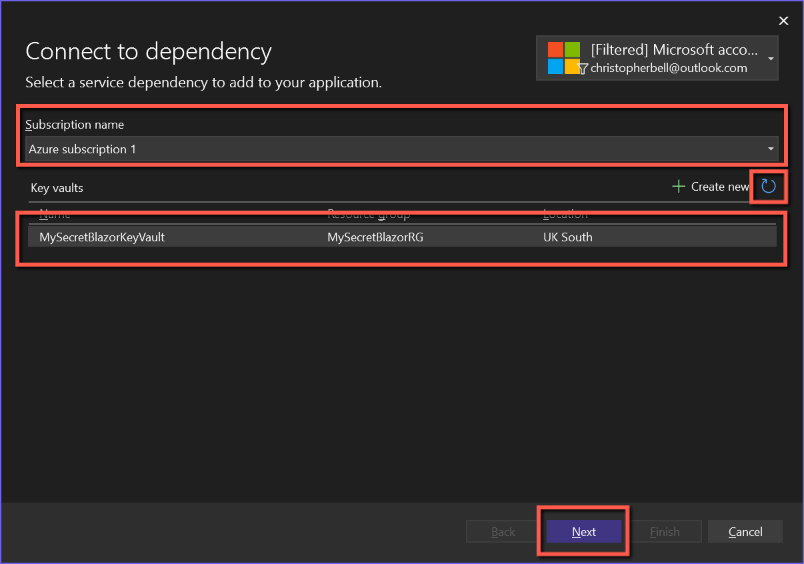
- When the 'Connect to dependency' form appears, if necessary,
- Select the Azure subscription
- If the Key Vault name doesn't appear, click the refresh icon in the top right of the Key vaults list.
- Select the Key vault
- Click 'Next'
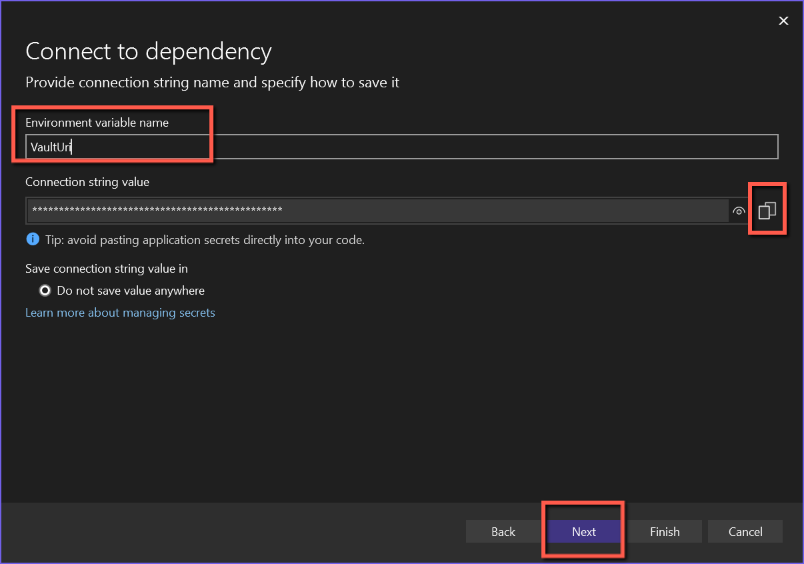
- On the next screen
- Leave the Environment variable name as the default ('VaultUri')
- View the 'Connection string value' (it should make sense) and copy to Notepad (or other temporary holding space.)
- Click 'Next'
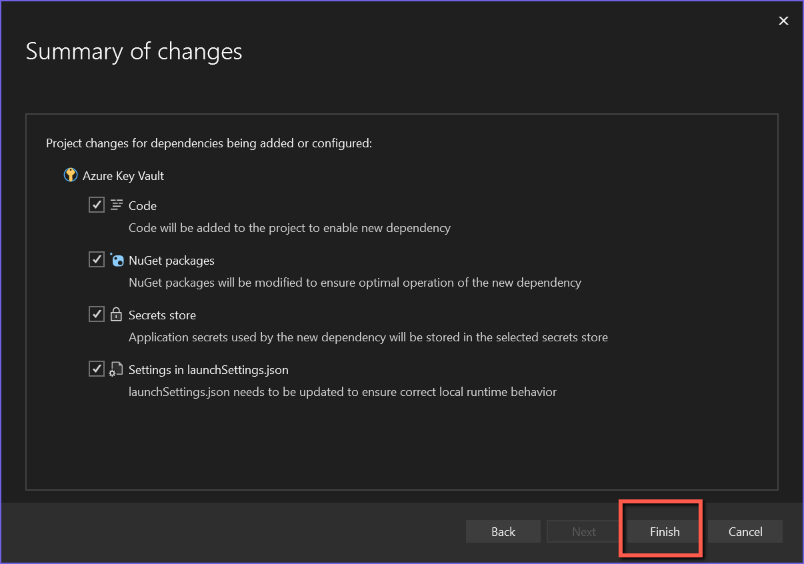
- On the Summary of changes screen
- A list of actions that the system will perform is displayed.
- Click 'Finish
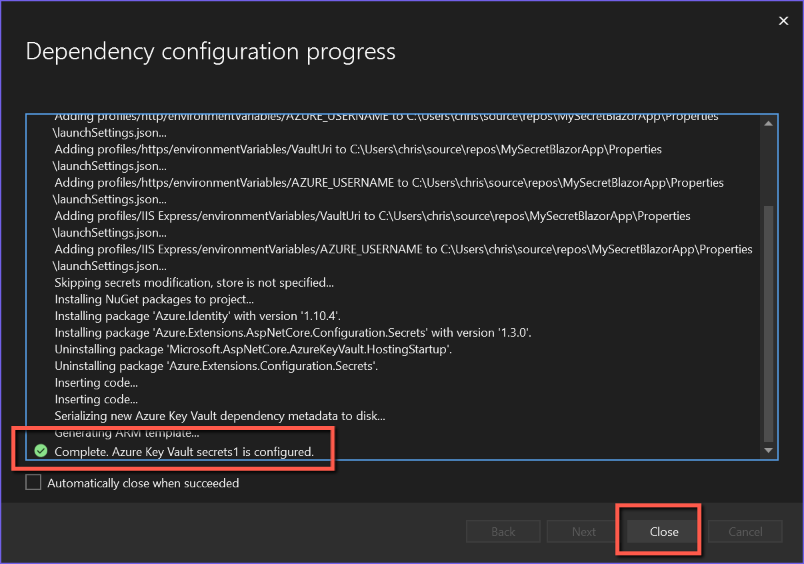
- A screen entitled 'Dependency configuration progress' is displayed
- This should complete, showing a list of actions that have been taken. For interest you might like to look through this.
- It should end with a green tick and a message to indicate that it is complete and that Azure Key Vault is configured (in my example for 'secrets1'. Not sure where this came from, could have been secrets.json or appsettings.jason)
- Click 'Close'