Sending Emails via SendGrid
Summary
In the previous post I mentioned that I was initially drawn to SendGrid for sending emails, but that for individuals I felt that MailKit had advantages. I still hold that view, and indeed I cannot really find fault with MailKit, but since I mentioned SendGrid I thought I would include some code that showed how SendGrid could be substituted for MailKit.
We've already done the hard work. so the process is pretty simple; the steps required to swap to SendGrid are:
- Create SendGrid account, obtain API key and configure SendGrid settings
- Install SendGrid NuGet package
- Add the SendGrid and user parameters to appsettings.json
- Create a service to use SendGrid
- Modify the Index page to call the SendGrid service in place of MailKit
YouTube Video
Create SendGrid Account
Go to the SendGrid website and sign up.
Once you have created an account and signed in you will be presented with the option to create a sender identity. (You can also reach this through Settings > Sender Authentication.) The options here are basically Domain Authentication or Single Sender Verification.


- Single Sender Verification is the simplest approach and merely requires the verification of an email address. This could be a GMail or Outlook address for example. This email address will then be used in our application. As a note, it is possible for a single SendGrid account to have multiple 'Single Sender' email addresses; I guess this could be used to allow different parts of a system to send emails from different addresses, e.g. 'Sales', 'Purchasing', 'Support', etc.
- Domain Authentication is SendGrid's recommended verification method, but requires that you have a domain and are authorised to make changes to 'DNS' records. From what I can see there are two principal advantages of Domain Authentication:
- Any email address from the domain is automatically verified
- 'viaSendGrid' is omitted from the 'From' email address if combined with 'Link Branding'
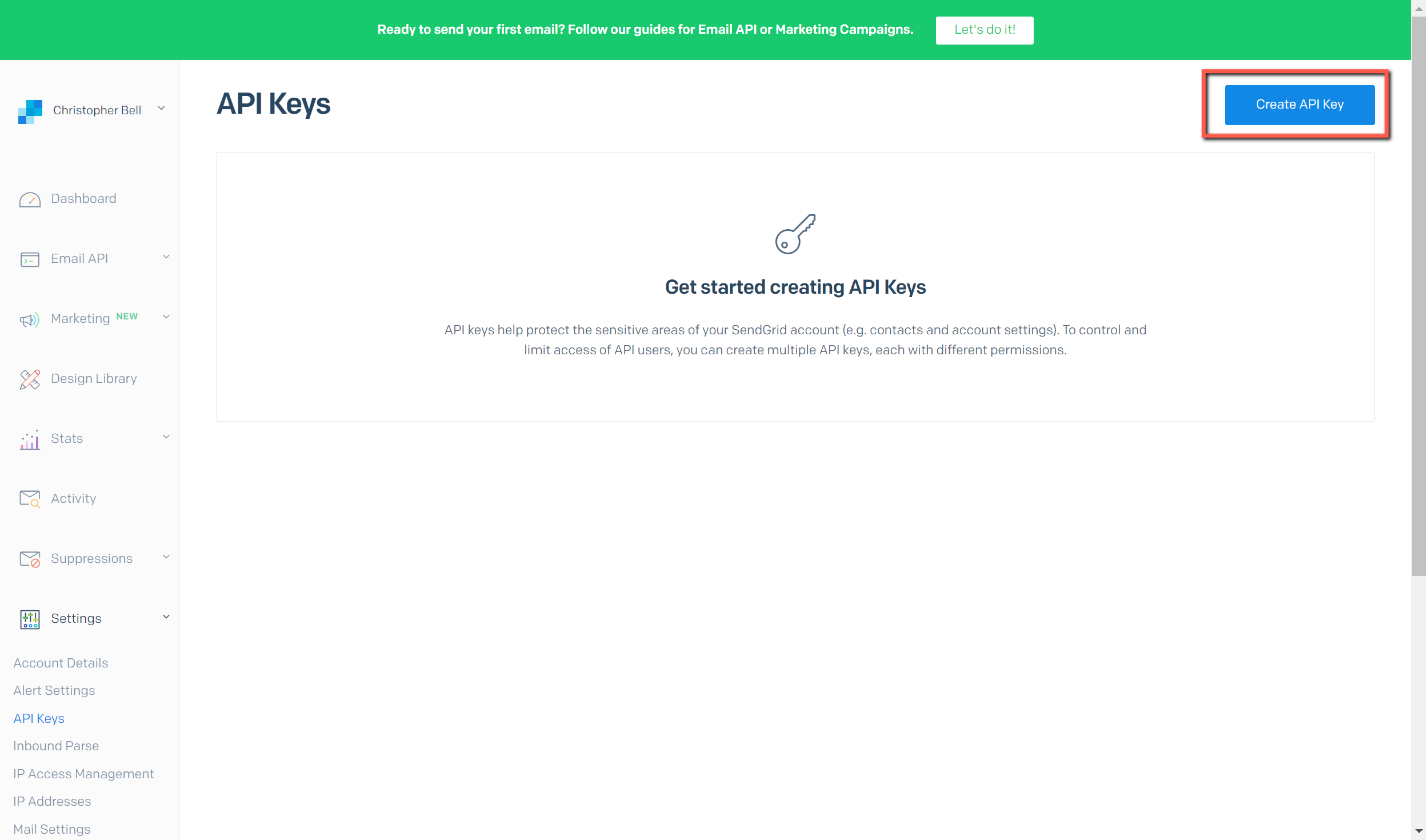
The next step is to get an API Key. Go to Settings > API Keys and Create API Key. Give the API Key a name (it appears that you can have multiple API Keys). I selected 'Full Access'; 'Restricted Access' provides very granular control over access to parts of the system and is beyond the scope needed for this exercise.


Install SendGrid NuGet Package
In Visual Studio select
- Tools > NuGet Package Manager > Manage NuGet Packages for Solution
- Select Browse and enter 'SendGrid'
- Select SendGrid by Elmer Thomas and install.

appsettings.json
Add the following three lines to appsettings.json, substituting your values for the placeholders shown here.
  "SENDGRID_APIKEY": "SendGrid apikey",
  "SenderEmail": "SendGrid SenderEmail",
  "SenderEmailFriendlyName": "Christopher Bell",
Add a SendGrid Email Service
Open the Data folder and add a new class, call it 'EmailSenderSendGrid.cs'. Copy and paste the following code, overwriting the default code.
using System;
using System.Threading.Tasks;
using Microsoft.AspNetCore.Http;
using Microsoft.Extensions.Configuration;
using SendGrid;
using SendGrid.Helpers.Mail;

namespace BlazorPurchaseOrders.Data
{
    public interface IEmailSender
    {
        Task<bool> SendEmail(string toEmail, string subject, string body);
    }

    public class EmailSender : IEmailSender
    {
        private readonly IConfiguration configuration;

        public EmailSender(IConfiguration Configuration)
        {
            configuration = Configuration;
        }

        public async Task<bool> SendEmail(string toEmail, string subject, string body)
        {
            var apiKey = configuration["SENDGRID_APIKEY"];
            var client = new SendGridClient(apiKey);
            var FromFriendlyName = configuration["SenderEmailFriendlyName"];
            var FromEmailAddress = configuration["SenderEmail"];
            var from = new EmailAddress(FromEmailAddress, FromFriendlyName);
            var to = new EmailAddress(toEmail, toEmail);
            var plainTextContent = body;
            var htmlContent = body;
            var msg = MailHelper.CreateSingleEmail(from, to, subject, plainTextContent, htmlContent);
            var response = await client.SendEmailAsync(msg).ConfigureAwait(false);
            return response.IsSuccessStatusCode;
        }
    }
}
The above is similar to the MailKit service - but inevitably different! The main difference is that a 'public async Task' is used to return a boolean, in this case the variable 'successOrFailure', rather than 'public bool' used in the MailKit service. I have basically used the code from the SendGrid documentation and modified it. (I have also been lazy and have used the 'body' parameter being passed into the service for both plain text and html contents.)
Also missing is the interface statement - it makes me wonder whether the MailKit service really needed the interface...
To complete the addition of the service, we need to edit 'Startup.cs' and add the following line to the 'ConfigureServices' method.
services.AddScoped<IEmailSender,EmailSender>();
Modify Purchase Orders to use SendGrid
With the SendGrid service in place, this is unusually easy! Add the following to the top of Index.razor to inject the SendGrid service.
@inject IEmailSender EmailSenderAnd in the 'ToolbarClickHandler' for Email, comment out the MailKit line and insert the following for SendGrid (above the 'Toast' alternatives):
//SendGrid
if (await EmailSender.SendEmail(selectedPOHeaderSupplierEmail, "Purchase Order", emailbody))
//MailKit
//if (EmailService.Send(selectedPOHeaderSupplierEmail, "Purchase Order", emailbody))
References
- DotNet Tutorials for information about Async Return Types
- SendGrid API Documentation
Project Code
The code for all the files changed in this post are shown here.