Publish & Package
Publish using Visual Studio 2022
This would seem the obvious way to publish the application. It works, but there are few traps best avoided.
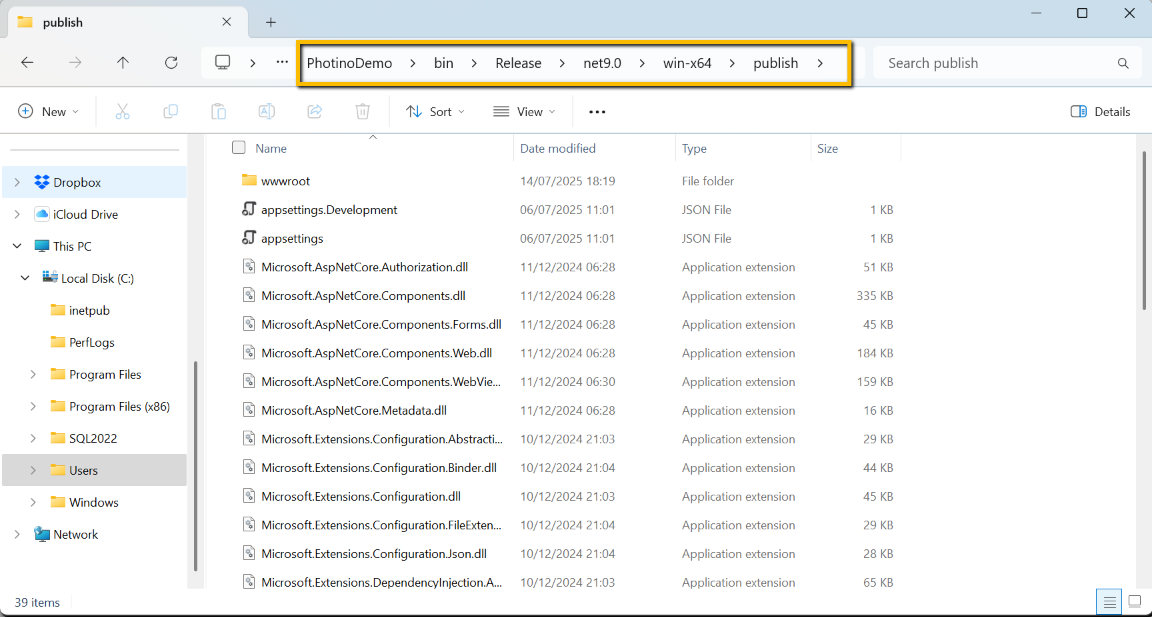
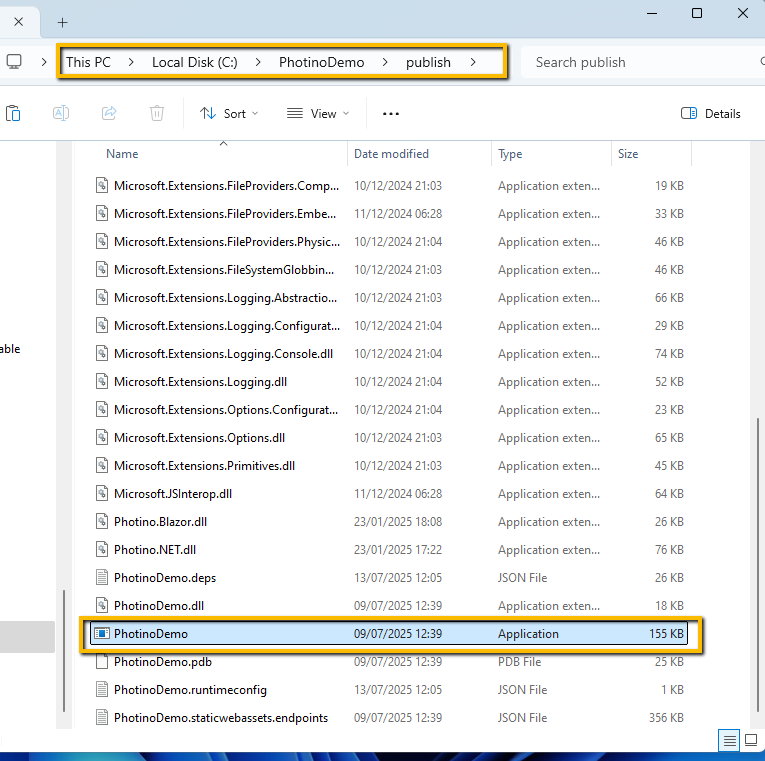
The end result will be a folder of files that can be copied and pasted to other PCs, with a .exe file that may be double-clicked to run the application.
To publish using Visual Studio 2022:
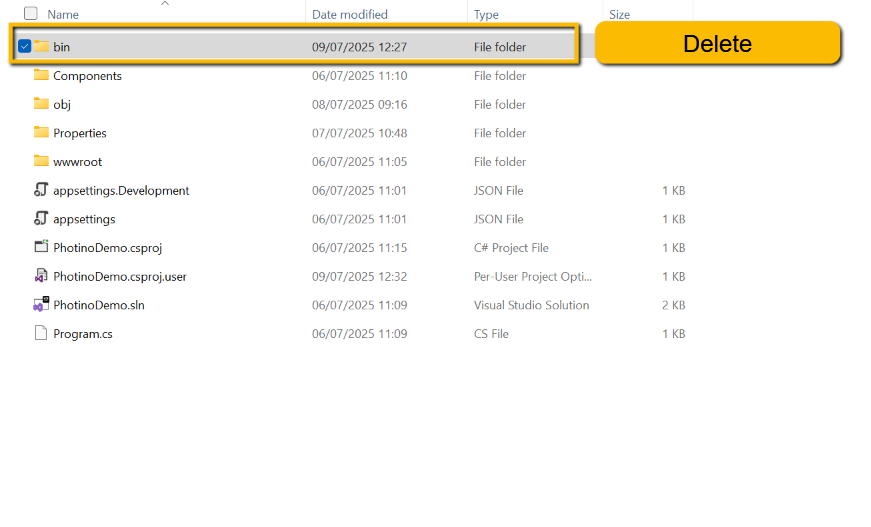
- Start by deleting the 'bin' folder completely, including both the 'Release' and 'Debug' subfolders. This ensures that you have a clean start. (The 'bin' folder should be in the solution folder.)
- In Visual Studio, right-click the project file (PhotinoDemo) and select Publish.
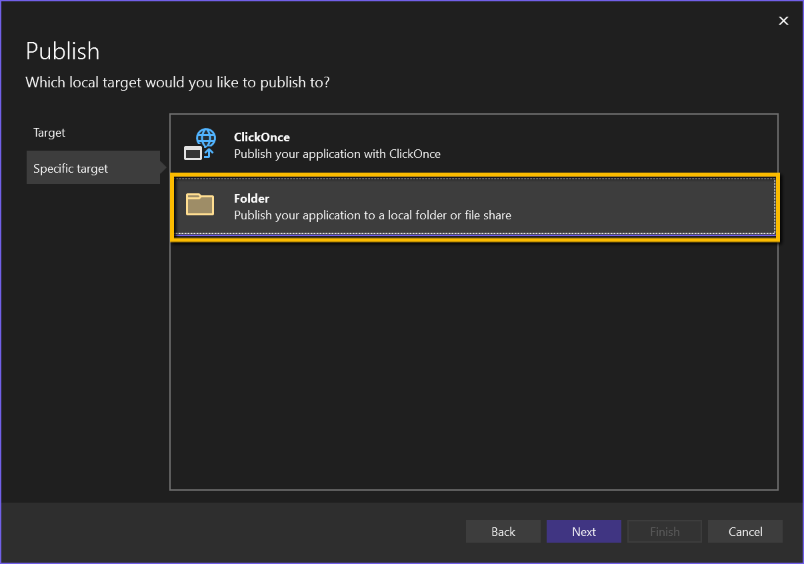
- Select 'Folder'
- On the next screen select 'Folder'. Do NOT select 'ClickOnce'; (as at July 2025 there appears to be a bug in Visual Studio that will prevent this from working).
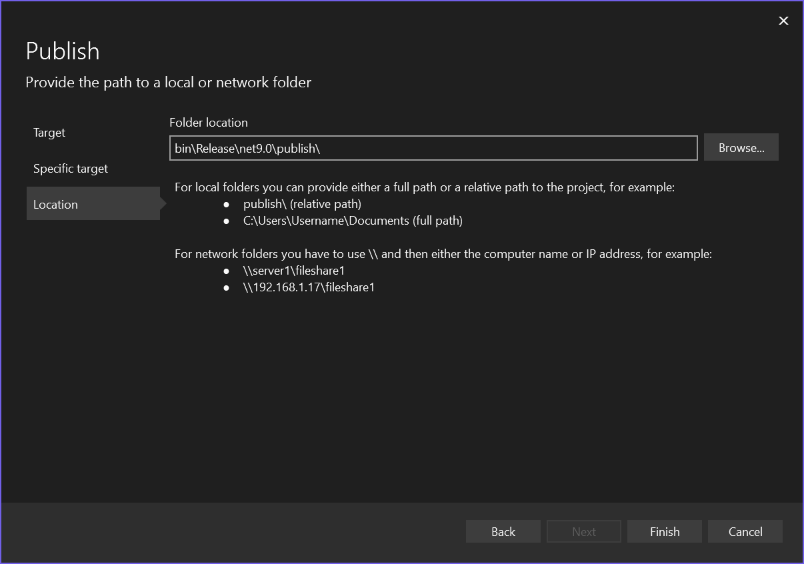
- Leave the Target folder location as the default.
- Click 'Finish' and 'Close'

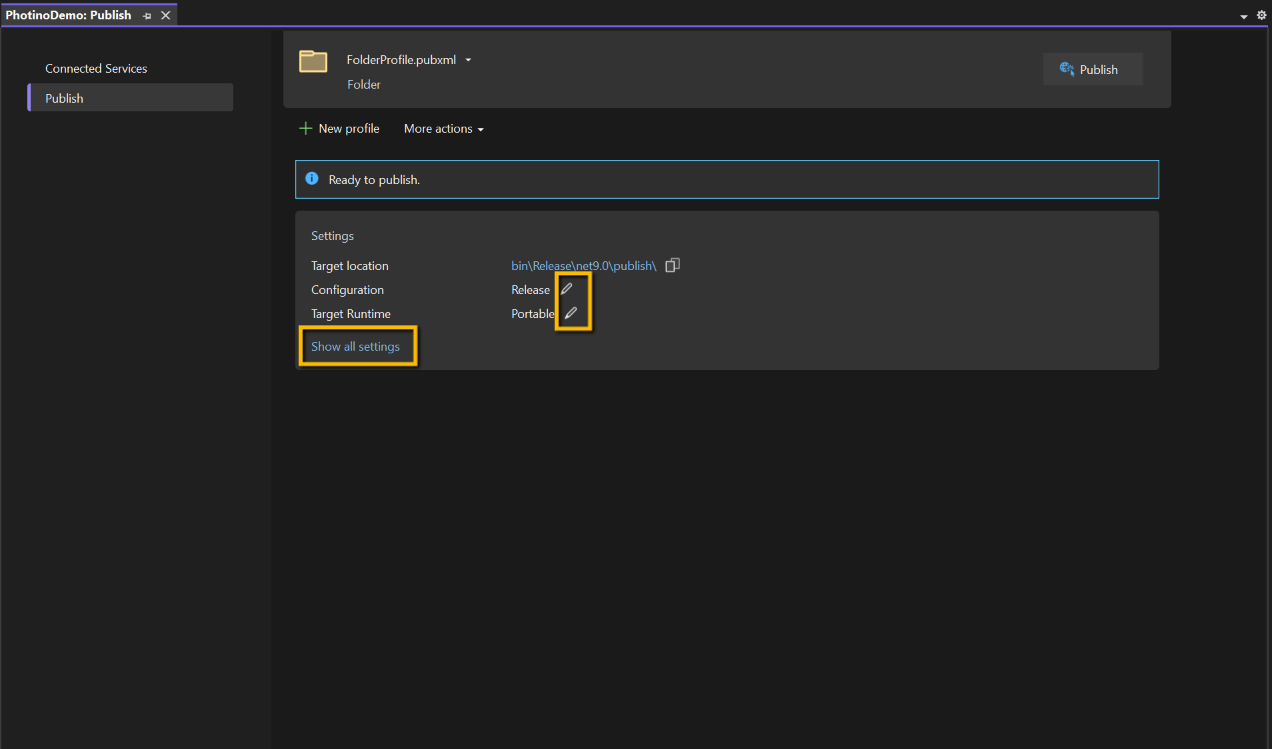
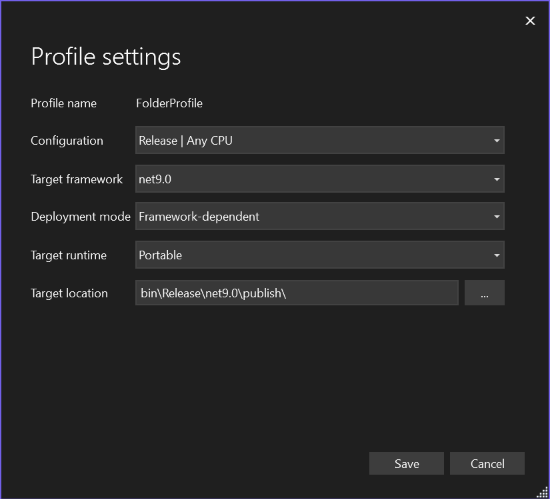
- On the summary form you will have the option of viewing and changing some of the publishing parameters. Click 'Show all settings' to view and/or change some settings. The settings are:
- Configuration
- Leave this as 'Release | Any CPU' (the alternative is 'Debug | Any CPU' and just changes the folder for the output.)
- Target Framework
- Leave as 'net9.0' (I didn't have any other choice!)
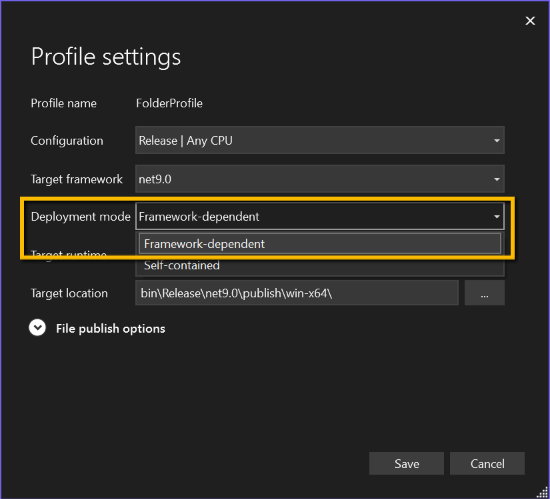
- Deployment mode - there are two options here:
- 'Framework-dependent' or 'Self-contained'
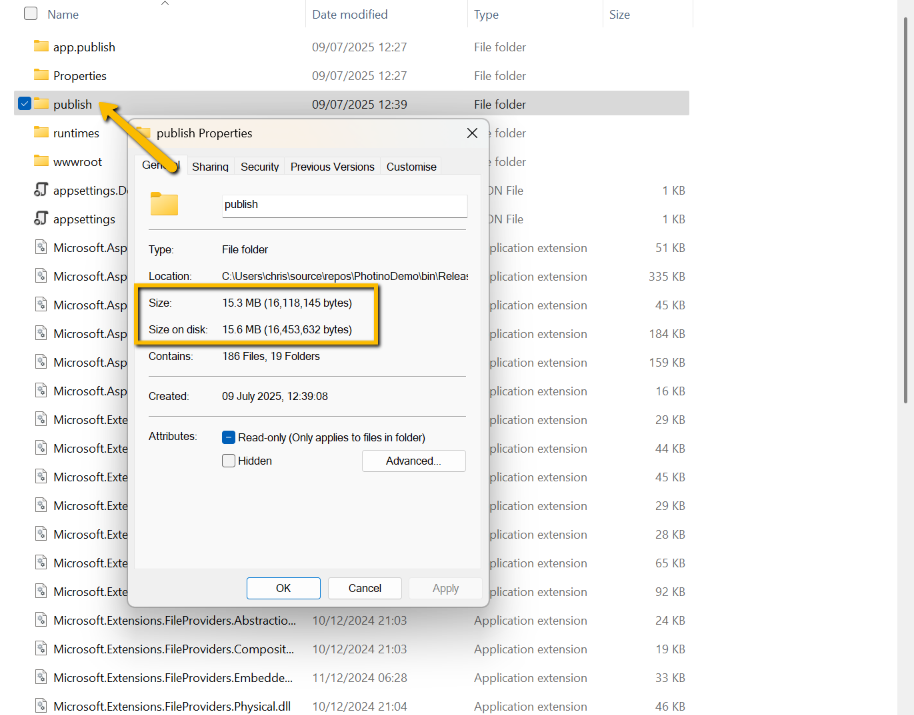
- Framework-dependent will not include the .Net9.0 runtime components. This will produce a smaller release and will rely on the end-user machine either having the .NET 9.0 SDK or .NET9.0 runtime components. This isn't too much of a problem as the application will trigger the option to download the necessary components. The publish folder size with this option is about 16Mb
- Self-contained will include all necessary .NET 9.0 components, meaning the end user will not need to download any additional files, but will result in the publish folder size being much larger - about 85Mb. You will also need to select the target processor, e.g. win-x64
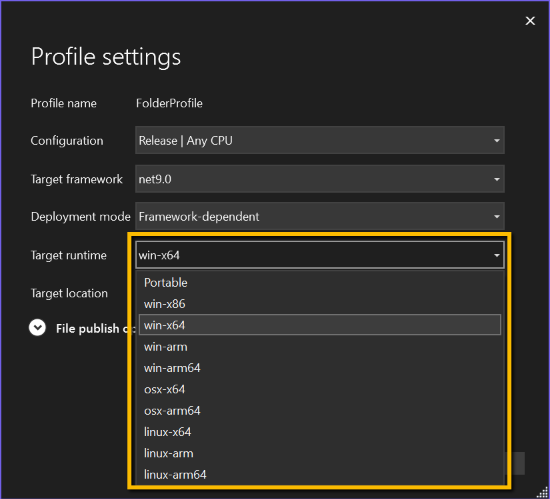
- Target runtime - again there are basically two options, Portable or choose from a list of specific processors.
- Portable - but only if you selected 'Framework-dependent' above.
- The publish folder will include sub-folders for each of the possible processors, meaning that you should be able to run on any of the listed processors. The 'Publish' folder is still under 20Mb, but again the .NET 9.0 runtime components will need to be downloaded on the target machine.
- Specific processor
- Choose the processor of the target machine. All required components are included, but the folder size is about 80Mb
NOTE: if a specific processor is selected for 'Target runtime' a further drop-down is displayed offering 'Produce single file' and 'Enable ready to run compilation' (in the case of win-x64 or win-x86 targets).
- 'Produce single file'. My first comment about this is that it didn't produce a single file. Perhaps Photino prevents this.
- 'Enable ready to run compilation' might be worth considering. It precompiles assemblies for the target processor, which should result in faster start-up times, particularly with something like Photino. The output folder will be larger.


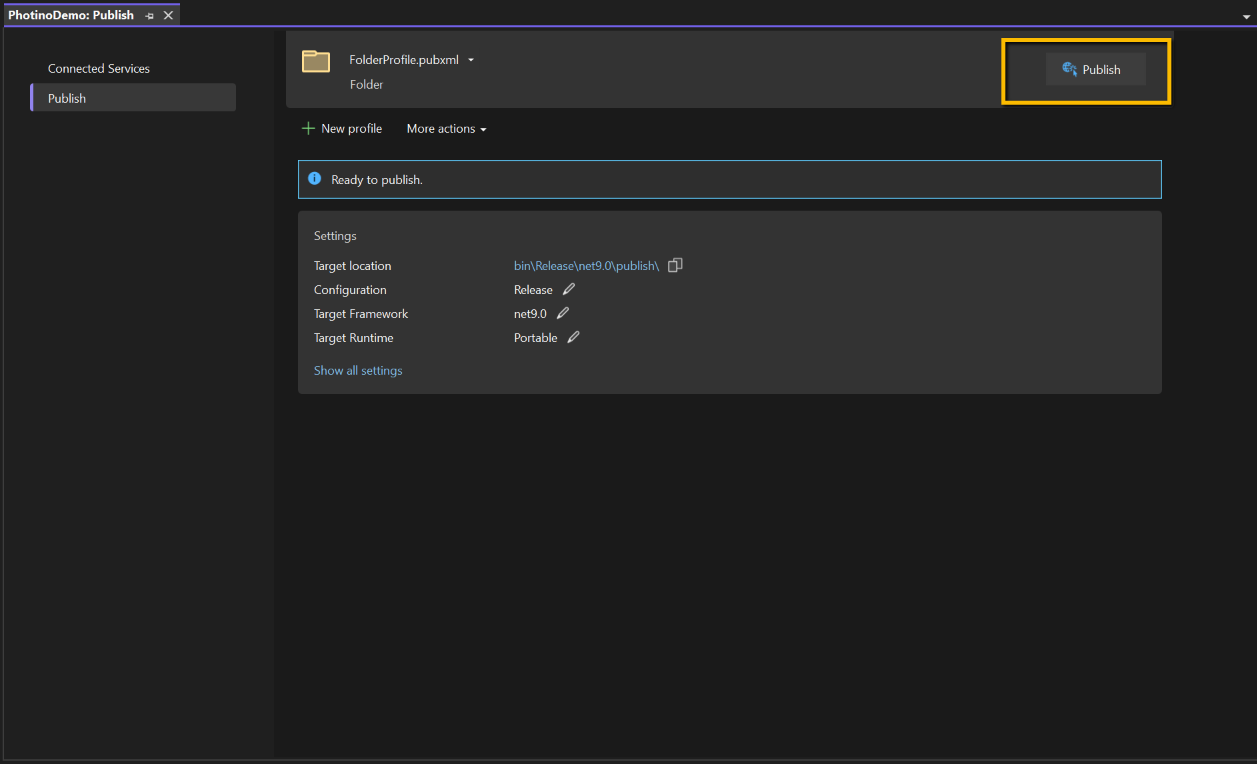
Suggested Publish Settings
For an easy life, in most cases the end-users are likely to be using Windows x64 machines, so I would suggest sticking to the defaults':
- Configuration: 'Release | Any CPU'
- Target framework: 'net9.0'
- Deployment mode: 'Framework-dependent'
- Target runtime: 'Portable'
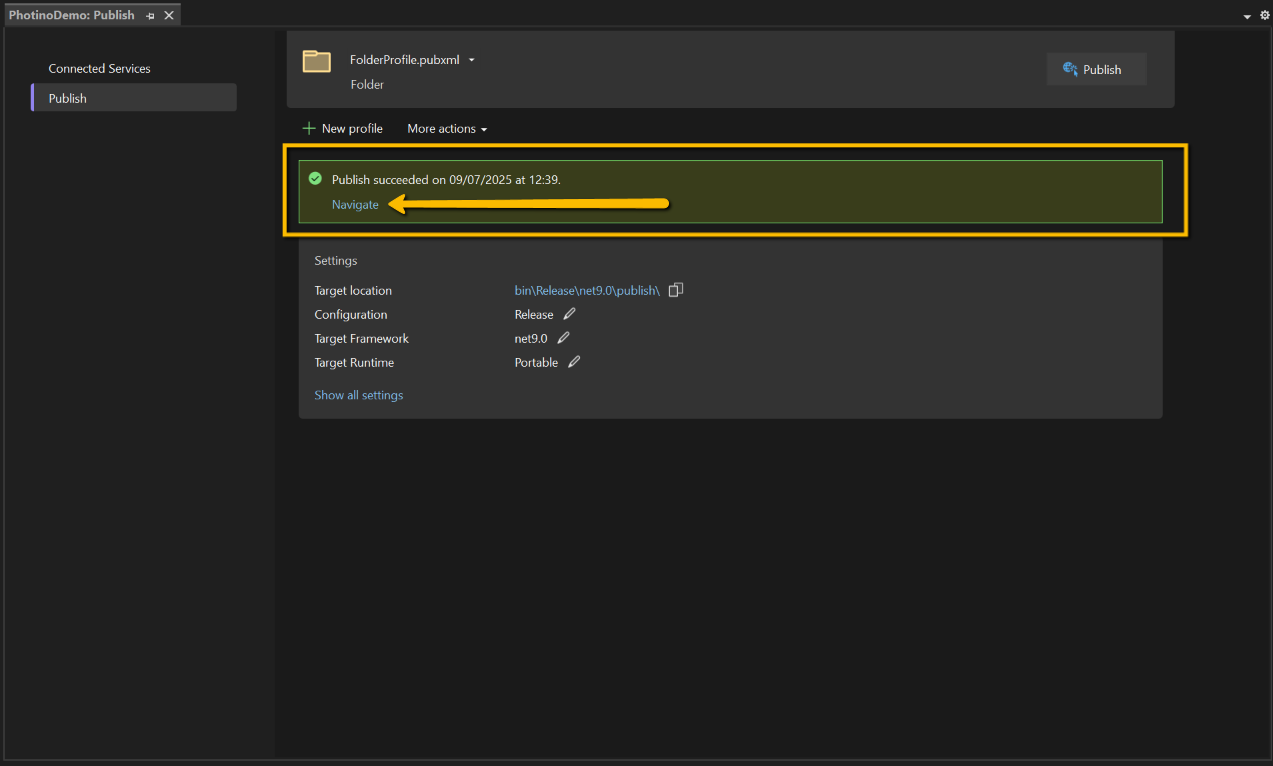
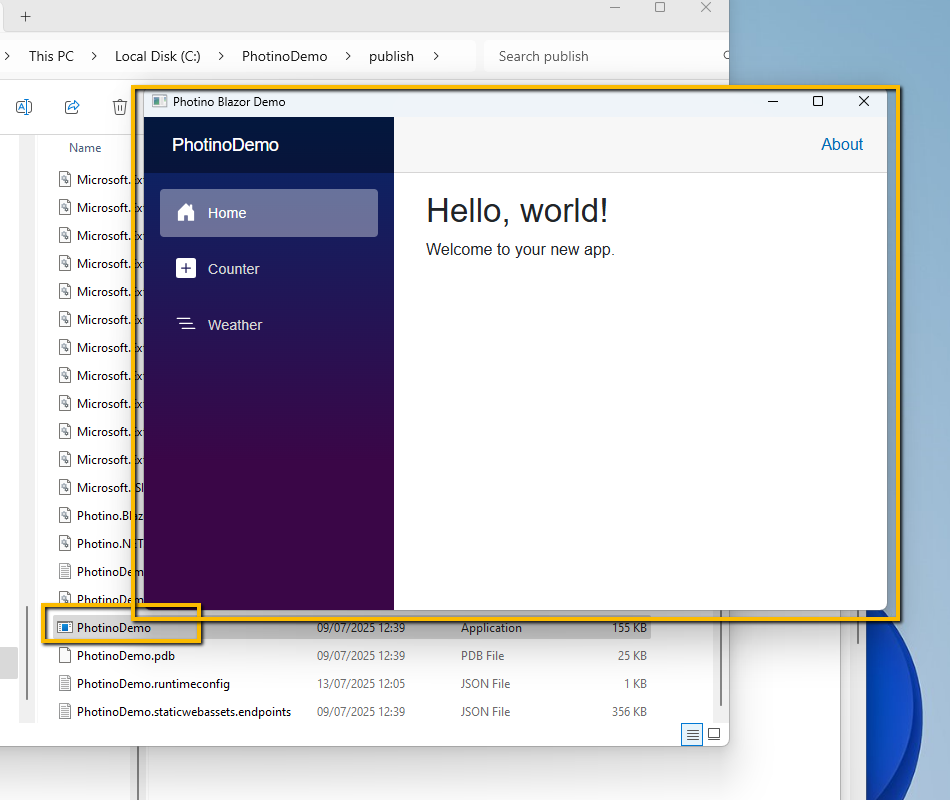
Finally, having saved the 'Profile settings', click 'Publish'. Once published you can browse to the publish folder, either by clicking the 'Navigate' or 'Target location' links. You can then transfer the contents of the complete folder, including any sub-folders to the end-user's machine. In practice I prefer to browse to the parent folder and copy that folder. You can zip the folder for easier transfer if you like.
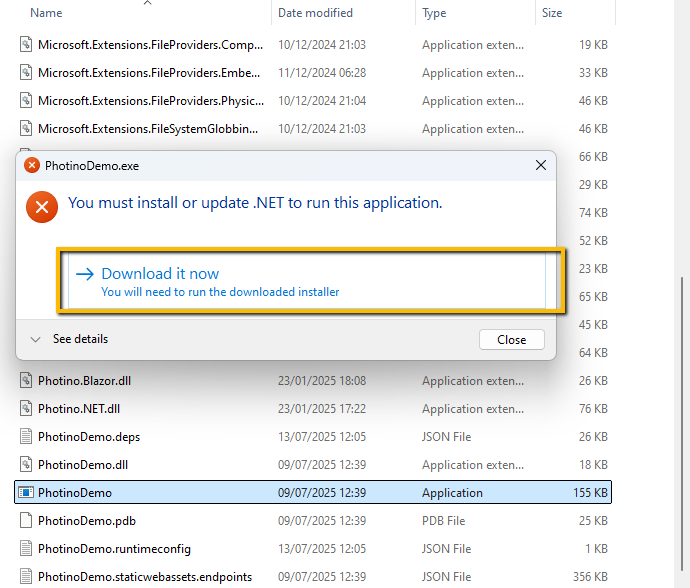
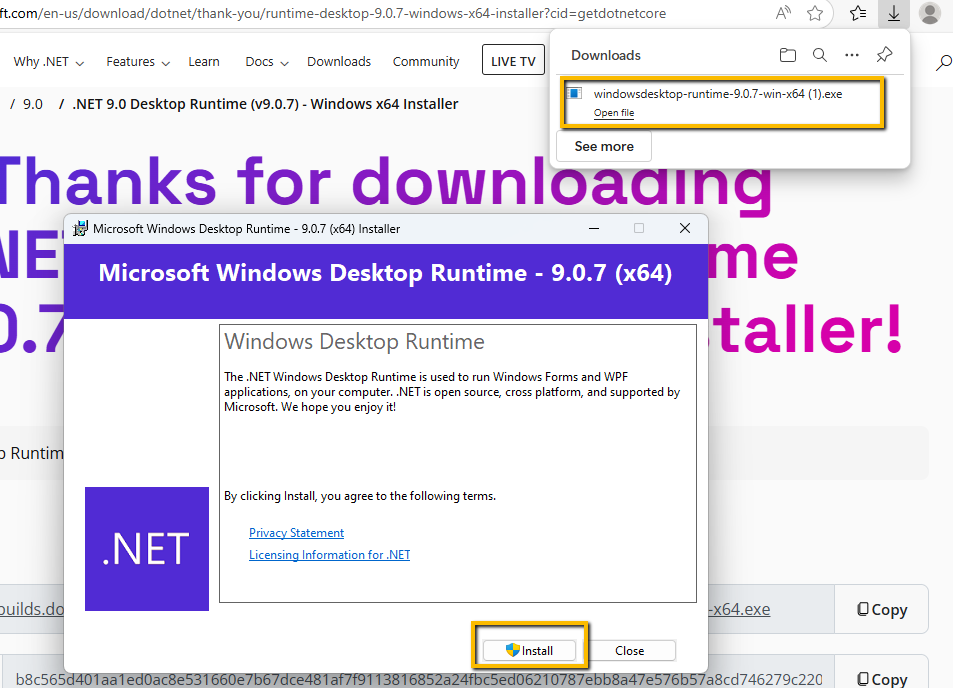
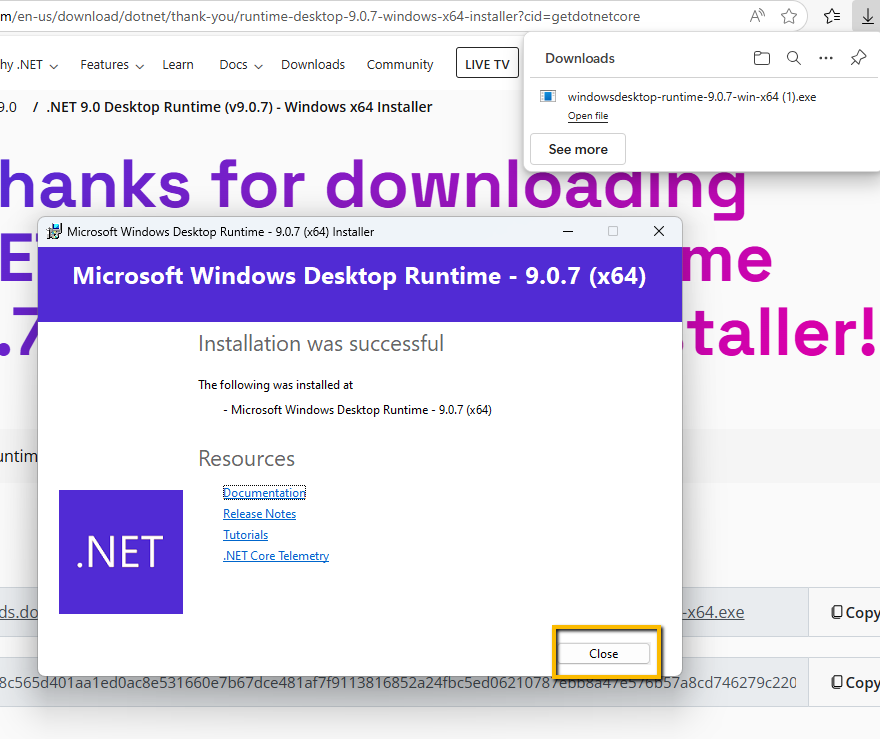
In the event that the end-user does not have the required Windows Desktop Runtime they will be prompted to download and install the first time they try to run the application. They just need to follow the instructions.
Publishing for Linux
As an experiment I thought I would try publishing the application and running it on a very old laptop on which I had recently installed Linux Mint Xfce.
The procedure was to publish using Visual Studio with these settings:
- Configuration: Release | Any CPU
- Target Framework: net9.0
- Deployment mode: Self-contained
- Target runtime: linux-x64
- Target folder: bin\Release\net9.0\publish\linux-x64\
- Produce single file: false
- Trim unused code: false
- Copy contents of target folder to a USB and paste into Documents folder on the linux mint PC
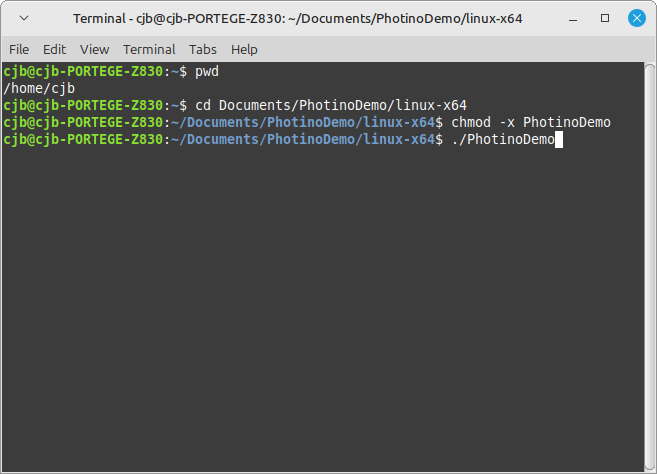
- Open a terminal and change directory to the folder on the linux machine. In my case:
cd /home/cjb/Documents/PhotinoDemo/linux-x64- Make the main executable runnable
chmod +x PhotinoDemo- Run the application
./PhotinoDemo
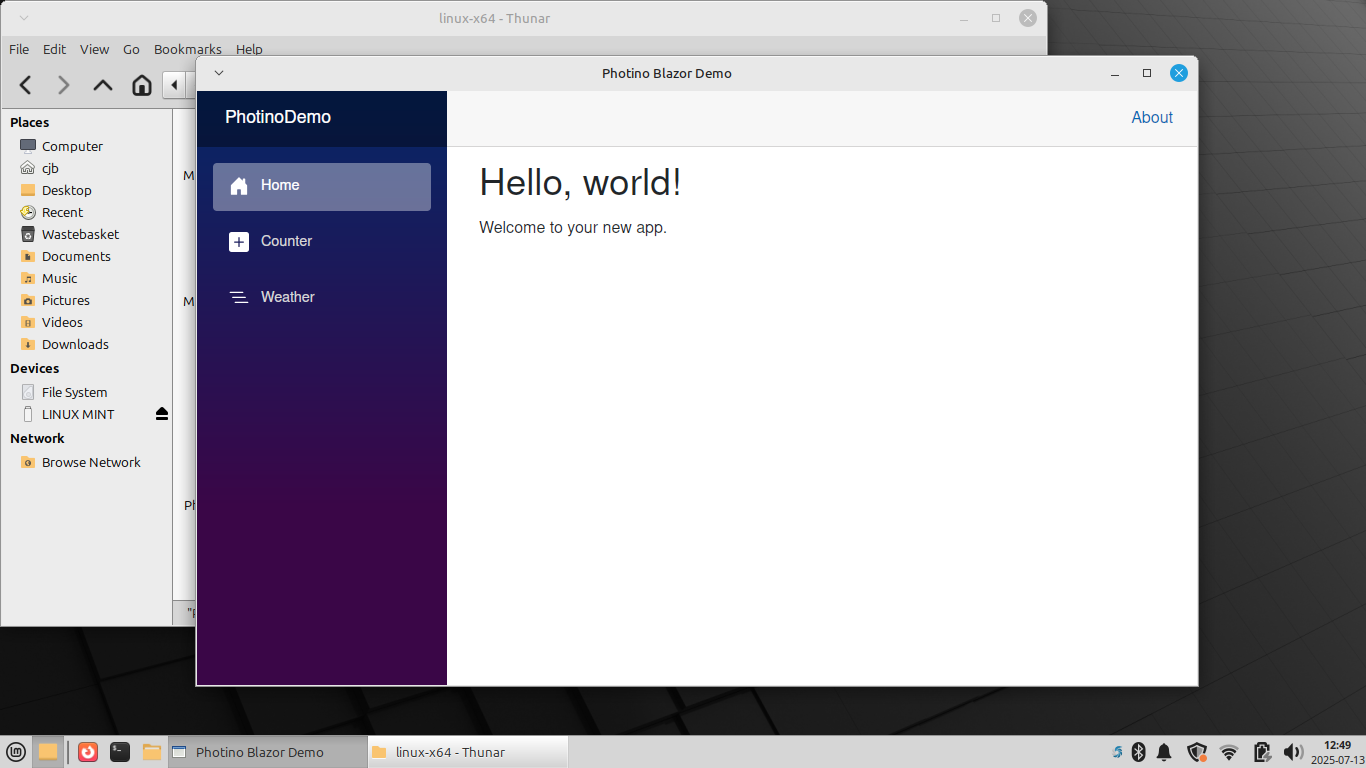
To my utter surprise and delight, it worked. And even more impressively it ran pretty quickly. It did, however, leave the terminal window open. I later found out that I could run the application by browsing to the file location of PhotinoDemo and double-clicking it.
Publish using CLI
To publish using the CLI (Command Line Interface)
- Start by deleting the 'bin' folder completely, including both the 'Release' and 'Debug' subfolders. This ensures that you have a clean start. (The 'bin' folder should be in the solution folder.)
- Open a command prompt (either Windows terminal or Git Bash)
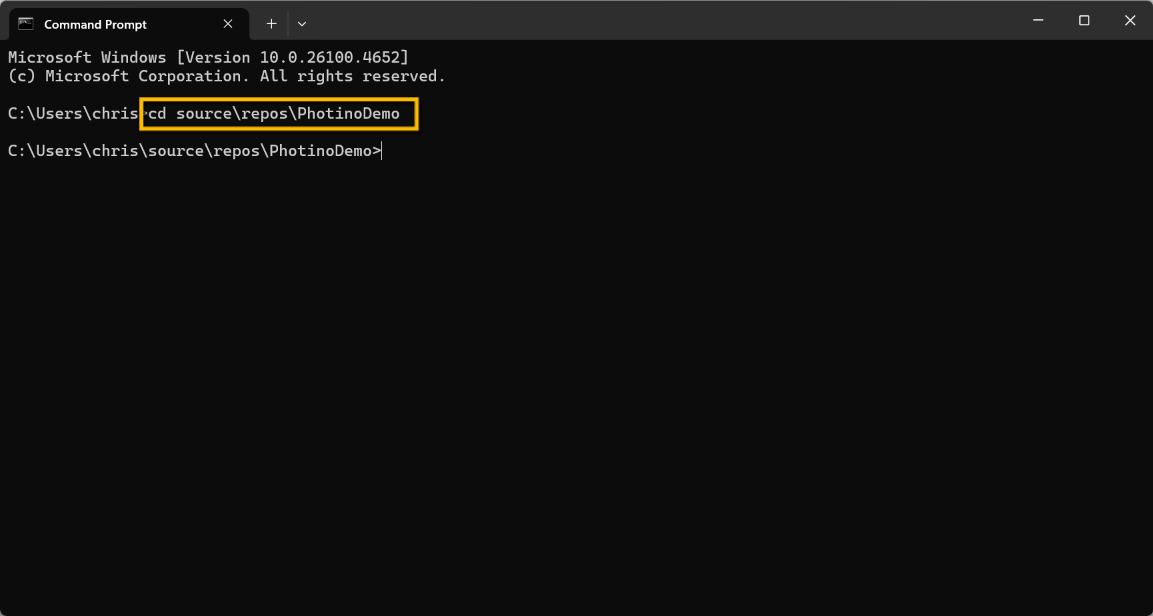
- Change directory to the solution folder
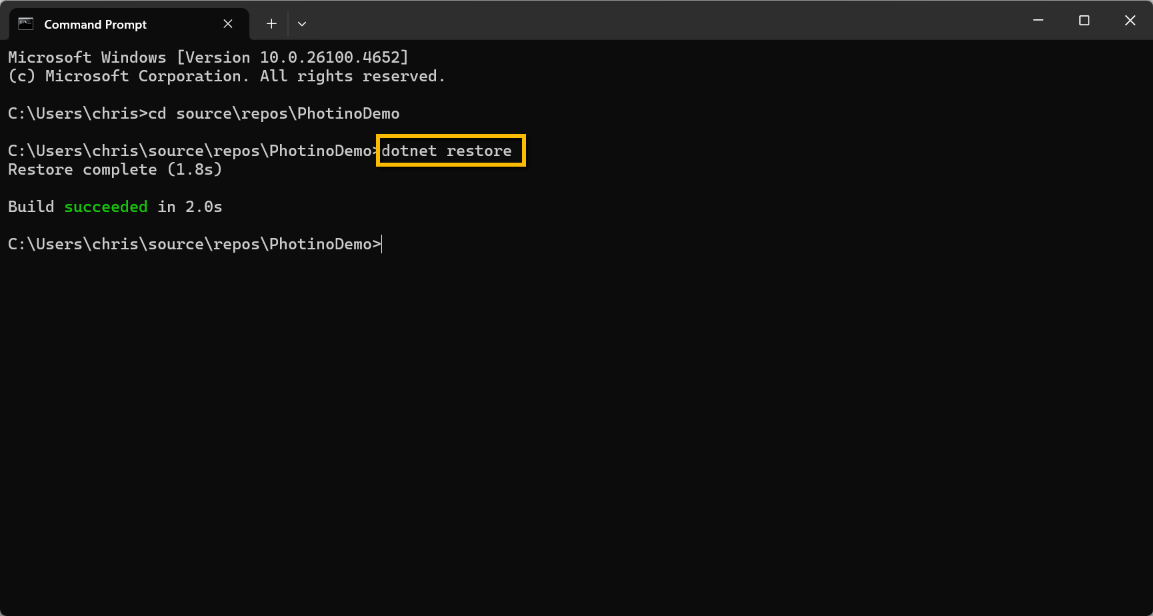
cd source\repos\PhotinoDemo- Restore dependencies. (Restoring dependencies ensures that all NuGet packages and tools the app needs are downloaded, compatible, and cached locally before building the project.)
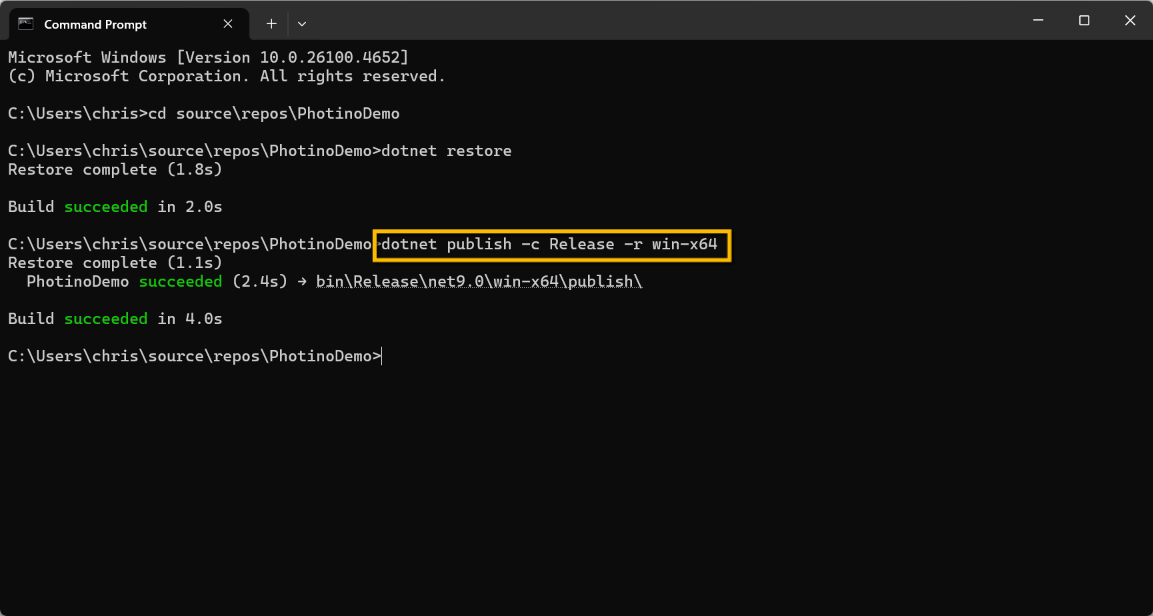
dotnet restore- Publish
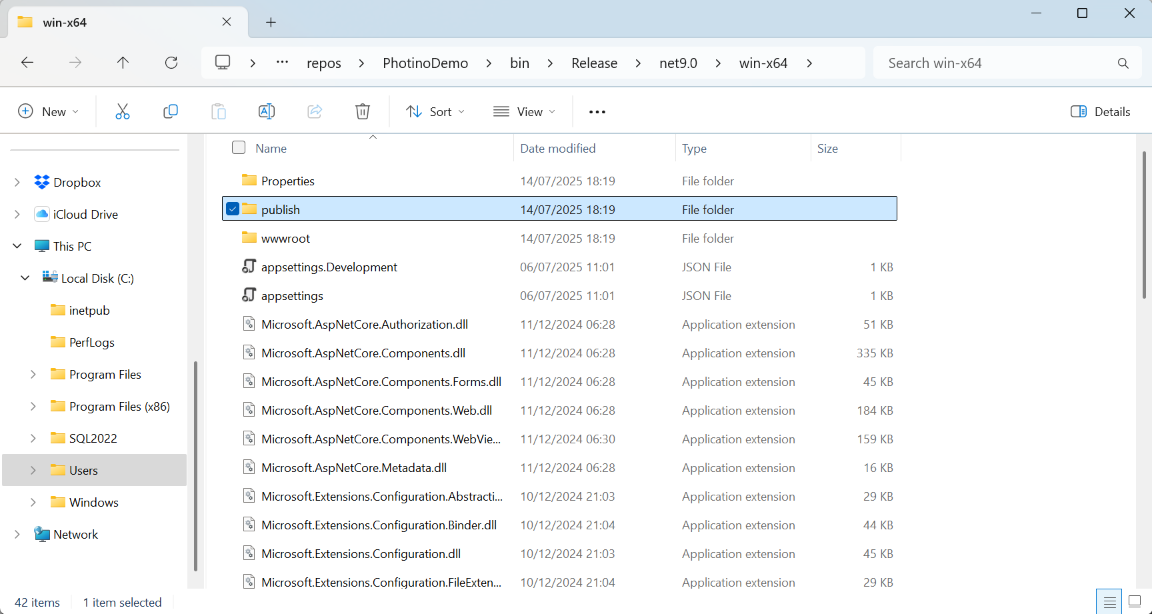
dotnet publish -c Release -r win-x64
This will create a folder in .\PhotinoDemo\bin\Release\net9.0\win-x64\ called publish. The contents of this folder can then be copied and pasted onto the end-user PC. Note that this is not 'self-contained' and therefore the target machine might prompt for the download of 'Windows Desktop Runtime' (the same as publishing through Visual Studio).
Other parameters that could be added to the dotnet publish command are:
--self-contained true- bundles the .Net runtime (but results in a much larger package)-p:PublishSingleFile=true- merges everything into one executable, but didn't seem to work for me-p:PublishTrimmed=true- removes unused code to shrink size-p:PublishReadyToRun=true- for faster startup-o ./YourFolderName- publishes to the designated folder (but with a warning)
To publish for other platforms the -r win-x64 can be substituted with the appropriate platform, e.g.
-r linux-x64- Linux x64-r osx-x64- macOS 64-r win-arm64- Arm64